Last updated: July 16, 2026
Circling approach techniques are the single hardest IFR skill most general aviation pilots almost never practice. You’ll fly a hundred straight-in ILS or RNAV approaches for every one circle-to-land, and yet when the day comes — the wind’s out of favor of the published approach, the tower gives you a runway that doesn’t line up with the final approach course, or the only approach available at your destination is a VOR-A with a 300-foot bank and 30 seconds of visual reference between minimums and the runway — you’re expected to fly it clean, low, and slow, in weather that’s usually right at the edge of what’s legal. That’s the mismatch. This guide is the 2026 playbook we wish we’d had.
What a Circling Approach Actually Is (and When You’ll Get One)
A circling approach is an instrument approach procedure that ends in a visual maneuver from the missed approach point to a runway that isn’t aligned with the final approach course. The published approach gets you low and close enough to see the airport. Everything after that — pattern, base turn, glidepath control, final alignment — is on you, hand-flown, in visual conditions that may be no better than a mile of flight visibility and the published circling minima above the airport.
You’ll be assigned a circling approach in three main situations. First, when the runway in use for wind or ATC flow reasons doesn’t have its own straight-in instrument approach. Second, when the only approach that fits your equipment (or the airport’s equipment) is one that terminates offset from any runway — the classic VOR-A pattern where the approach is labeled with a letter instead of a runway number precisely because it doesn’t line up with anything. Third, when you break out of the clouds and see that the runway you were briefed for is unusable and you need to circle to another one — a decision that always turns into a workload spike.
Circling MDA, Categories, and the 2013 Radius Change
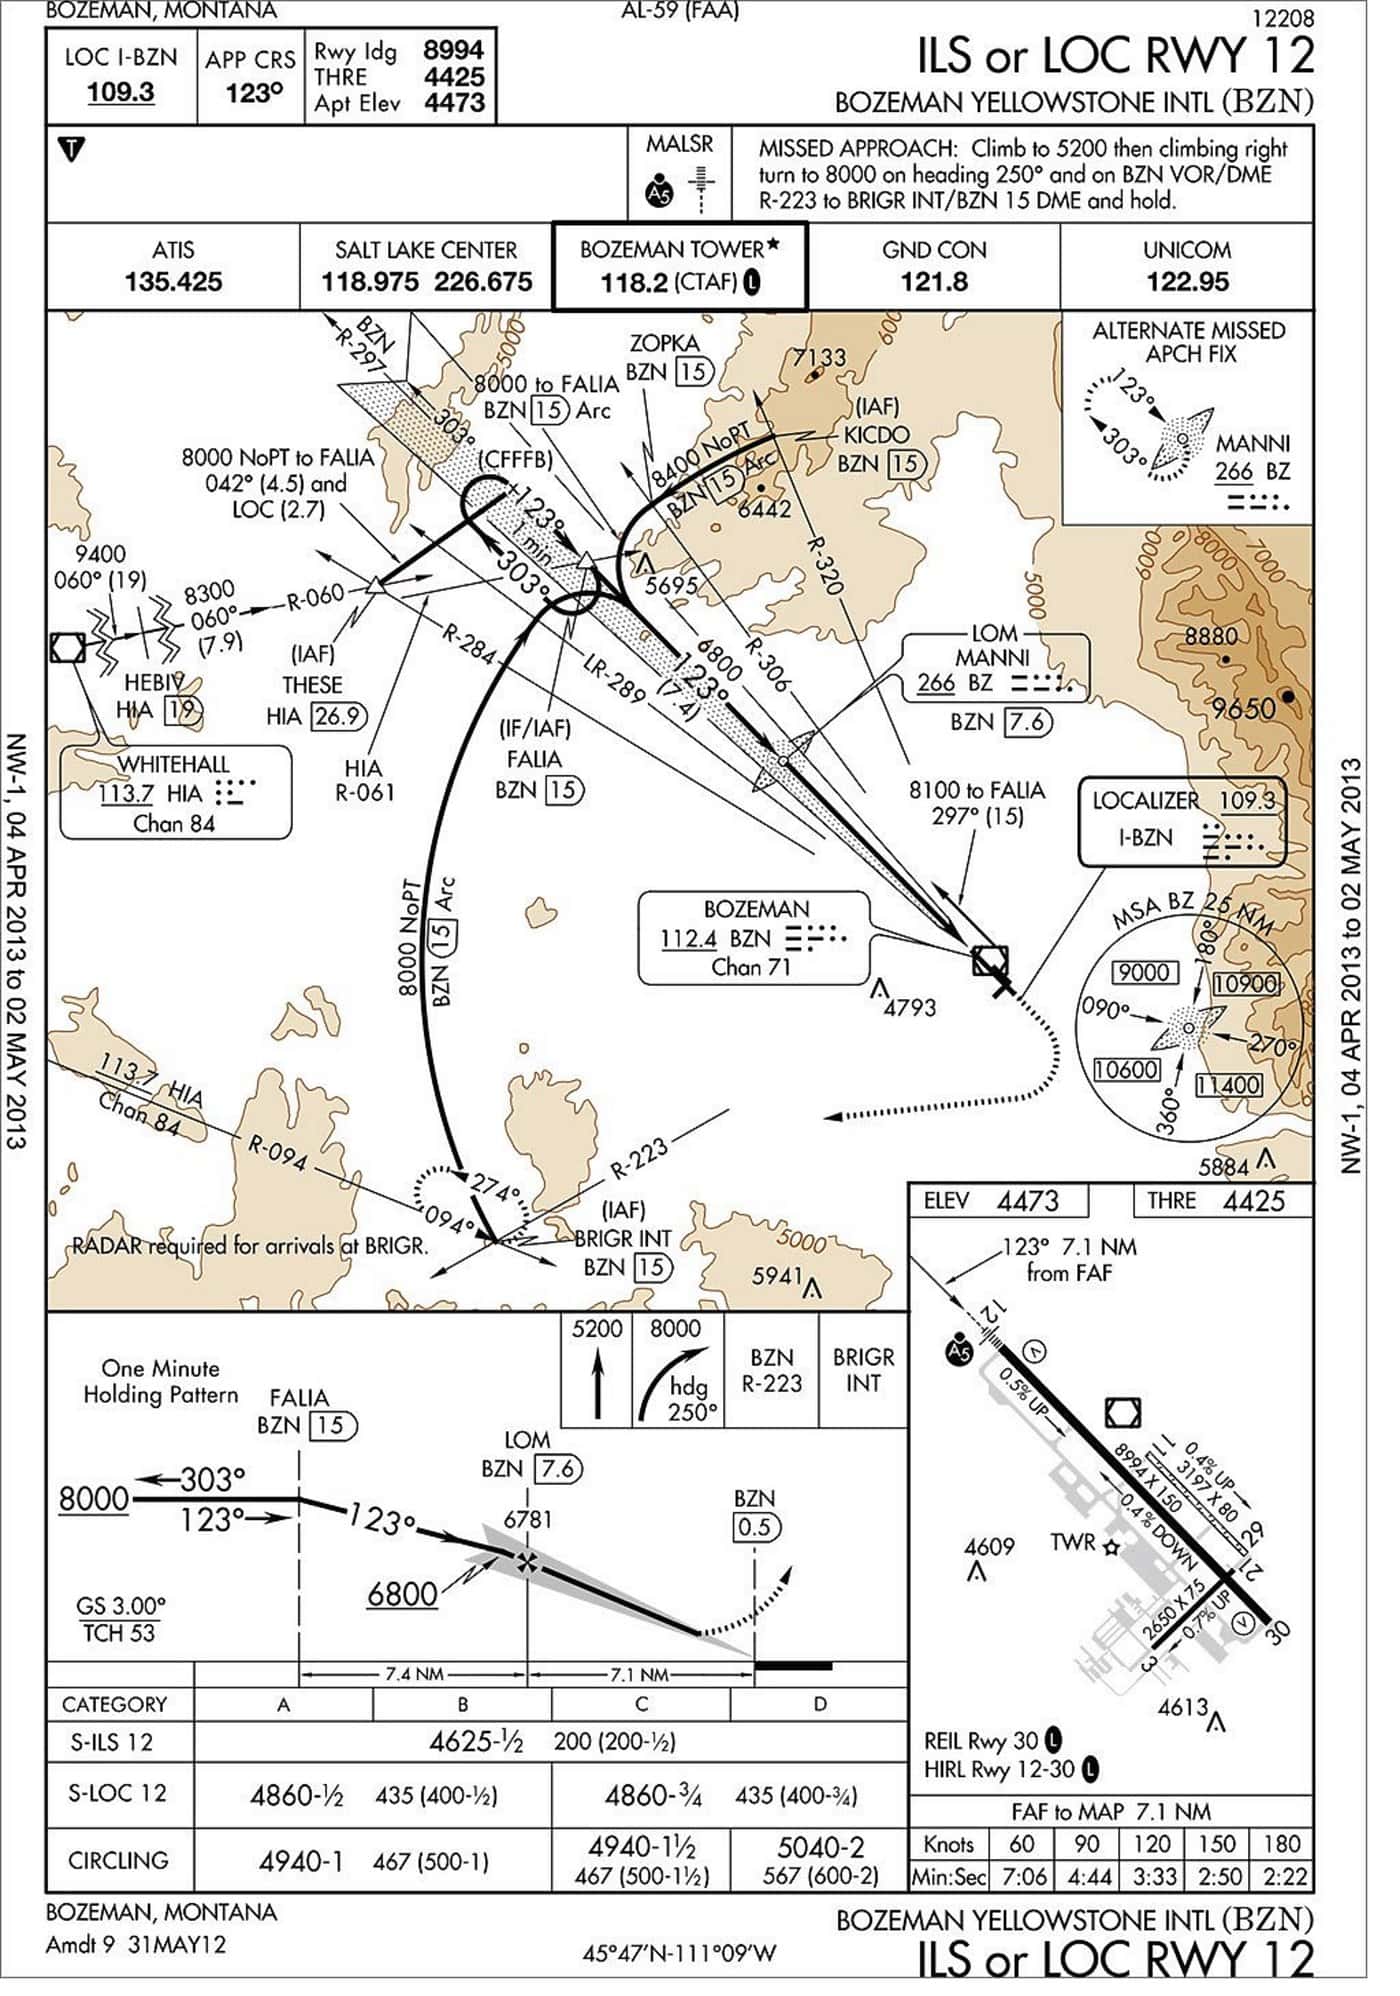
Every published approach with circling minima gives you a Minimum Descent Altitude (MDA) tied to your approach category. The categories are speed-based, keyed to 1.3 times your stall speed in landing configuration at maximum certificated landing weight (VREF). Category A is up to 90 knots, B is 91-120, C is 121-140, D is 141-165. Most GA piston singles are Category A. Most piston twins and light turboprops are Category B. A Cirrus SR22 flown at 90 KIAS on final is A; the same airplane flown fast at 100 KIAS moves to B and inherits a wider circling area and higher MDA.
The 2013 TERPS change is the one detail every pilot needs to know cold. The old circling radius standard used a single fixed radius per category (1.3 miles for A, 1.5 for B, and so on). The new “expanded circling area” standard scales the radius with airport elevation, because true airspeed grows with density altitude and a Category A airplane at Leadville is covering more ground per second than the same airplane at sea level. If the approach chart shows an inverse-C symbol next to the circling minima, that approach uses the expanded radius. If there’s no symbol, it uses the old radius. You’ll see both in the field for years to come. The expanded areas are meaningfully larger — the Category A radius at 5,000 feet MSL is about 1.7 miles, not 1.3.
The Four Canonical Circling Techniques
There are more names than techniques. Every school teaches these four, in some form:
1. Straight-in visual to a downwind. You break out on final for the published approach, see the airport, and enter a downwind for the assigned runway. Easiest to plan, easiest to fly, and the one you’ll use most often — usually when the assigned runway is 90 degrees or less off the final approach course.
2. Teardrop. You continue past the runway on the extended final, then turn 30-45 degrees toward the airport and fly a shallow teardrop back to a downwind or base for the landing runway. Good for winds that push you past the runway or for approaches that terminate well beyond the numbers.
3. Racetrack (or “wing on the runway”). You fly a tight pattern with the runway visible off your wing throughout, treating it like a very small VFR traffic pattern flown at circling MDA. This is the classic Category A move at a small towered airport when the wind favors the crossing runway.
4. Immediate turn. You break out, roll immediately into a 25-30 degree bank toward the runway, and align on short final. Reserved for the situation where the approach course intersects the runway centerline close enough to the threshold that a straight-in-to-downwind wastes altitude and time. Highest workload of the four and easiest to over-bank.
Our take: most GA pilots default to straight-in-to-downwind because it’s what they were taught first. That’s fine when the geometry supports it. When it doesn’t — when you’d have to fly halfway to the next county to make a comfortable downwind — the teardrop is the honest answer, not a wider version of the straight-in that dumps you below MDA before you’re ever on base.
The MDA Discipline: Level, Not Descending
This is where most circling errors are born. The rule is simple: once you’re at circling MDA, you stay level until you can see the runway clearly, you’re in a normal position to land, and you can descend at a normal rate using normal maneuvers. Not “the runway is somewhere over there and I can start down.” Not “I’ve got the numbers so a shallow descent is fine.” Level. Until the visual picture supports a stabilized descent, no descent.
The pattern that gets pilots in trouble is starting the descent on base turn because “I’m high, I’ll ease it down.” At 500-600 feet AGL (a typical circling MDA), losing 200 feet in a bank isn’t a small mistake — it’s a CFIT setup. If you can’t get the runway sight picture that supports a stabilized descent from downwind or base, execute the missed approach. That’s what the missed is for. We’ve written about the broader pattern in our CFIT awareness guide for GA pilots — circling into terrain is one of the recurring CFIT profiles that keeps showing up in NTSB summaries year after year.
Planning the Maneuver Before You Break Out
Every circle-to-land approach deserves a mental briefing before you start the approach itself, not after. The pre-approach circling brief is short:
- Runway in use and side to circle. Left traffic, right traffic, or whatever the tower assigned. If untowered, check the AF/D for standard traffic pattern side.
- Direction of turn from the missed approach point. Left or right off the published course to get to the pattern side you want.
- Circling MDA and the height above the airport. Not just the MDA number — how high above the runway you actually are.
- Missed approach point and the missed approach procedure. Where do you climb, which direction, and where do you hold if you go missed after starting the circle?
- Winds and expected ground track. Downwind or headwind on the circling leg changes your radius and your groundspeed dramatically.
Brief this out loud in the cockpit. If you’re single-pilot IFR, brief it to yourself. The whole point of the brief is that when you break out at MDA in low visibility with the workload spiking, you’re not making the plan then — you’re executing a plan you already made.
Visual Reference: The Legal Standard and the Practical One
FAR 91.175(c) requires you to have the runway environment in sight (approach lights, threshold, threshold markings, threshold lights, REIL, VASI, touchdown zone, touchdown zone markings, touchdown zone lights, runway, runway markings, or runway lights) before descending below MDA. For a circle, that requirement extends the whole way around — you must keep the runway environment in sight throughout the circle, or execute the missed. If you lose sight of the runway even for a few seconds in a cloud wisp, the missed is required, not optional.
The practical standard is tighter than the legal one. If you can see the runway but the visual picture is fuzzy, the horizon is indistinct, and you’re relying on peripheral cues to tell you what your bank angle is, you’re one distraction away from a spatial-D event. In marine layer fog or a low overcast burning off, that’s the exact profile. Our fog formation and forecasting guide covers when to expect this — the short answer is that any coastal or river-valley airport in the summer morning is a candidate.
Weather Intel: What the Briefing Actually Tells You
The weather briefing for a circling approach matters more than for a straight-in, because a straight-in can be flown to a much lower minima that gets you deeper into the cloud deck. A circle-to-land requires visual conditions from the moment you begin the maneuver. Read the terminal forecast, the current ATIS or AWOS, and any recent PIREPs for the field — a PIREP from an aircraft that just shot the approach an hour ago is worth more than any TAF. See our field guide to reading PIREPs and the ATIS/AWOS/ASOS field guide for the practical decoding pass. Cross-check the enroute picture with AIRMETs and SIGMETs, especially IFR and mountain obscuration.
Partial Panel Circling: The Situation Nobody Trains For
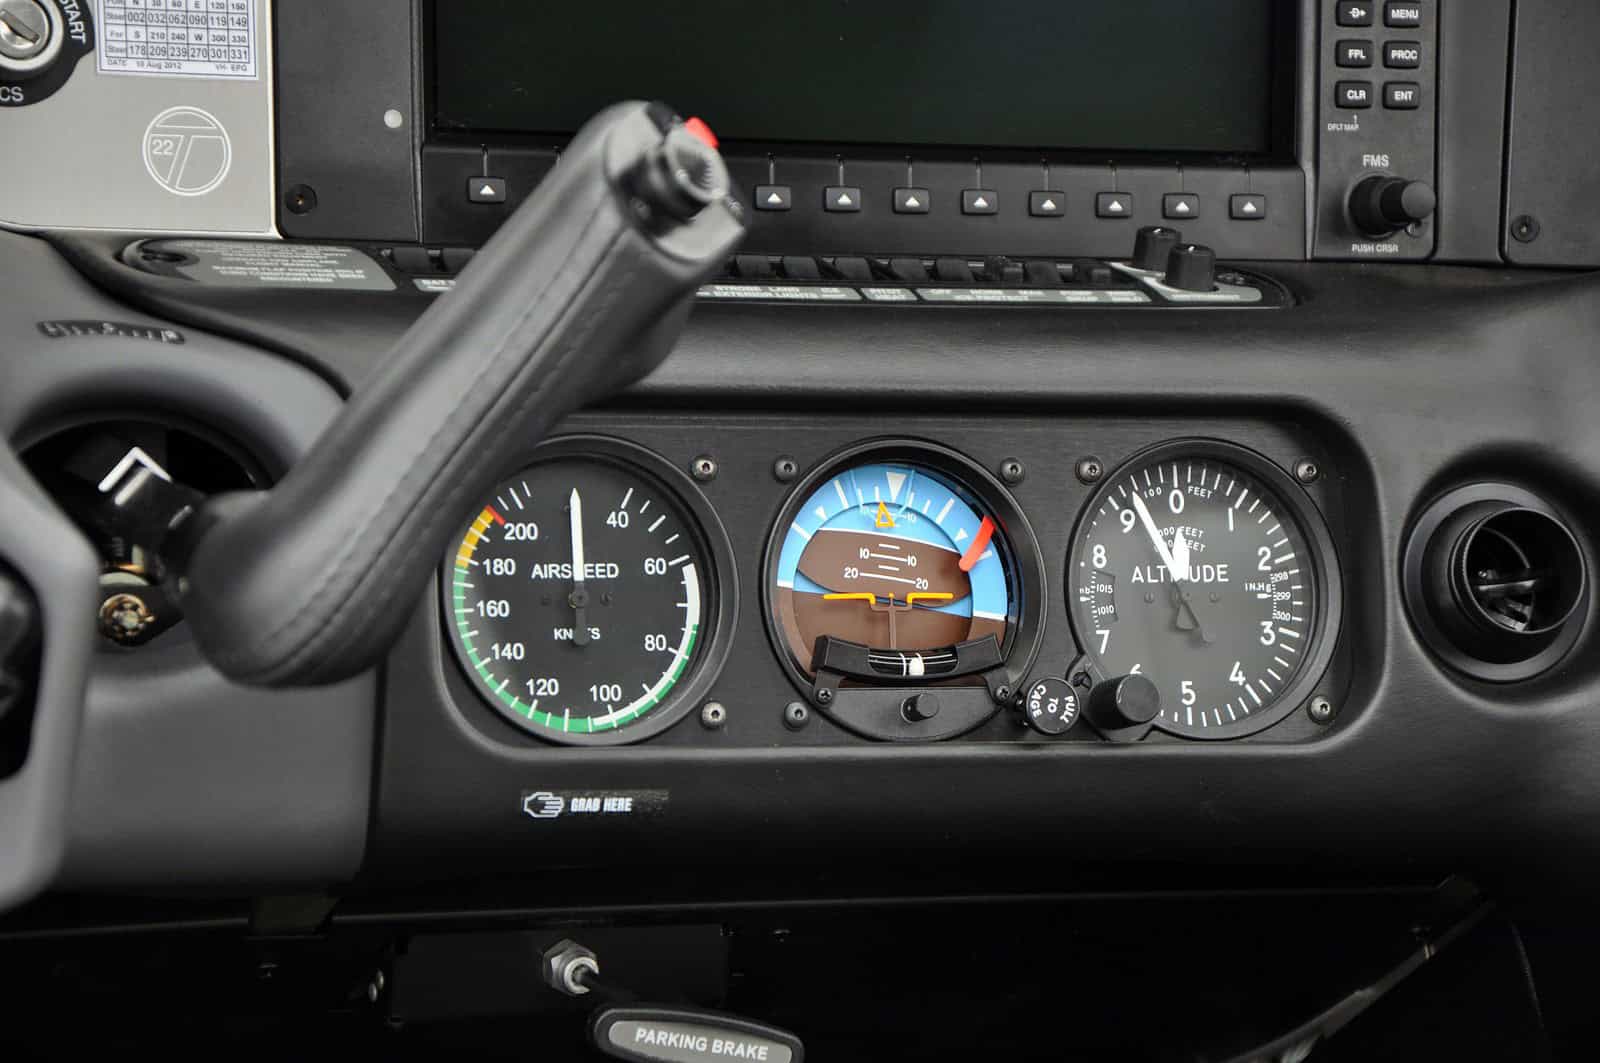
If you lose the vacuum system or the AHRS during the approach and end up circling on backup instruments, everything gets harder. Bank angle judgment collapses, altitude discipline collapses, and situational awareness collapses. Modern glass panels give you multiple redundant sources, but a Cessna 172 with a legacy vacuum-driven AI is still one small failure away from being a partial-panel airplane. The two most likely failure modes worth knowing cold: a vacuum system failure that eats the attitude indicator without an obvious cue, and a pitot-static failure that turns the altimeter and airspeed indicator into liars. If either happens while you’re at circling MDA, the missed approach is not a preference — it’s the answer.
The Missed Approach From a Circle-to-Land
This is the single detail every GA pilot forgets. The published missed approach procedure is designed for a straight-in — climb straight ahead, then turn to the hold. From a circle, you’re somewhere on the pattern side, not on final. The procedure is to turn toward the landing runway, climb to the published missed approach altitude, and then intercept the published missed approach course. You do not fly through the terrain-critical side of the airport to get back to the published miss.
Practically, that means: bank into the runway to bring the nose around, hold that turn until you’ve got the runway inside your turn, then continue climbing to intercept the miss. On a two-engine airplane, at Vy or Vyse. On a single, at Vy and a positive rate. Configure clean when altitude allows.
The RNAV Sibling: When to Circle vs. When to Ask for the Straight-In
Modern RNAV approaches often give you an LPV straight-in to nearly every runway, and if one exists to your intended runway, take it. It’s a stabilized straight-in flown to a precision minima that beats every circling technique for safety. If the RNAV terminates offset (an RNAV-A or an RNAV to a different runway), the calculus is: is the RNAV-A circle-to-land safer than the VOR-A circle-to-land, or the ILS circle-to-land? Usually the RNAV wins because of vertical guidance to MDA, but not always. If you’re rusty on the geometry, our RNAV approach explainer is the place to start.
How to Practice Circling Approaches Without Getting Killed
Circle-to-land is on the ATP-CTP curriculum and is a checkable item on any IFR checkride and every 6-month recurrent for jet types. For most GA pilots, it lives inside the biennial IPC and nowhere else. That’s not enough. The practical approach is threefold:
- Sim time. A basic ATD (aviation training device) or full-motion sim lets you fly circles to minimums in weather that would ground you IRL. Ten circles in a sim in one hour beats one circle a year in the airplane.
- VFR pattern practice at MDA-equivalent altitudes. Fly a normal pattern at 500 feet AGL instead of 800 or 1,000. Learn what the sight picture looks like at circling altitude before you ever have to see it in weather.
- Every IPC, request a circle to a runway you haven’t circled before. Not just the runway your instructor picks. Real currency comes from unfamiliar geometry.
See our companion guide on 2026 IFR currency requirements for how the legal minimums fit into a practical currency plan.
What Pilots Get Wrong Most Often
Four patterns show up in the accident data and in the FAA runway safety office’s circling-approach briefings year after year:
Descending below MDA before the runway is clearly in sight. The single biggest killer. Level at MDA, always, until the descent is safe and stabilized.
Over-banking on the base-to-final turn. At 500 feet AGL with a stall speed penalty for bank, a 45-degree bank at pattern airspeed is a stall-spin scenario. Circling is a shallow-bank maneuver. If you need more than 30 degrees to make the runway, you planned the circle wrong.
Losing the runway in a wisp of cloud and continuing the circle anyway. The regs are unambiguous — lose visual, execute the miss. Every time.
Underestimating groundspeed downwind. A 15-knot tailwind on a downwind leg makes the airplane cover ground faster than you’re used to. You’ll fly through the runway extended centerline before you know it. Plan the base turn earlier than the sight picture tells you to.
Trent Palmer’s risk-management framework — build the plan, stress-test the plan, always have an out — applies exactly here. See our Trent Palmer risk management breakdown for how the pros structure the same decision loop we’re describing.
Special Cases: High-Elevation Airports, Icing, and Marine Layer
Three environments amplify every circling risk:
High-elevation airports. True airspeed is higher than indicated, groundspeeds are higher, turn radii are wider, and the expanded circling area matters more. If you’re circling at Leadville or Angel Fire, use the expanded area every time and add a Category to your speed calculation as a personal minima.
Icing conditions. A piston single with any ice accretion has a higher stall speed, a wider stall margin requirement, and a reduced climb rate on the miss. Circling with ice is a decision worth reconsidering before every attempt. Our structural icing guide gets into the physiology.
Marine layer. Coastal California, Pacific Northwest, and the Gulf Coast all produce circling weather that’s technically legal but functionally awful — the horizon is indistinct, the visibility is patchy, and the layer often traps you above the field with no way down except the approach. The go/no-go decision should be conservative.
Frequently Asked Questions
What is the minimum visibility for a circling approach?
The visibility minimum is whatever’s published on the approach chart for your category. It’s often 1 statute mile for Category A and B, and it may be higher (1½ or 2 miles) for certain approaches or higher categories. You need that visibility in flight and reported at the airport to legally begin the approach under Part 91 (or under Part 121/135 you also need the reported visibility to be at or above minima to start the approach). Practically, plan for tighter personal minima than the chart — a mile of reported visibility looks a lot less like a mile from 500 feet AGL on a circle than it does from ground level.
Can I use GPS to fly a circling approach?
Yes — GPS is a useful situational-awareness tool for maintaining position relative to the runway and the circling area boundary. Most modern GPS navigators (GTN 650/750, GNS 430/530W, G3X Touch, G1000, Avidyne IFD) show the circling area as a shaded ring around the airport when you’re on a circling approach. Use it. What GPS cannot do is substitute for the visual reference requirement — 91.175(c) still requires the runway environment in sight, not a magenta line to it.
Do I have to fly a circling approach if I’m assigned one?
No. You can request a straight-in instrument approach to a different runway, or refuse the circle-to-land assignment if you’re not comfortable with the conditions. ATC will find another solution — different approach, different runway, holding until conditions improve, or a diversion. “Unable” is a legal and appropriate response. The circling approach is a tool, not an obligation.
Our Take
Circling approaches sit in the awkward middle of IFR — too rare to be routine, too demanding to be sloppy, and too easy to fake proficiency on. If you fly IFR at all, budget one sim session a year and one dedicated IPC circle-to-a-new-runway a year and treat both as non-optional. The alternative is fine right up until it isn’t, and it never isn’t at a convenient time. The airplane doesn’t care that you haven’t flown one in eleven months; the terrain doesn’t care either.
Two things we’d push back on if we heard them at the FBO: “the circling MDA is where you start down” (no — it’s where you stop until the picture supports a normal descent), and “circling minima are conservative so a couple hundred feet below is fine in the pattern” (no — they’re the minimum obstacle clearance surface for the whole circling area, and there’s nothing below them but airplane-eating obstructions). If you catch yourself thinking either sentence in the cockpit, execute the miss.
External References
- FAA Instrument Procedures Handbook (FAA-H-8083-16B) — Chapter 4 covers circling approaches in detail.
- FAA AIM Chapter 5-4-20 — the official circling approach procedure and expanded circling area explanation.
- AOPA Air Safety Institute Joseph T. Nall Report — annual GA accident analysis, includes circling and approach-and-landing statistics.
- eCFR 14 CFR 91.175 — the takeoff and landing under IFR regulation, including the runway environment definition.
- FAA Order 8260.3 (TERPS) — the terminal instrument procedures criteria that define the circling radius and expanded circling area.
Related Articles
- RNAV Approach Explained: What Every GA Pilot Must Know
- IFR Currency Requirements 2026: Stay Legal and Ready
- CFIT Awareness for GA Pilots
- Vacuum System Failure Recognition
- Pitot-Static System Failures: A 2026 GA Pilot Guide
- Reading AIRMETs and SIGMETs
- Reading PIREPs: The 2026 GA Pilot Field Guide
- ATIS vs AWOS vs ASOS: A GA Pilot Field Guide
- Fog Formation and Forecasting for GA Pilots