
Last Updated: May 19, 2026 | By the E3 Aviation Editorial Team
If you own a piston single, your aircraft spark plug set is the cheapest insurance policy on the airplane. It’s also the one most owners ignore. Until a mag check goes bad on a Saturday morning.
A fouled plug doesn’t just cost you a flight. It cracks confidence in the airplane. It drags you into a hangar troubleshoot session. Sometimes you start wondering if it’s the ignition harness or something deeper. Most of the time, it’s not deeper. It’s the plug.
This is the guide we wish every new owner had on day one. We’ll cover what an aircraft spark plug actually does. How often to pull and service them. How to read the tip color. The right rotation pattern. The gap and torque specs that matter. And where Champion and Tempest actually differ. By the end, you’ll know whether your plugs are healthy or hours from a no-start.
What an Aircraft Spark Plug Actually Does (and Why Yours Will Foul This Summer)
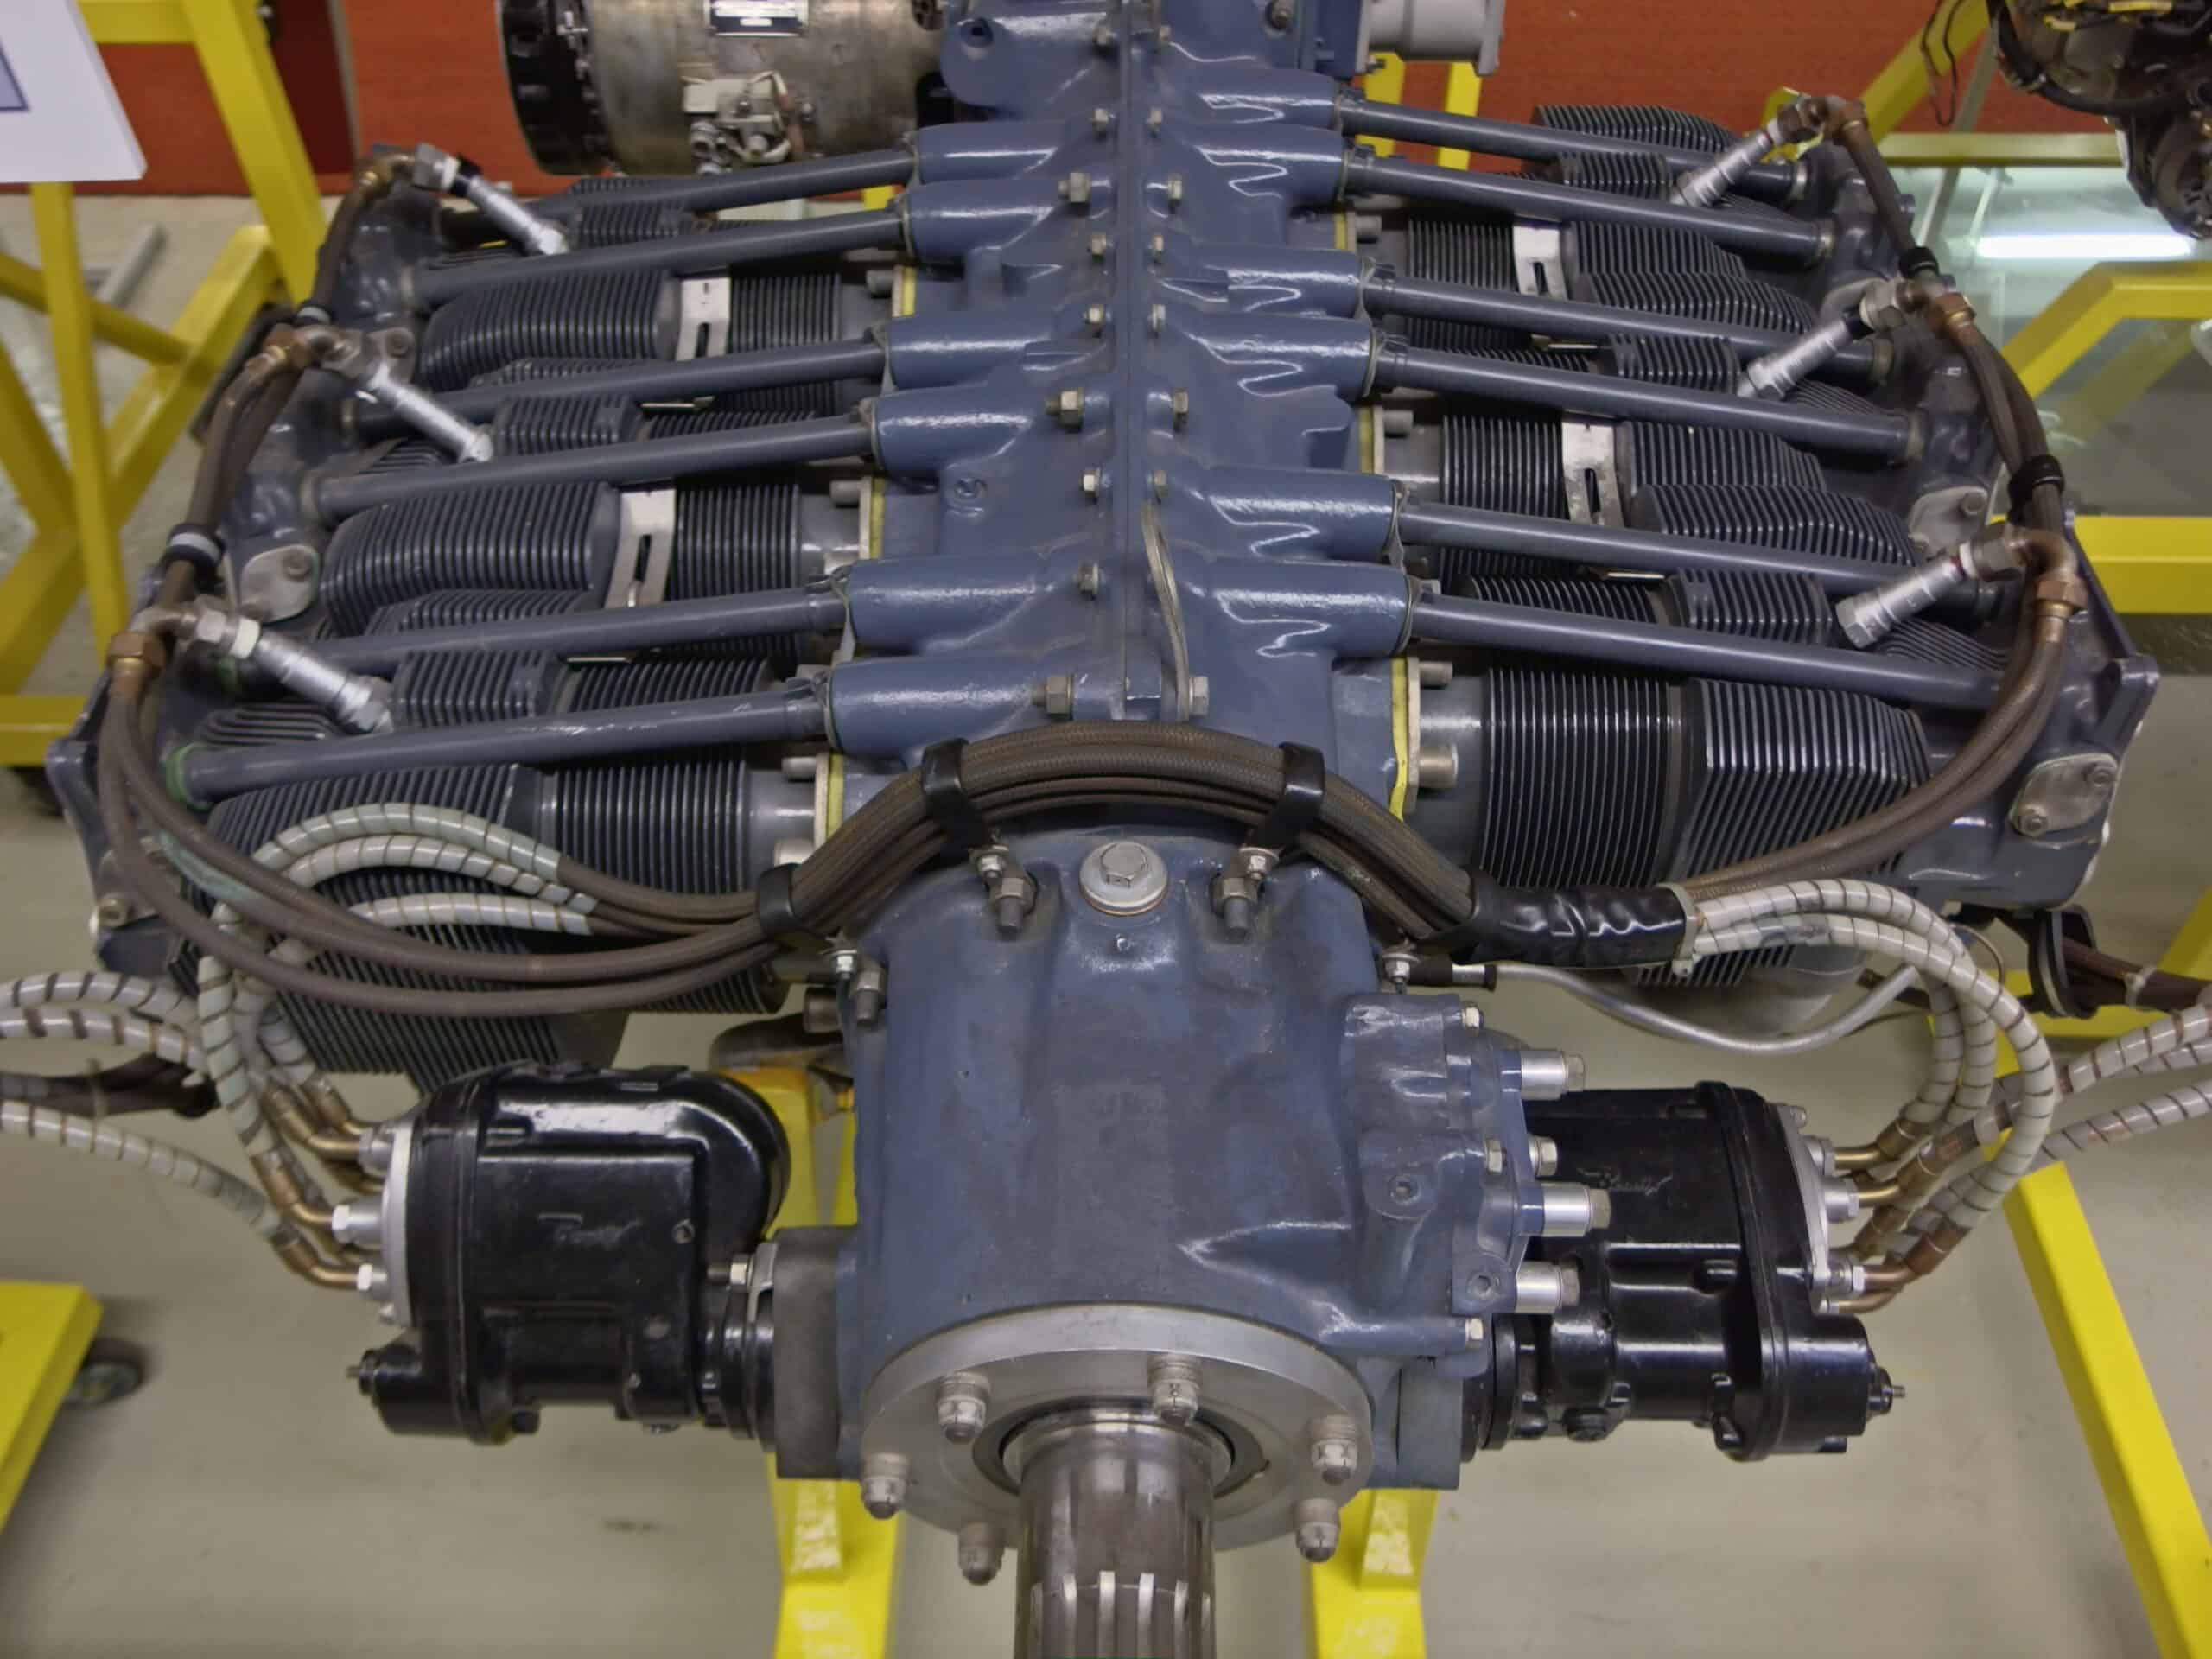
An aircraft spark plug ignites the compressed fuel-air charge inside a cylinder. It fires at a precise moment, dozens of times per second. Two plugs sit in every cylinder. One feeds off the left magneto, one off the right. That’s the redundancy your annual mag check verifies. If one plug or one mag dies in flight, the other side keeps the engine running.
The plug itself is simple. A center electrode. An outer electrode (or four of them, depending on the design). A ceramic insulator. A steel shell that threads into the cylinder head. High voltage from the magneto arcs the gap. The arc lights the mixture. The cylinder fires.
So why do these things give pilots so much trouble? Three reasons. First, 100LL — the leaded avgas we still fly behind — leaves lead oxide deposits on the electrode every time it burns. Second, piston engines run rich at idle and during taxi. Rich mixtures push lead through the plug instead of vaporizing it. Third, the plug lives in a hot, vibrating environment. That environment wears the electrode gap open over time. Add it up. The result is the most common GA squawk: a rough mag check. It usually clears after a 1,700 RPM lean-burn.
That squawk is your plug telling you it needs attention. Here’s how to give it the right kind.
Massive vs Fine Wire: Which Plug Belongs in Your Engine
Walk into any FBO and ask a mechanic about massive versus fine wire, and you’ll get a strong opinion. We’ll be straight with you: both work. The decision is really about how often you fly and how much you want to spend up front.
Massive Electrode Plugs (the standard set)
A massive electrode aircraft spark plug uses a thick nickel-alloy center electrode. It has two to four ground straps that wrap over the firing tip. These are what came on your airplane from the factory in 95% of cases. The Champion REM38E and Tempest UREM38E are the classic examples on Lycoming O-320 and O-360 engines. They cost roughly $25–$35 each, depending on supplier.
Lifespan: 400 to 500 hours with careful maintenance and 100-hour rotation. That’s about three to four years of flying for an owner-pilot putting 125 hours a year on the airframe.
Fine Wire Plugs (the upgrade)
A fine wire plug uses a small-diameter precious-metal electrode — usually iridium or platinum. The thick nickel center is gone. The exposed firing surface is smaller. That smaller surface means lead deposits build up slower. The electrode itself wears far less per spark event.
Fine wire plugs typically last two to three times longer than massive plugs. 1,000 to 1,500 hours is common. Some operators report longer service with disciplined maintenance. Cost is the catch. A set of eight fine wires runs $700–$1,400 depending on brand and part number. Massive plugs in the same engine run about $200–$280 for eight.
Which Should You Buy?
Our take: if you fly less than 100 hours a year, massives are the right call. You’ll change them every three to four years on schedule. You’ll never feel the cost difference. If you fly 150-plus hours a year, fine wires pay for themselves in longer life. Same answer if you operate in high-fouling conditions — lots of taxi time, frequent short hops, low-altitude work. Owners flying behind GAMI injectors and lean-of-peak operations almost always run fine wires.
One more angle: fine wires foul less. Tired of the post-runup leaning ritual? The upgrade is worth it for that alone.
The 50/100-Hour Service Schedule Every Owner Needs to Run
Here’s the schedule. Print it. Stick it inside your engine log.
- Every 50 hours: Visual check during oil change. Look for lead bridging or oil fouling on the bottom plugs. If they look clean, leave them alone. If a plug looks suspect, pull it.
- Every 100 hours (or annual, whichever comes first): Pull every plug. Clean. Inspect. Gap. Bomb test. Rotate per the proper pattern. Reinstall with new copper crush gaskets and correct torque. This is the mandatory service interval for most engine makers.
- Any time you have a rough mag check that won’t clear: Pull the plugs on the affected mag. Most rough mag checks are one fouled plug.
- Massive plugs at 400–500 hours: Plan replacement. Don’t push it. By that point gap erosion is significant. You’re operating on borrowed time.
- Fine wire plugs at 1,000–1,500 hours: Bench-test and decide. Many last longer. The bomb test and visual inspection tell you whether the electrode has eroded past spec.
A 100-hour plug service on a four-cylinder engine takes about an hour of shop time. On a six-cylinder it’s closer to ninety minutes. That’s $150–$250 in labor plus consumables. Compare that to a precautionary landing at a strange field because a plug let go. The math is obvious.
How to Read Your Spark Plug — What the Tip Color Tells You
The firing end of an aircraft spark plug is a diagnostic readout for the cylinder it came out of. You just have to know what you’re looking at. Here’s the field guide.
Light Tan or Light Gray
You’re winning. The mixture is right, the plug is at the correct operating temperature, and combustion is clean. Keep doing what you’re doing.
Black, Sooty, Dry Deposits
Carbon fouling. The cylinder is running too rich. Common causes: too much idle time, ground operations with mixture full rich at altitude, or a clogged primer. If only the bottom plugs are black, suspect oil migration past worn rings or valve guides.
Black, Wet, Oily Deposits
Oil fouling. Oil is getting past the rings or the valve guides. This is a cylinder health issue, not a plug issue. Cylinder compression test next. Differential compression below 60/80 with air audible at the breather usually confirms ring wear.
White, Glassy, Bead-Like Deposits
Lead fouling — the most common deposit on 100LL engines. Glassy beads of lead bromide form when the engine runs too cool. They form when the mixture is too rich during cruise. They form when the pilot doesn’t lean aggressively on the ground. These deposits short the firing tip. The result is that classic post-runup magneto roughness.
Eroded Electrode, Rounded Edges
End-of-life wear. If the center electrode is rounded over and the ground straps are notched, the plug is done. Even if it still fires on the bomb test, the gap has opened past spec. The magneto is working harder than it should.
Here’s what most owners get wrong. They look at the tip once a year at annual. Then they never think about it again. Pull a plug yourself between annuals just to look at it. The diagnostic value is worth the ten minutes. Your A&P will respect that you care.
The Right Way to Clean, Gap, and Test an Aircraft Spark Plug
This is the part most owners shouldn’t do themselves. Unless your A&P or IA has signed off on the preventive maintenance items in 14 CFR Part 43. Specifically Appendix A(c), which includes spark plug servicing for owner-operated piston singles. If you have the sign-off, here’s the procedure.
Step 1: Pull the Plugs Carefully
Use a deep-well 7/8″ plug socket. Loosen each plug a quarter turn first. Blow compressed air around the base to clear debris from the seat well. Back the plug out the rest of the way by hand. Track which cylinder and position (top or bottom) each plug came from. Masking tape on the plug body works fine.
Step 2: Inspect Visually First
Read the tip color per the section above before cleaning. Once you scrub the deposits off you lose the diagnostic information. If a plug looks cracked at the ceramic insulator, throw it away. Insulator cracks can grow under heat and shrapnel a cylinder.
Step 3: Clean
For lead deposits, use a manual pick or a vibrator-style plug cleaner with the proper cleaning fluid (Hoppe’s No. 9 is a common solvent). Bead blast cleaners — the rotary abrasive type — are only acceptable for massive plugs, and only sparingly. Fine wire plugs cannot tolerate bead blasting. The blast media will erode the precious-metal electrode and ruin the plug.
Brush the threads with a soft brass wire brush to clear carbon. Wipe the firing end with a clean shop towel after cleaning. Never use compressed air to blow solvent through the firing end — it can drive contaminants deeper into the insulator.
Step 4: Gap to Spec
Massive electrode plugs should be gapped between .016″ and .021″ per most manufacturer specs, with .018″ as a common target. The Champion service manual lists a hard maximum of .025″ — anything beyond that and the plug needs replacement, not regapping. Fine wire plugs typically run .018″ to .021″ depending on the part number. Always check the current spec for your specific plug in the Champion or Tempest service manual before you set it.
Use a wire-type gap gauge, not a feeler gauge. The wire conforms to the radius of the electrodes. A flat feeler gauge gives you a false reading on a worn plug.
Step 5: Bomb Test
A bomb test (pressure spark test) verifies the plug fires under cylinder pressure. The plug goes into a test fixture pressurized to 80–150 PSI. A tester applies high voltage. The plug should fire continuously and consistently. Plugs that misfire in the bomb test get rejected. No exceptions. A plug that won’t fire at 100 PSI on the bench has no chance at 600 PSI in flight.
Step 6: Reinstall With New Gaskets
Always install with fresh copper crush gaskets. Never reuse old ones. Apply a thin film of anti-seize compound on the threads only. Never on the electrode tip. Hand-thread the plug into the cylinder until snug. Then torque to spec with a calibrated wrench.
The Spark Plug Rotation Pattern That Doubles Plug Life
Top plugs and bottom plugs in the same cylinder live in different worlds. The top plug sees more heat and more electrode erosion. The bottom plug sees more oil and more lead fouling. Gravity pulls combustion byproducts down. Rotating plugs between top and bottom positions evens out the wear. That extends total service life.
Continental Motors Service Information Letter SIL 03-2B documents the pattern in detail. The short version: at each 100-hour service, swap every top plug to a bottom position. And every bottom plug to a top. Also rotate plugs between cylinders. No single plug should see the same firing position twice.
Honestly, this is where we’d push back on owners who skip rotation to save twenty minutes. You’ll pay for it later. Uneven wear and shorter plug life are the cost. The rotation is free. The plugs are not.
Champion vs Tempest: Where the Real Difference Hides
Both brands make plugs that meet TSO certification for piston aircraft engines. Both are FAA-approved replacements for the original-equipment plug on most Lycoming and Continental engines. So where does the difference live?
Price
Tempest plugs typically run 15–25% cheaper than the equivalent Champion part. A Tempest UREM38E sells for about $24, while the Champion REM38E sells for about $30. Multiply that across a set of eight on a six-cylinder twin and the savings get meaningful.
Resistor Design
This is the technical detail most pilots don’t know about. Tempest’s massive plugs use a sealed glass resistor. The company says it holds resistance more consistently over thousands of hours. The Champion carbon-pile resistor in older designs drifts high faster. A resistor that drifts high makes the plug harder for the magneto to fire. It contributes to misfires. Aviation Consumer testing has historically favored the Tempest resistor design.
Fit and Finish
Be careful with the part number cross-reference. The Tempest UREM38E replaces the Champion REM38E (5/8″-24 thread). The Tempest URHM38E replaces the Champion RHM38E (3/4″-20 thread). The thread sizes are not interchangeable. A plug that doesn’t seal at the seat will leak combustion gas and burn the cylinder head over time. Check your engine type certificate data sheet before ordering.
Our Recommendation
For the average owner running a four-cylinder Lycoming or Continental on 100LL, Tempest UREM38E plugs offer the best value. If you’ve had reliability issues with Tempest in a specific application, Champion is the safe fallback. We’ve never seen a clear case where one brand was operationally superior.
Lead Fouling, 100LL, and the One Habit That Stops It
Lead fouling is the dominant failure mode for an aircraft spark plug in 2026. Until 100LL is fully replaced by unleaded avgas, every piston pilot has to deal with it. That transition is happening, but slowly.
The mechanism is straightforward. Tetraethyl lead in avgas burns into lead oxide during combustion. Most of it exits through the exhaust. A small fraction deposits inside the cylinder, on the piston crown, and on the plug firing end. The engine runs too cool sometimes — too rich a mixture, too much idle, too much taxi. The lead doesn’t fully vaporize. It builds up as glassy bead deposits that short the firing tip.
The fix is operational, not mechanical. Lean aggressively on the ground. Most pilots taxi with the mixture full rich. That dumps unburned fuel and lead into the cylinders the whole way to the runway. Pull the mixture back to a “rough then back in slightly” position during taxi. You’ll see immediate improvement at the next runup.
Here’s the habit that changes everything. After landing, run the engine at 1,200 RPM. Lean the mixture to peak EGT or just rich of peak. Hold for thirty seconds before shutdown. This burns off lead deposits at high cylinder temperature before the engine cools. Owners who do this religiously cut plug fouling rate by more than half.
Torque, Anti-Seize, and the Mistakes That Crack Cylinders
The single most expensive spark plug mistake an owner can make is over-torquing. A cracked cylinder costs $4,000 to $8,000 to repair or replace. The plug torque spec is not a suggestion.
- Lycoming engines: 30 to 35 foot-pounds (360 to 420 inch-pounds) on a properly clean, properly anti-seized plug.
- Continental engines: 25 to 30 foot-pounds (300 to 360 inch-pounds) on the same prep.
- Cold engine only: Never torque a plug into a hot cylinder. Aluminum cylinder heads expand with heat. Torquing at temperature can crack the head when it cools.
Use a calibrated torque wrench. Hardware-store wrenches drift out of calibration faster than you’d think. A&Ps typically send their torque wrenches out for calibration once a year. If your wrench hasn’t been calibrated in two years, treat its reading as approximate at best.
Apply anti-seize to the threads only — never on the electrode tip or the firing surface. A dab the size of a grain of rice, smeared evenly across the threads, is plenty. Excess anti-seize migrates to the firing tip and acts as an insulator, which causes misfires.
When to Replace Plugs — and What Replacement Really Costs
Replace any plug that fails the bomb test. Replace any plug with a cracked insulator. Replace any plug where the gap has eroded past the manufacturer’s hard limit (.025″ for most massive plugs). Replace any plug where the center electrode has worn rounded.
For a full set, expect these costs in 2026:
- Four-cylinder massive set (8 plugs): $200–$280 in plugs. Plus 1–1.5 hours labor at $90–$140 per hour. Total: $290–$490.
- Six-cylinder massive set (12 plugs): $300–$420 in plugs, plus 1.5–2 hours labor. Total: $440–$700.
- Four-cylinder fine wire set (8 plugs): $700–$1,100 in plugs, plus 1–1.5 hours labor. Total: $790–$1,310.
- Six-cylinder fine wire set (12 plugs): $1,050–$1,650 in plugs, plus 1.5–2 hours labor. Total: $1,180–$1,930.
Don’t mix new plugs with old plugs in the same cylinder. New plugs fire at a different gap than worn ones, and the asymmetry produces uneven combustion. Replace as sets, even if only two plugs have failed.
Frequently Asked Questions About Aircraft Spark Plug Maintenance
How long does an aircraft spark plug typically last?
A massive electrode aircraft spark plug typically lasts 400 to 500 hours. A fine wire plug typically lasts 1,000 to 1,500 hours. Both numbers assume proper cleaning, gapping, and rotation every 100 hours. Operating conditions matter. Engines flown at altitude with aggressive leaning see longer plug life. Engines flown mostly in pattern work with rich mixtures see shorter plug life.
Can I clean and gap aircraft spark plugs myself as an owner?
Yes, under 14 CFR Part 43, Appendix A, paragraph (c). Spark plug servicing is listed as preventive maintenance. A certificated owner-pilot may perform it on an aircraft they own. The airplane must not be used under Part 121 or 135. You still need the proper tools. A calibrated torque wrench. A wire-type gap gauge. A bomb tester. The correct cleaning equipment. Most owners partner with their A&P for the bench work even when the rule allows solo.
Why does my engine fail the mag check on one mag only?
The most common cause is a fouled spark plug on the affected magneto. Each magneto fires one plug per cylinder. A rough check on the left mag isolates the fault to the left-mag plugs across all cylinders. Lead fouling is the usual culprit. Try a high-RPM lean-burn for 30 seconds and re-check. If the roughness persists, pull the plugs on the affected mag. Inspect for deposits or a cracked insulator. Don’t blame the magneto itself yet.
The E3 Take
Aircraft spark plugs are the closest thing in piston aviation to a free lunch. Service them on schedule and they’ll run thousands of hours without complaint. Skip the rotation, push past replacement intervals, or torque them hot — you’ll meet the frustration that turns owners into renters.
The E3 ambassador roster spans pilots who fly Cessna 150s, Stearmans, and Carbon Cubs deep in Idaho. Every one of them has a spark plug story. The owners who don’t have those stories pulled, cleaned, gapped, and rotated their plugs on the schedule above.
Join the E3 Aviation Association for owner-operator resources, ambassador walkthroughs, and a real pilot community. Built by pilots, for pilots.
Further Reading on E3
- The Complete Cessna 172 Pilot Guide
- Aircraft Cylinder Compression Test Explained
- How to Change Aircraft Engine Oil
- Annual Inspection for GA Owner-Operators
- Aircraft Engine Baffle Seal: Why It Matters
- E3 Aviation Association — Home
