
Aircraft camera mounts have gone from a niche curiosity to standard kit in a lot of GA hangars. We see GoPros on wing struts, action cams under tailcones, and 360-degree rigs on the dash. The footage is fun, but the mount itself is where pilots get into trouble. A loose suction cup, an unapproved external bracket, or a vibrating yoke clamp can turn a sunset cruise into a write-up — or worse.
This guide walks through aircraft camera mounts the way an owner-pilot would think about them. We cover where they go, how they attach, what the FAA actually says, and how to get usable video that doesn’t shake apart in editing.
Why Aircraft Camera Mounts Matter for GA Pilots
Want to see the camera mount setup we cover below in action? Our deep-dive on aircraft camera mounts walks through the mount options that actually work in flight.
Aircraft camera mounts solve a simple problem. You want to capture a flight — a cross-country, a backcountry strip landing, a young eagle ride — and your phone won’t cut it. A purpose-built mount holds the camera rock-steady, points it where you want, and stays put through climbs, turns, and pattern work.
The “why” goes deeper than vlogs. Aerial video helps with training debriefs. It documents maintenance squawks. It captures airport diagrams that a hand-held photo can’t. Some pilots use cockpit cams for personal flight review. Others use exterior mounts to record landings for tailwheel proficiency.
Then there’s the safety angle. A poorly attached camera that comes loose in flight is a real hazard. We’ve seen videos of cameras detaching mid-roll, smacking the empennage, and creating control issues. The mount you pick matters as much as the camera itself.
Exterior Aircraft Camera Mounts: Wing, Strut, and Tail
Exterior mounts give you the dramatic angles — the wing tip framing a sunset, the runway disappearing under the spinner, the gear tucking up on retraction. They’re also the riskiest type to install. Anything bolted to the outside of an airframe is technically a modification.
Strut Mounts for High-Wing Aircraft
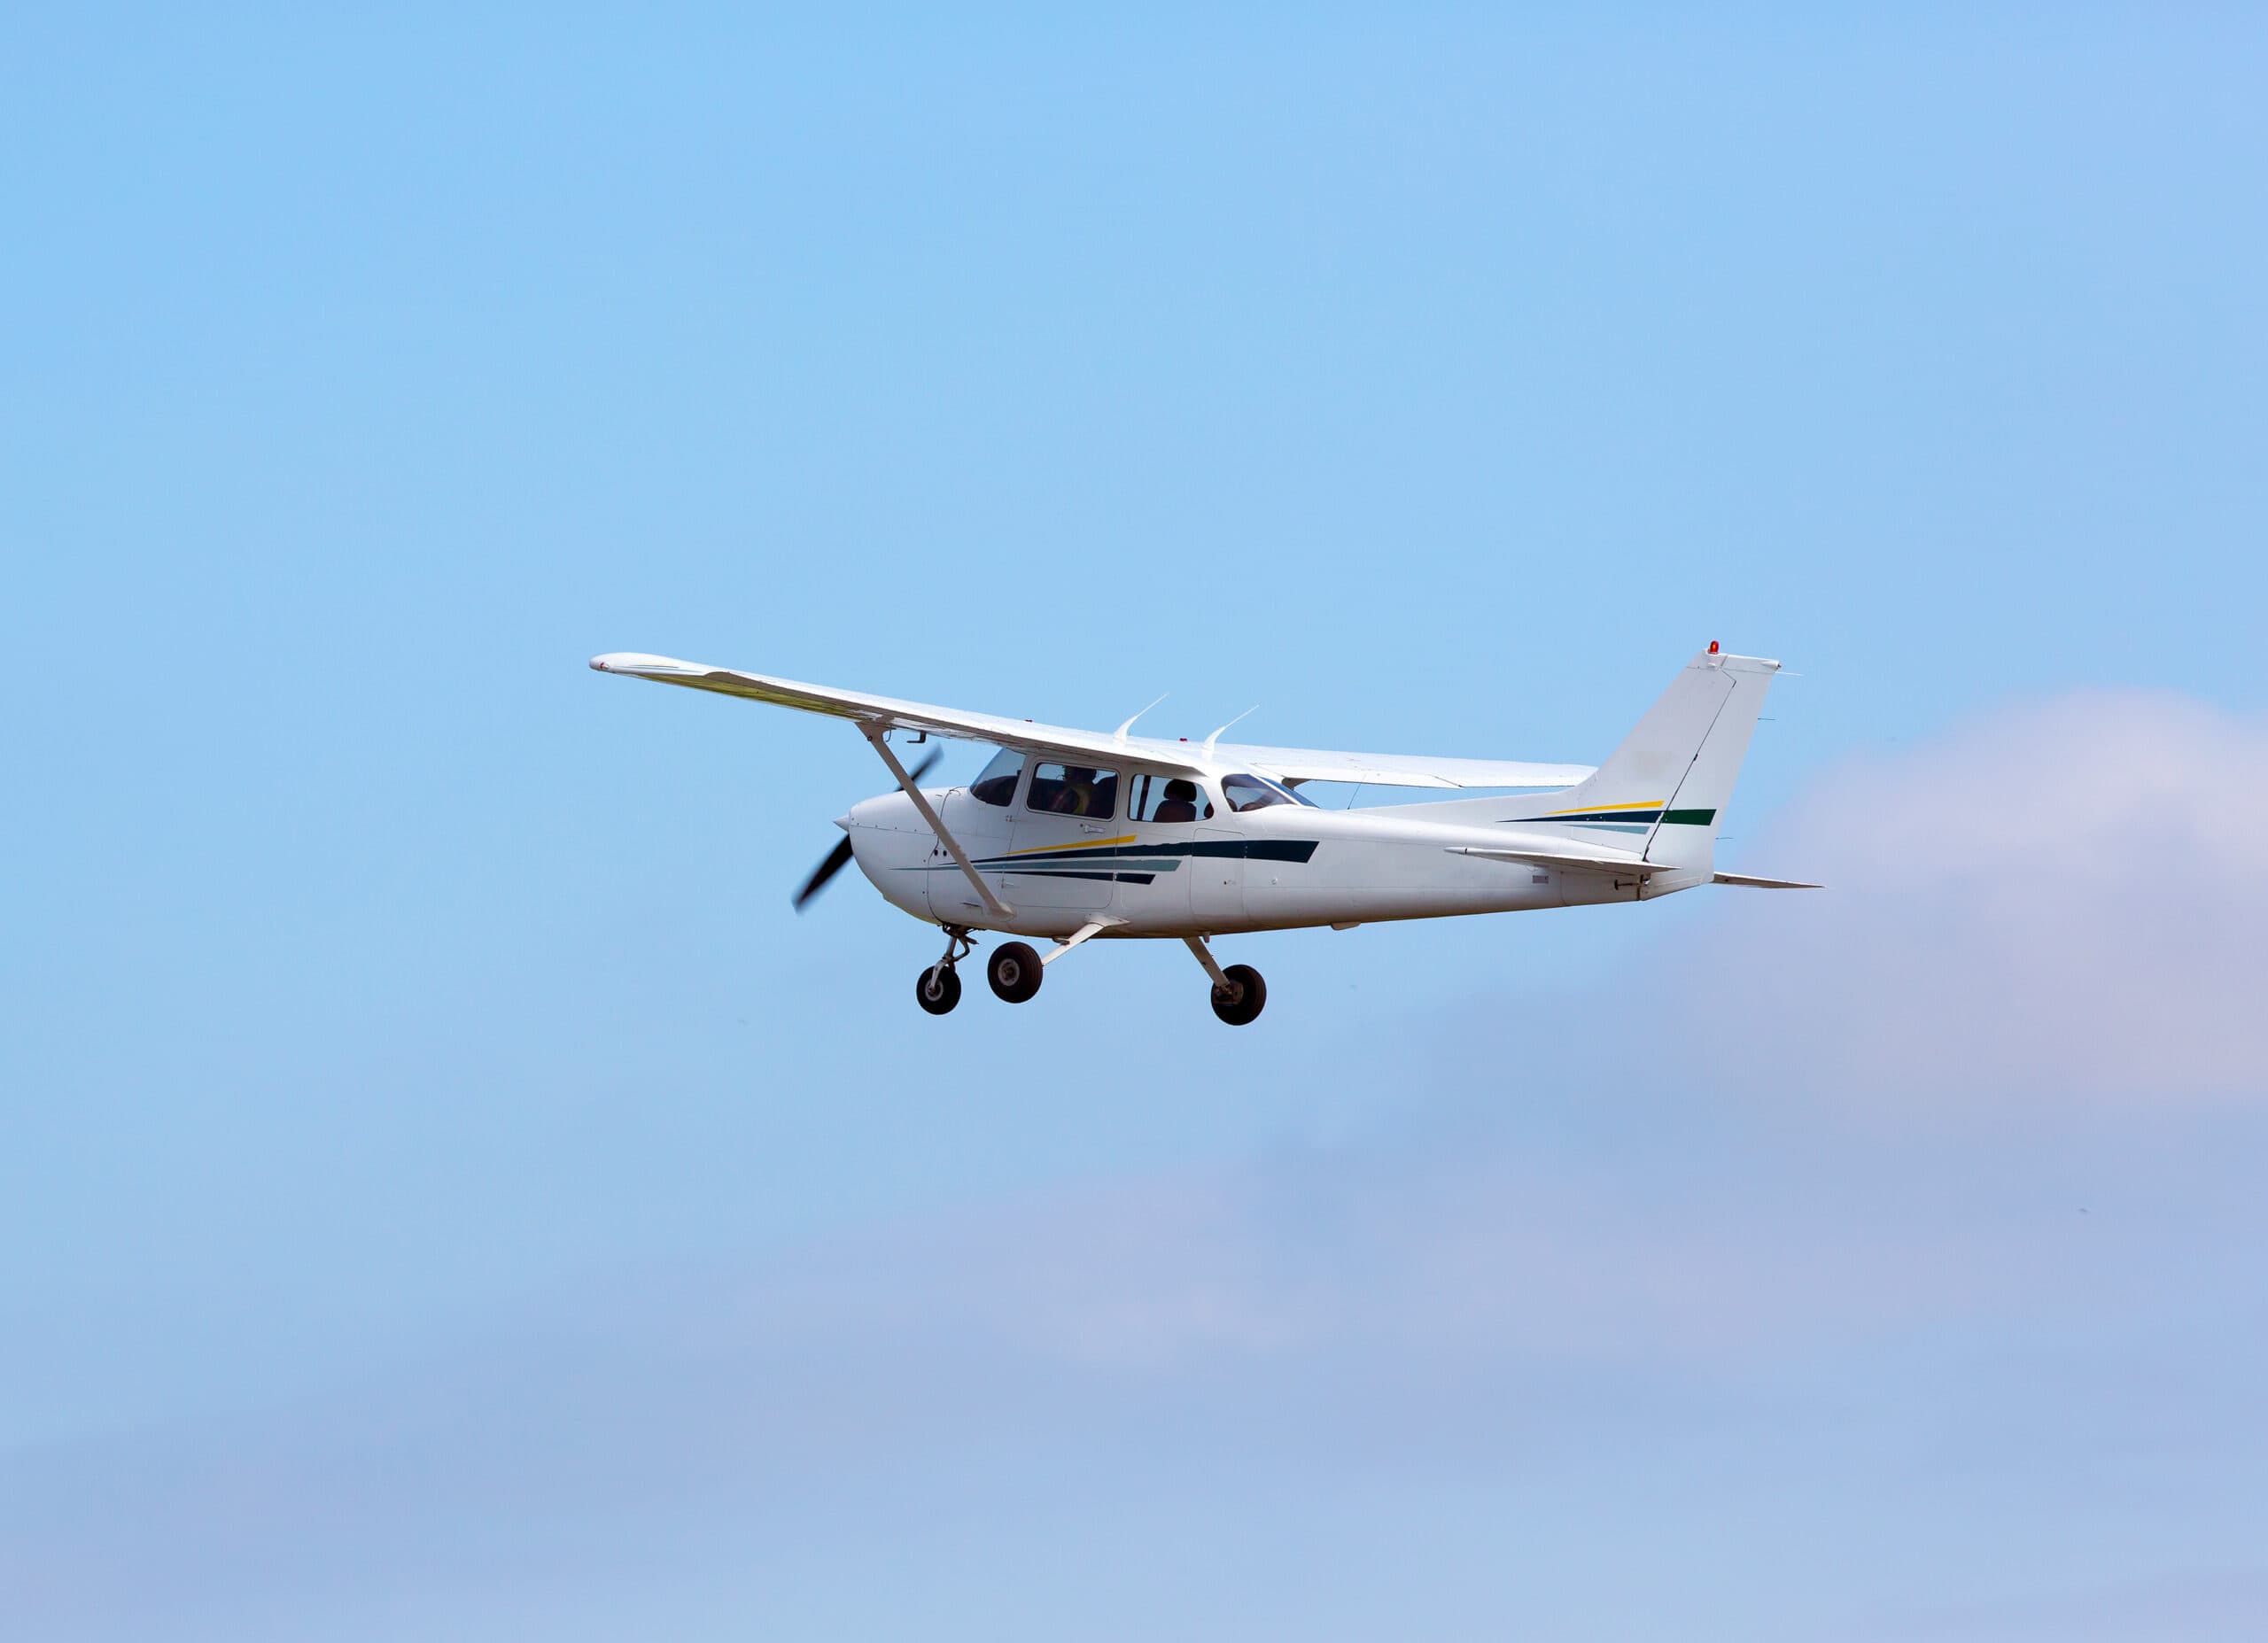
Strut mounts clamp onto the strut of a Cessna 150, 172, 182, or similar high-wing. They use rubber-lined clamps to grip without scratching paint. Most mounts are aluminum and add minimal weight. The trick is positioning. Mount it too far outboard and you lose the rigid feel of the inboard strut. Mount it too far inboard and the camera fills the frame with engine cowl and prop.
The sweet spot on a 172 is usually about two-thirds of the way out the strut, with the camera angled slightly down and back. That gives you a clean view of the wing root, ground below, and a bit of cabin. Strut mounts are not a permanent installation. Removing them before the next flight is normal practice for most owners.
Wing-Tip and Hardpoint Mounts
Some pilots install permanent camera hardpoints on wing tips, tail cones, or belly pans. This is where things get serious. Permanent external modifications usually need a logbook entry and may need a 337 form or an STC, depending on the modification. The FAA Field Approval process exists for one-off installations, but you need an A&P or IA willing to sign it off.
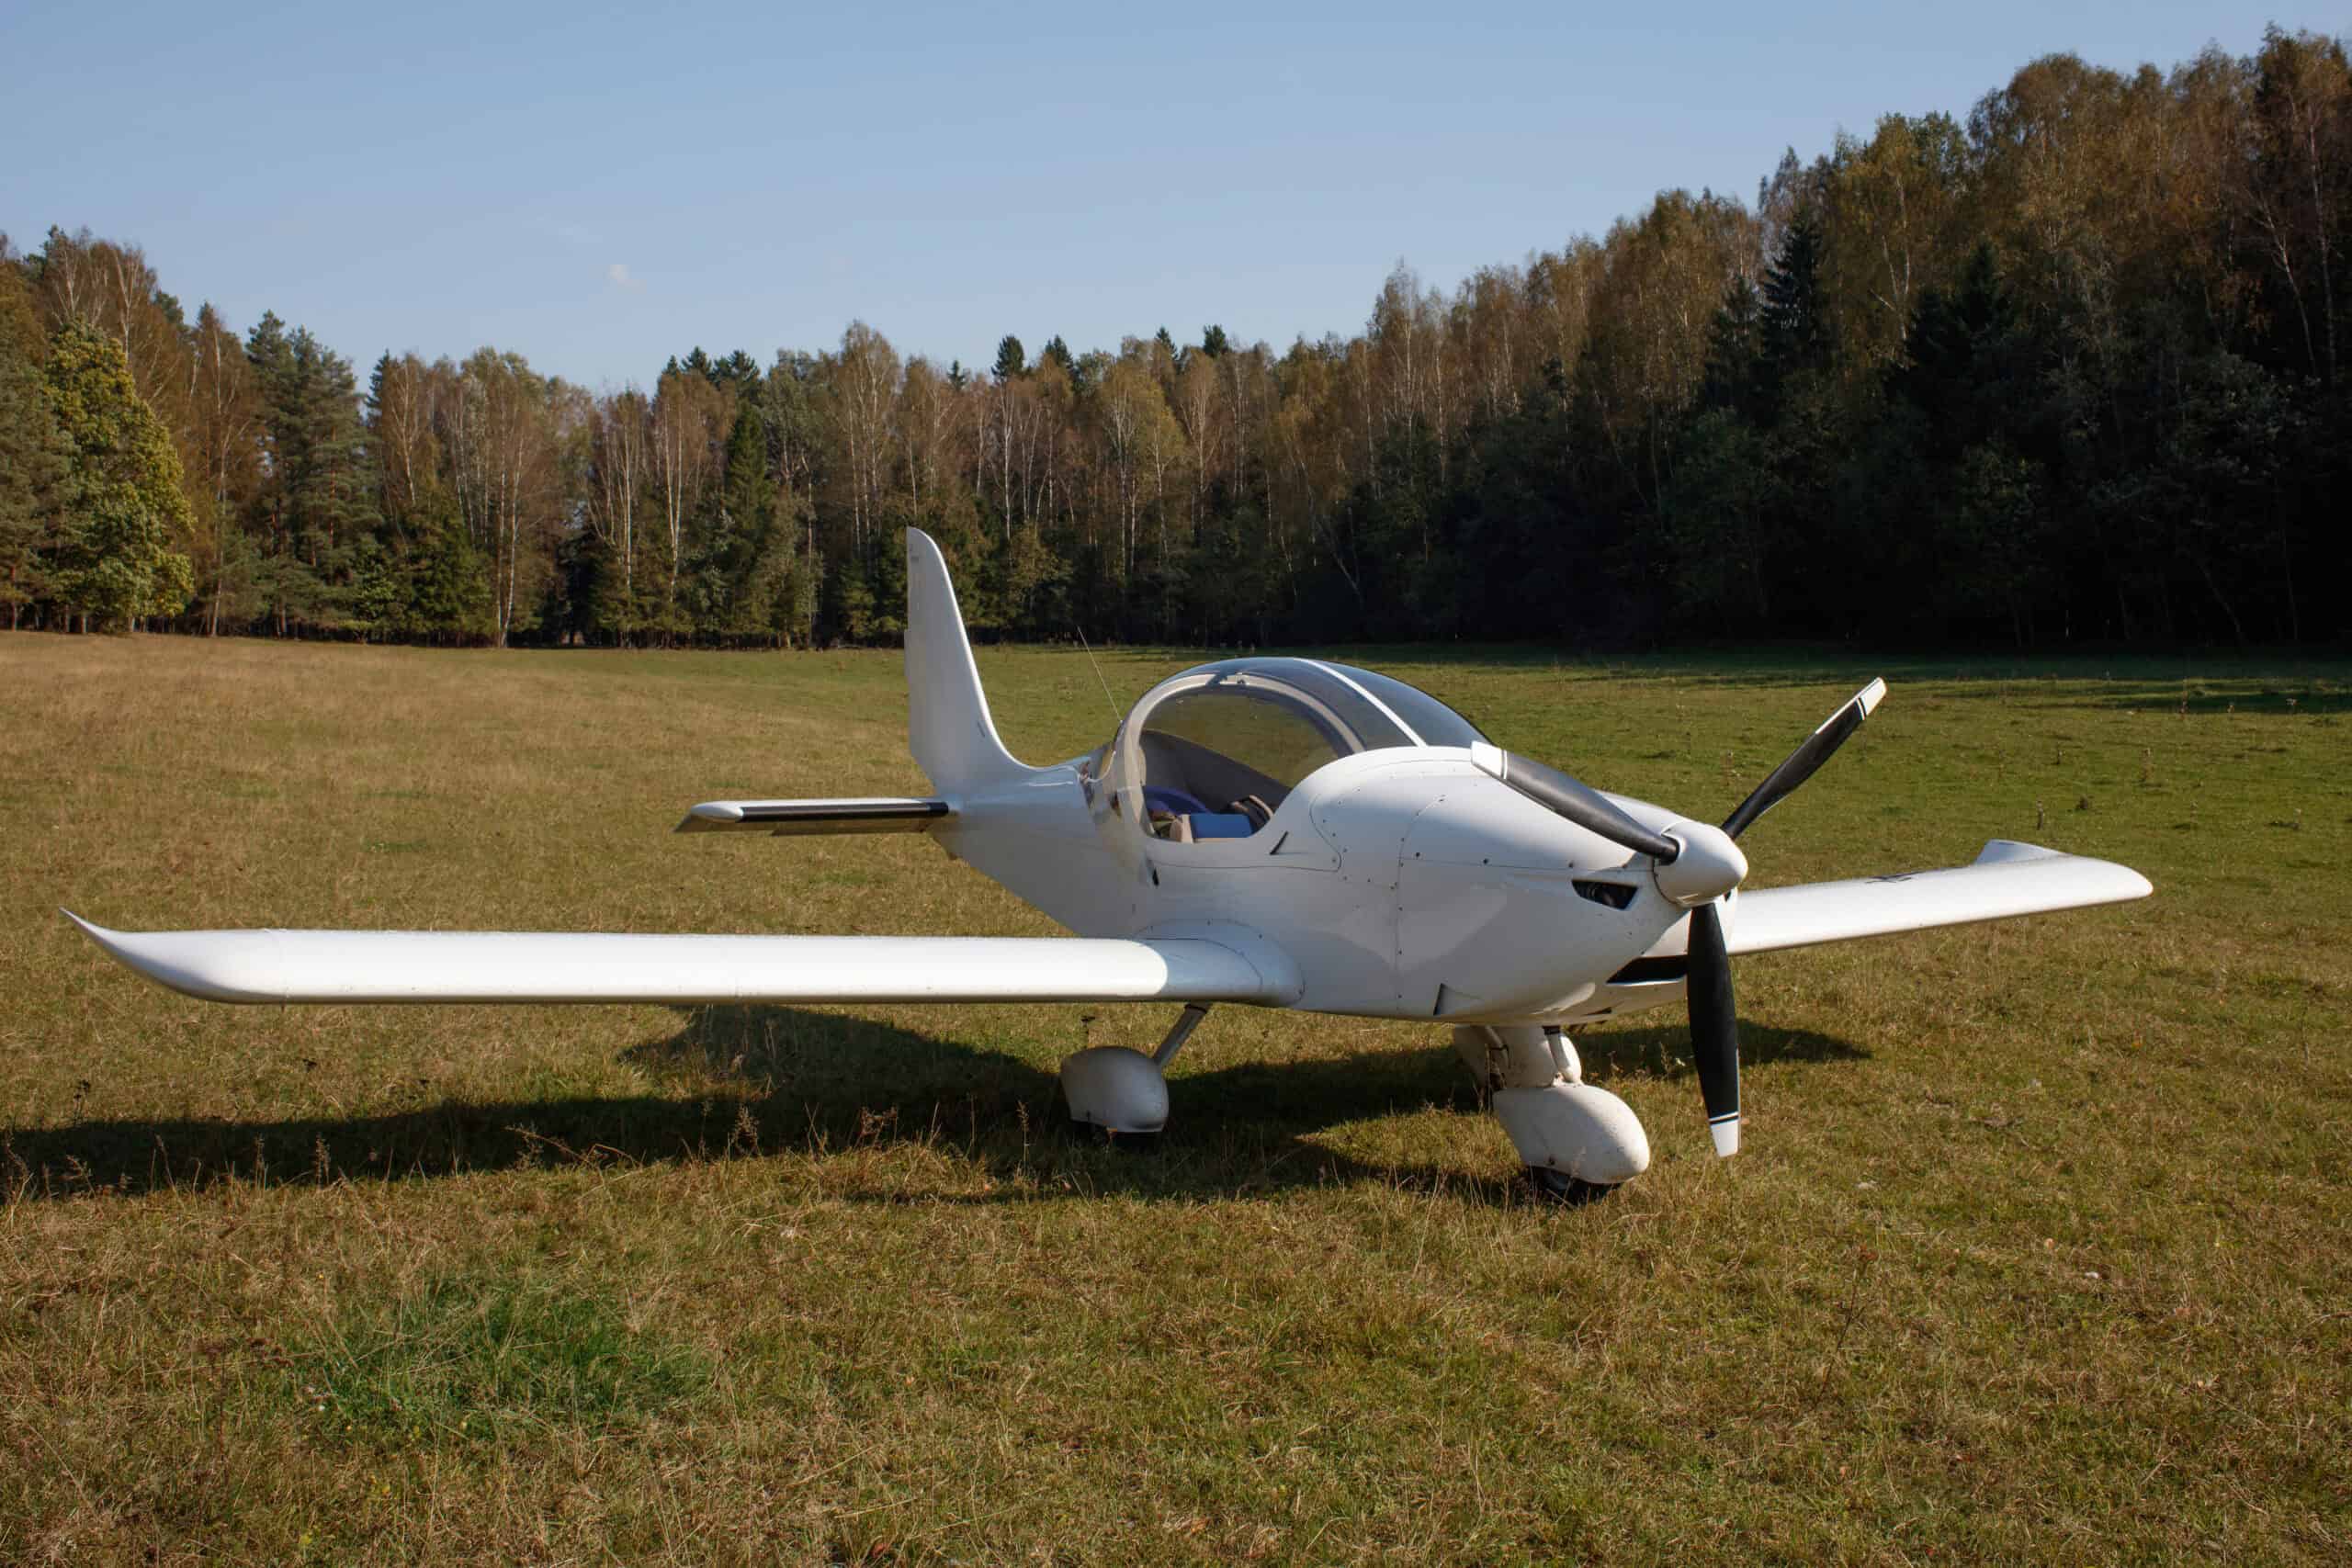
For experimental aircraft, the bar is lower. Owners can install permanent camera mounts as part of their build or modify after the fact, as long as they update the operating limitations and condition inspection. RV builders are particularly fond of wing-tip hardpoints because the fiberglass tips already have room inside for cabling.
Tail and Belly Mounts
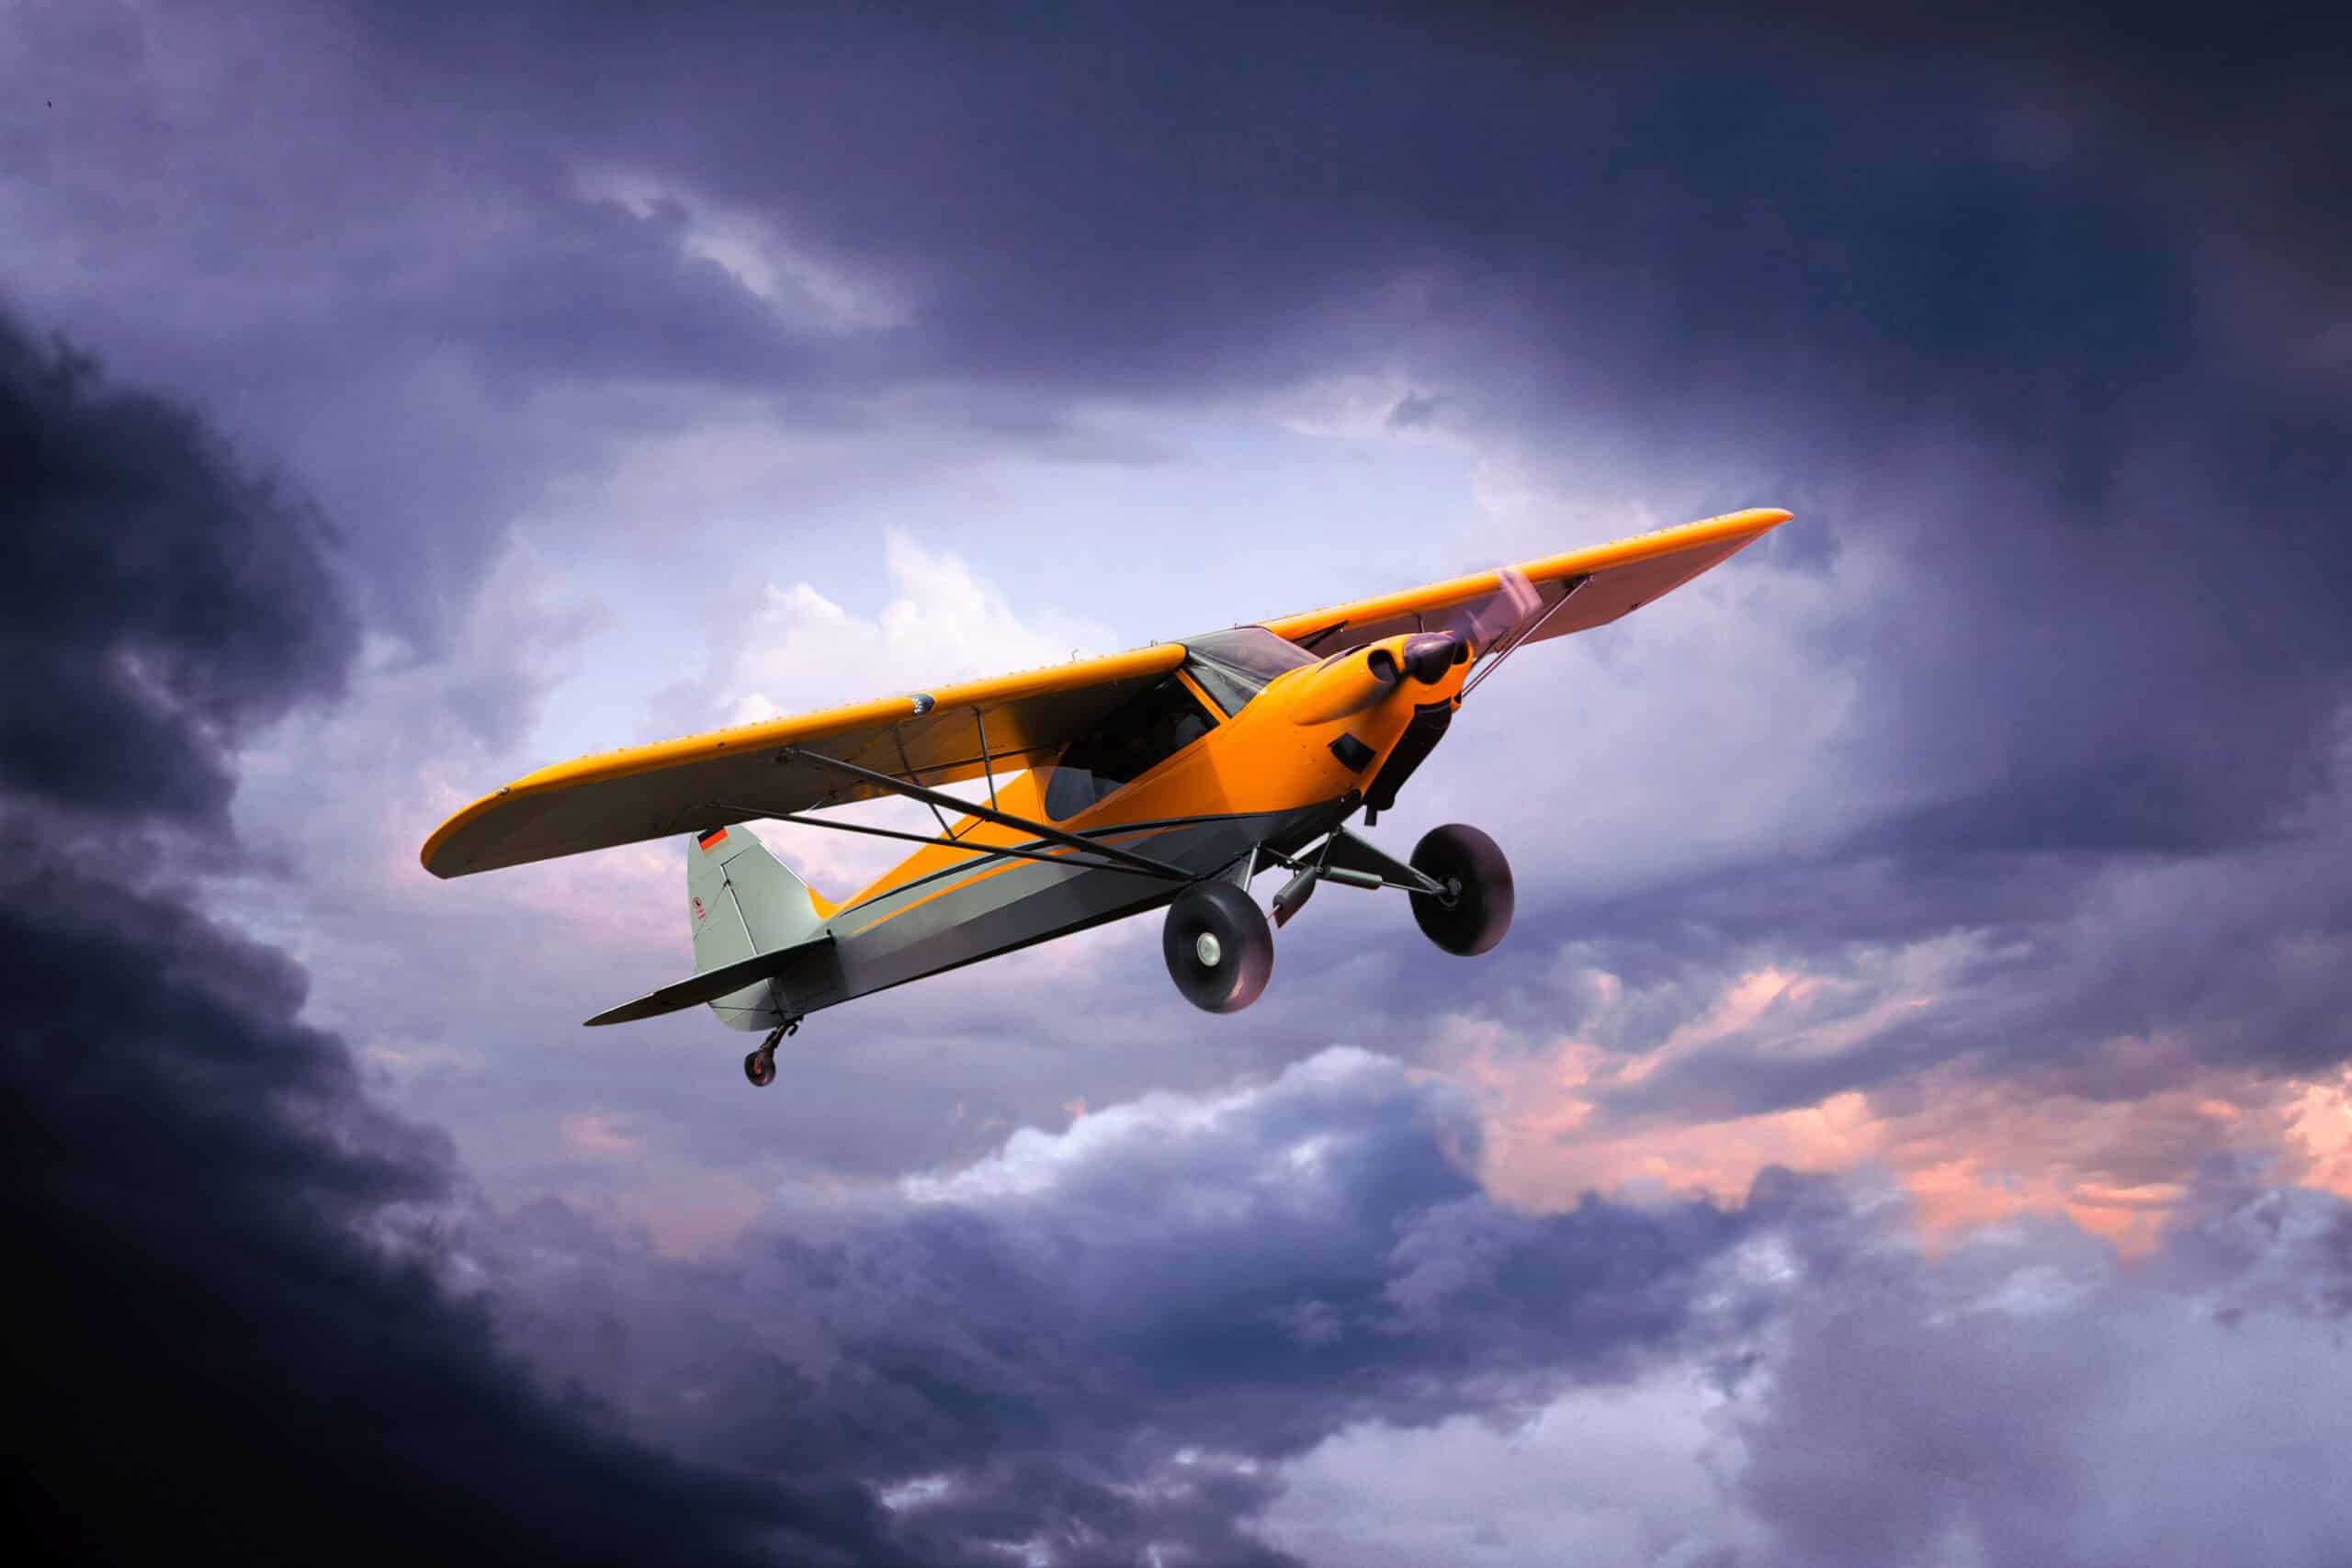
Tail-mounted cameras give you the chase-plane look — your own aircraft seen from behind. Belly mounts give you the bombsight view — straight down to the ground. Both require careful airflow analysis. A camera in disturbed air will vibrate. A camera in clean air with a streamlined housing will hold steady.
For belly mounts, watch out for clearance on grass strips and tailwheel ops. We’ve seen GoPros sheared off on rough turf because the owner didn’t account for prop blast and gear compression.
Interior Aircraft Camera Mounts: Yoke, Suction, and Dash
Interior aircraft camera mounts are where most GA pilots start. They’re easier to install, easier to remove, and they don’t require any approvals. The downside is that they look “amateur” — you see seatbelts, headsets, and the pilot’s hands in every shot.
Yoke Mounts
A yoke mount clamps onto the control yoke shaft, usually with a rubber-lined ring. The camera sits just behind or above the yoke and points forward. The biggest issue is control interference. A bulky mount can hit your thigh during a steep turn, snag on a checklist, or block your view of the airspeed indicator.
We prefer compact yoke mounts that hold the camera close to the yoke center. The shot is similar to a panel-mounted view but lower. The yoke moves with the controls, which actually helps the footage feel “real” rather than locked-down.
Suction-Cup Window Mounts
Suction-cup mounts are versatile. They stick to side windows, windscreens, and sometimes overhead skylights on aircraft like the C-182 with the optional skylight. The premium versions use multi-cup arrays and locking levers to create a real seal. Cheap ones fail in cold weather when the rubber stiffens and the seal breaks.
Before you trust a suction mount in cruise, do a ramp test. Stick it on, give it five minutes, then try to pull it off. If it pops loose with hand pressure, it’ll pop loose in turbulence. Always tether the camera with a safety lanyard to a fixed point in the cabin. A loose camera bouncing around in the cockpit is a control hazard.
Dash and Panel Mounts
Some owners install permanent camera mounts on the glareshield or top of the panel. These give you a centered, locked-down view of the panel and out the windscreen — great for training videos. The mount itself usually attaches with double-sided VHB tape or screws into existing panel hardware.
If you go permanent, log the modification. Even a minor panel mod is technically a change to the aircraft and should be documented. A&Ps generally consider small interior cosmetic mounts to be preventive maintenance an owner can do.
FAA Rules and Aircraft Camera Mount Legality
This is where pilots get confused. The short version: interior, non-permanent camera mounts are essentially unregulated. Permanent or external modifications fall under Part 43 and need proper documentation.
Specifically, you cannot bolt external hardware to a certified aircraft without one of three things: an STC, an approved 337 (field approval), or written manufacturer approval. The clamp-on strut mounts and suction mounts skirt this because they’re “non-permanent.”
That said, the FAA has issued guidance noting that even non-permanent external mounts can be a problem if they affect airworthiness. A poorly chosen strut mount that creates flutter or causes paint damage could be cited. Use products from established aviation vendors who’ve already done the engineering analysis — that’s the safest path.
What About Commercial Use?
If you’re flying for hire and capturing video as part of the operation, you’re entering commercial territory. Aerial photography for sale falls under Part 91 for the photography itself but the flying must be conducted under appropriate regulations. Real estate photography flights, for example, are usually fine under Part 91 as long as no compensation is tied to the flight itself.
Aircraft Camera Mounts: Vibration, Wind, and Image Quality
The biggest complaint about aircraft camera mounts is shaky footage. Vibration kills sharpness. Wind noise destroys audio. Both have engineering solutions.
Vibration Damping
Engine vibration travels through the airframe and into any rigid mount. The fix is a damped mount — usually a small rubber or silicone isolator between the camera and the mount base. Action cameras with in-body stabilization (GoPro HyperSmooth, DJI RockSteady) handle most of the residual shake.
Avoid all-metal mounts that bolt directly to engine vibrations. Use a damped mount or an isolator. Test a short flight before you commit to a long cross-country. Review the footage at 1:1 zoom on a real screen — vibration that looks fine on a phone screen often shows up as jelly on a laptop.
Wind Noise
Exterior mounts capture incredible wind noise. The fix is a foam windscreen or a dead-cat fur cover on the camera microphone. For aircraft use, we like the rubber foam covers because they survive the slipstream better than fur.
Most pilots who care about audio capture the cockpit audio separately, through the intercom system, and sync it in editing. Modern action cameras can take a 3.5mm audio input — a simple intercom-to-camera adapter feeds the radio and intercom audio directly into the camera track.
Building a GA Camera Mount Kit
If you’re starting from zero, here’s a practical kit that covers most situations:
Yoke mount — for cockpit shots, ~$30-50. Look for a model that uses a rubber-lined clamp and locks at multiple angles.
Suction-cup window mount — for exterior views from inside, ~$25-60. Pay extra for a locking-lever model rather than a friction stick.
Strut mount — for high-wing aircraft, ~$60-100. Stainless steel hardware is worth the upcharge.
Safety tethers — three or four nylon cord lanyards with metal swivels, ~$15 total. Tether every camera to a fixed point. No exceptions.
Spare batteries and SD cards — action camera batteries fade in cold air. Carry doubles. Cold cabin temps below 32°F can cut battery life by 30%.
Microfiber and lens wipes — for cleaning camera glass between flights. A smudged lens ruins more footage than vibration does.
That kit covers most owner-pilot needs for under $200. You can shoot a full backcountry trip, a pattern session, or a long XC with the same kit and get usable video every time.
Mounting Best Practices Before Every Flight
Treat the camera mount like any other piece of equipment that affects safety. We have a five-item pre-flight check we run before every flight where a camera is mounted:
1. Mount is tight. Wiggle it. If anything moves more than a few millimeters, it’s loose. Retighten.
2. Camera is locked. Quick-release tabs on action cameras can vibrate loose. Confirm the lock is engaged.
3. Tether is attached. Both ends — to a fixed point in the cabin or airframe, and to the camera itself.
4. Battery is fresh. Cold or worn batteries can shut down the camera mid-flight. Start with at least 80% charge.
5. Recording is rolling. Confirm the red light is on before you taxi. The number of pilots who fly with the camera off because they forgot to press record is embarrassingly high.
Aircraft Camera Mount Maintenance and Care
A camera mount is hardware. Treat it like hardware. The mounts that fail in flight are almost always the ones that weren’t inspected and maintained on a regular schedule.
Inspect every camera mount before each flight. Look at the clamp tension, the rubber pads, the locking levers, and the attachment hardware. If anything shows wear, replace it. The cost of a new clamp pad is a few dollars. The cost of a camera that comes loose and damages the airframe is significant.
Clean the mounts after dusty or rainy flights. Sand and grit get into the threads of locking mechanisms and cause them to fail under load. A quick wipe with a clean cloth and an occasional drop of light machine oil on the moving parts extends the life of any mount dramatically.
Store mounts in a dry, temperature-stable location. Hot summer hangars degrade rubber pads quickly. Cold winter conditions stiffen the rubber and reduce grip. If you store mounts on the aircraft, take them off for the season and keep them indoors.
Track the age of every mount. Rubber and plastic components have a useful life of three to five years depending on use and storage. After that, the materials harden and lose grip. Replace mounts on a schedule rather than waiting for them to fail.
For permanent mounts attached to the airframe, include them in your annual inspection. Have your A&P verify the attachment hardware, look for corrosion, and check the mount structure against the airframe. Document any findings in the maintenance logbook.
Editing Footage Captured From Aircraft Camera Mounts
Capturing the footage is half the work. Editing it into something watchable is the other half. The most common mistake new aerial cinematographers make is leaving too much raw footage in the final cut. Trim ruthlessly.
Start with the highlights. A 90-minute flight typically yields 2-4 minutes of compelling footage. Cut everything else. Long, steady shots of cruise flight bore viewers. Quick cuts between dramatic moments hold attention.
Stabilize in post if needed. Modern editing software like DaVinci Resolve, Premiere, and Final Cut all have built-in stabilization that handles residual vibration. The free version of DaVinci Resolve is more than enough for most GA pilots.
Color correction matters more than expected. Aircraft cabins have mixed lighting — direct sun, shadow, cockpit reflections — and the raw camera output often looks flat. Five minutes of basic color correction makes raw footage look professional.
Audio is where most amateur aviation video falls down. Sync your intercom audio recording with the camera footage in post. The result is dramatic — the viewer hears the radio calls, the engine note, and the pilot’s voice clearly while watching smooth footage. That combination is what separates good aviation video from amateur clip reels.
Frequently Asked Questions
Do I need an A&P sign-off for an aircraft camera mount?
Not for clamp-on or suction-cup mounts that are removed after each flight. Permanent external modifications need an A&P, IA, or appropriate FAA approval depending on the aircraft category. Interior cosmetic mounts are usually considered preventive maintenance an owner can perform.
What’s the best camera mount for a Cessna 172?
For exterior shots, a strut mount positioned two-thirds of the way out the right strut works well. For cockpit views, a compact yoke mount with rubber-lined clamps. Add a suction-cup window mount for side views and you have most angles covered.
Will an external camera mount affect the airworthiness of my aircraft?
A properly designed, properly installed temporary mount from an established aviation vendor should not affect airworthiness. But a poorly chosen or improperly installed mount can. Stick with products designed specifically for aviation use and follow the manufacturer’s installation instructions exactly.
Related Articles
Last Updated: May 19, 2026
