
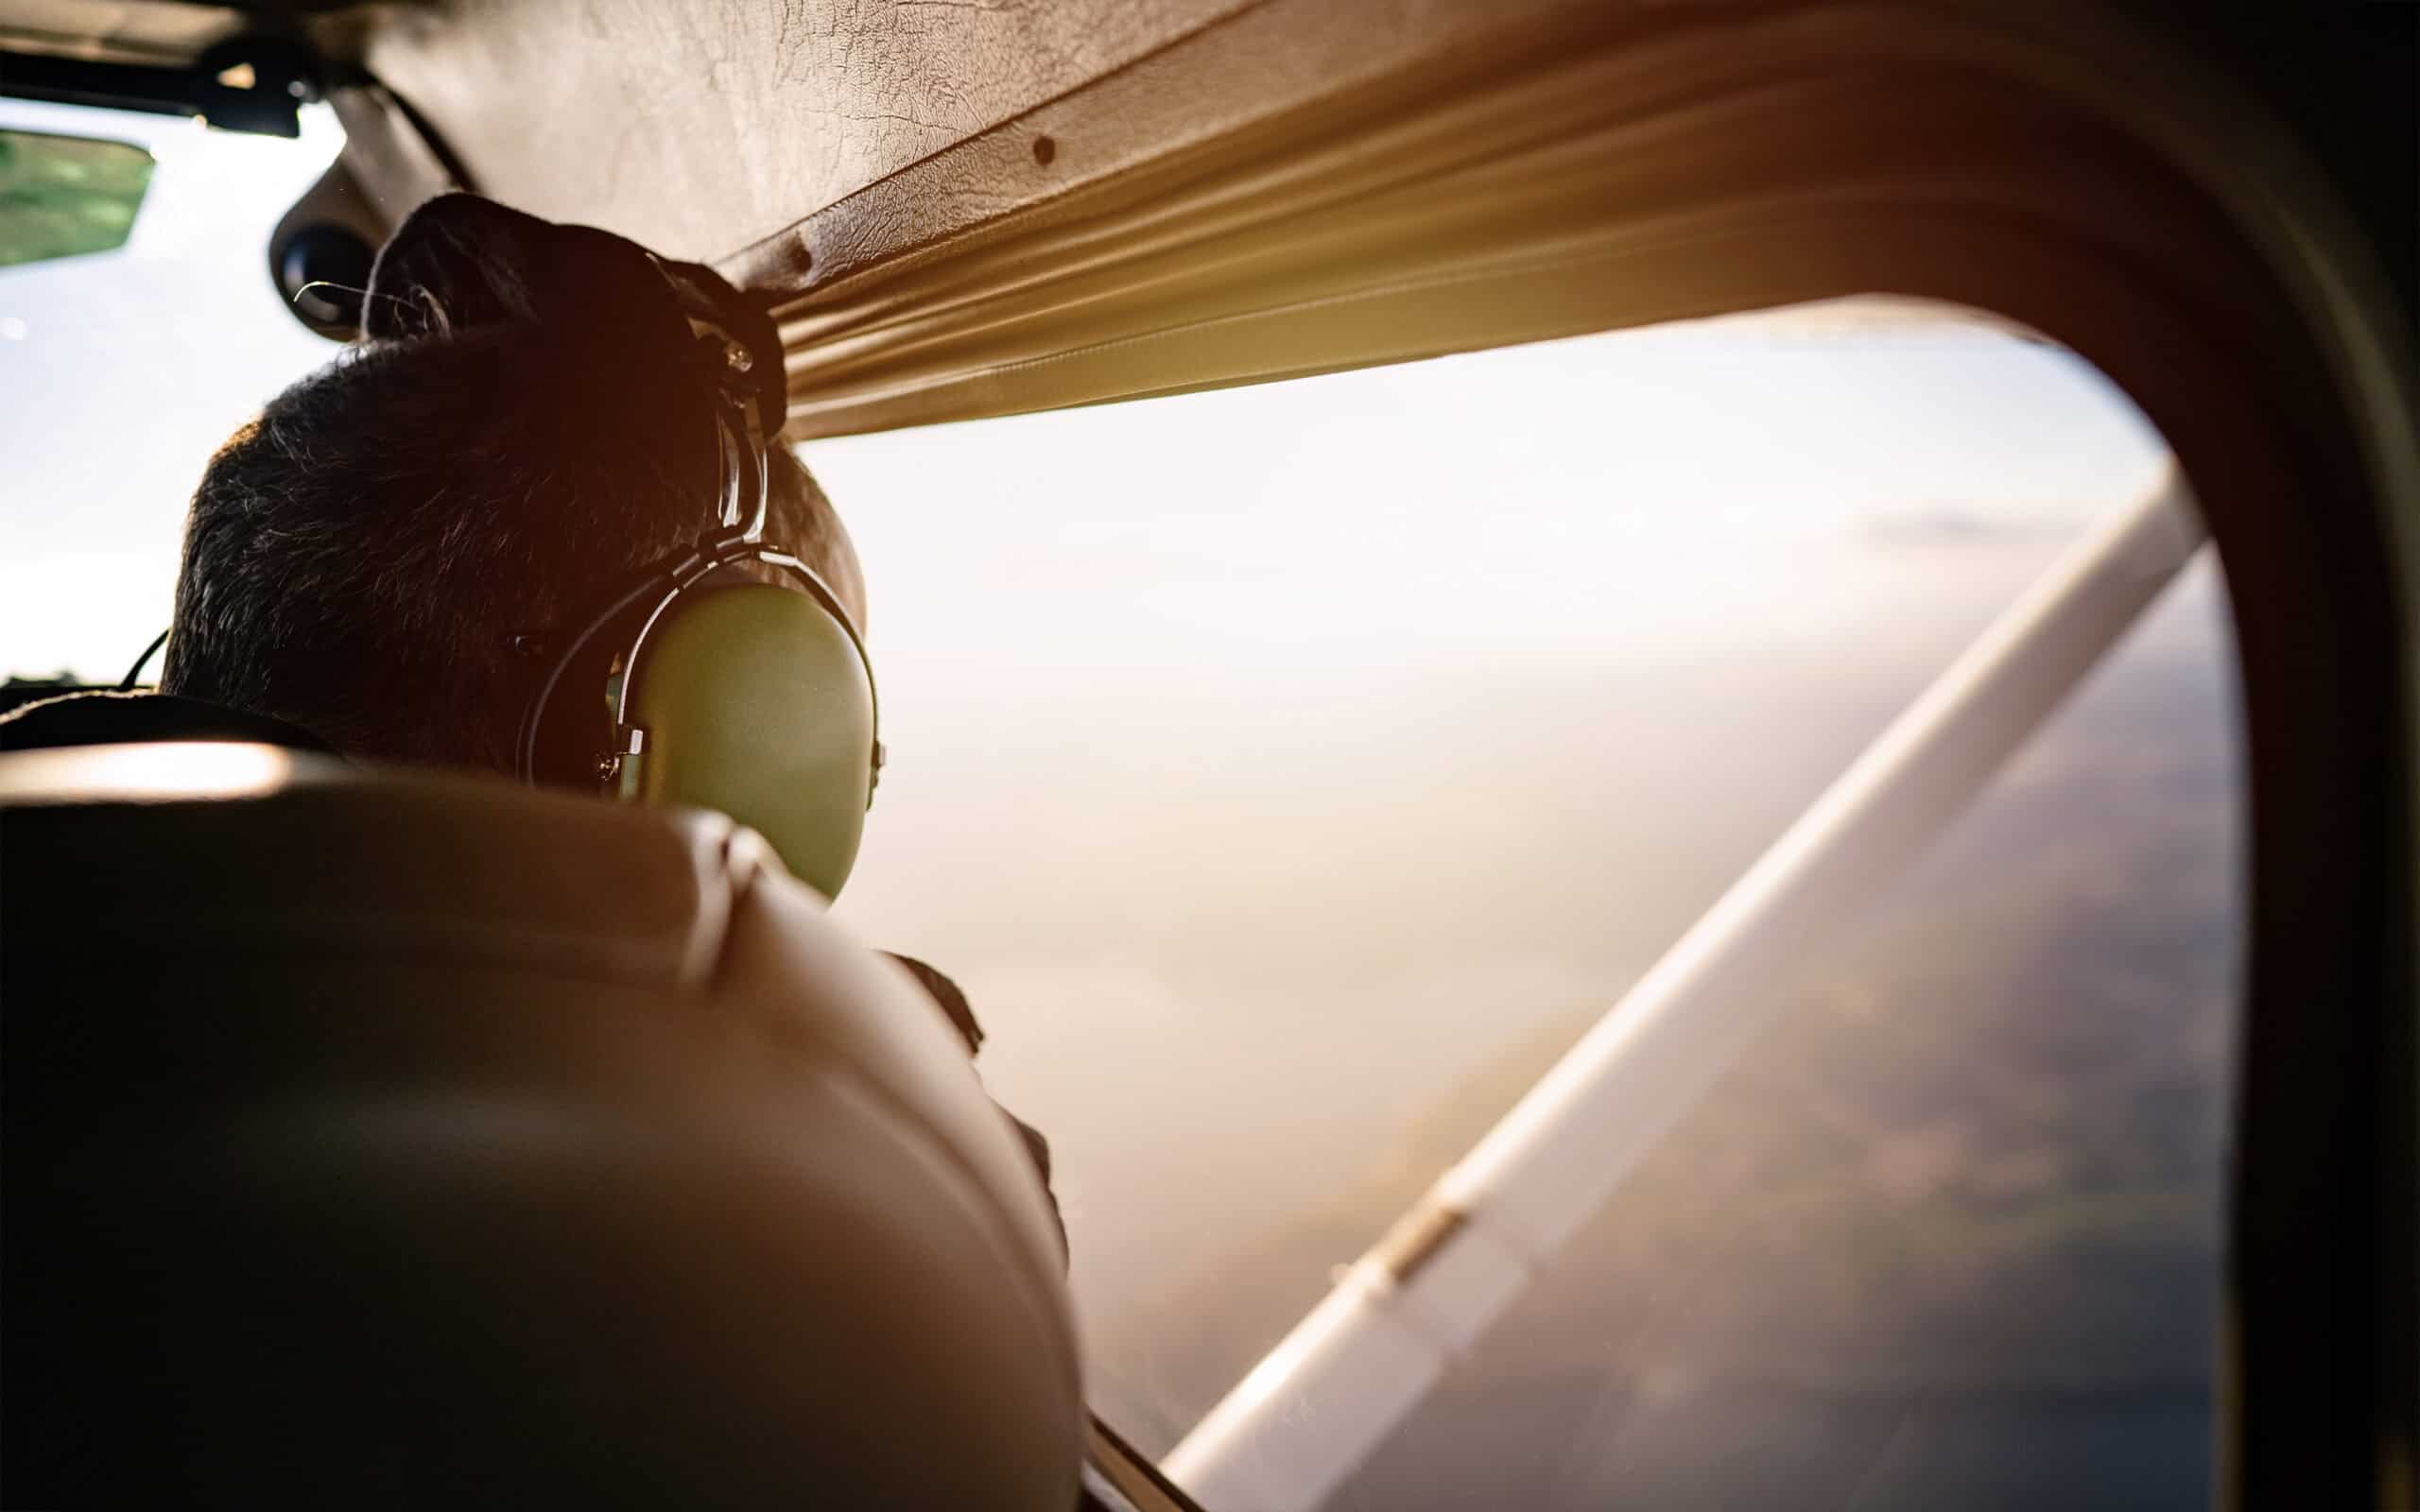
Aviation photography is one of the most rewarding sides of being a pilot — and one of the most underrated. The cockpit window is a unique vantage point that most photographers will never have. The challenge isn’t access. The challenge is technique: shooting through curved Plexiglas at altitude, managing vibration, choosing the right gear, and learning the angles that make GA images stand out.
This guide walks through how to actually do aviation photography from a GA cockpit — gear, settings, technique, post-processing — and points to free tutorials and resources that don’t require a paid photography course. Whether you’re documenting your own flights, building a YouTube channel around your flying, or just want better Instagram shots from the airport ramp, the fundamentals are knowable.
Gear That Actually Works in a GA Cockpit
The first instinct most pilots have is to use a phone. That instinct is right for casual social media shots and wrong for anything you want to use seriously. Phone cameras struggle with Plexiglas glare, low-light cockpit conditions, and motion blur in turbulence. They produce acceptable images in ideal conditions and frustrating ones the rest of the time.
The serious-but-affordable upgrade is a mirrorless camera body with a fast prime lens. The Sony A6400 or A7C, the Fujifilm X-T30, and the Canon R10 are all in the $700–$1,500 range body-only and produce dramatically better cockpit images than phones. Pair with a 24mm or 35mm prime lens (f/1.8 or faster) and the gear cost runs $1,200–$2,000 total.
For pilots serious enough to fly with multiple lenses, a 16-35mm zoom for wide cockpit interiors plus a 70-200mm telephoto for traffic shots and landscapes from altitude covers most missions. The total gear bag runs $3,000–$5,000 for capable equipment, which sounds substantial but matches what serious recreational photographers spend on any subject.
The most underrated piece of gear is a small carbon-fiber mount that secures the camera to the cockpit during flight. Photographing while flying requires both hands on the controls; a fixed mount lets you trigger shots remotely via Bluetooth or trigger them at preset intervals.
Settings That Compensate for Cockpit Challenges
The two biggest enemies of cockpit photography are glare and motion. Plexiglas windscreens produce reflections from cockpit interior lighting and from light bouncing inside the cabin. The mitigations are simple but require discipline. Wear dark clothing on photography flights. Disable any cockpit lighting that reflects in the windscreen during shooting. Position the camera close to the glass to minimize the reflected angle.
Motion blur is harder. At cruise altitude, turbulence is the enemy. Shutter speeds above 1/500 second handle most light turbulence. Below 1/250, you’ll see motion artifacts even in smooth air. The wider apertures of a fast prime lens let you shoot at higher shutter speeds without driving ISO too high.
Modern mirrorless cameras have excellent low-light performance, and ISO 1600 or 3200 produces clean images that would have been unusable on cameras from a decade ago. Don’t be afraid to push ISO when needed. The alternative — blurry images from too-slow shutter speeds — is permanent. ISO noise is removable in post-processing.
Composition Techniques Specific to Aviation
The most common aviation photo composition mistake is “centered airplane in centered sky.” Every other pilot takes that shot. It rarely stands out. The compositions that work tend to use rule-of-thirds placement, foreground/background relationships, and atmospheric layering to add depth.
Cockpit-perspective shots benefit from including the panel or the windscreen edge as a foreground element. A view from FL085 with no contextual reference looks like every other aviation Instagram post. The same view with the prop arc, the panel edge, or the wing strut framing the scene tells a story about the specific aircraft and the specific pilot.
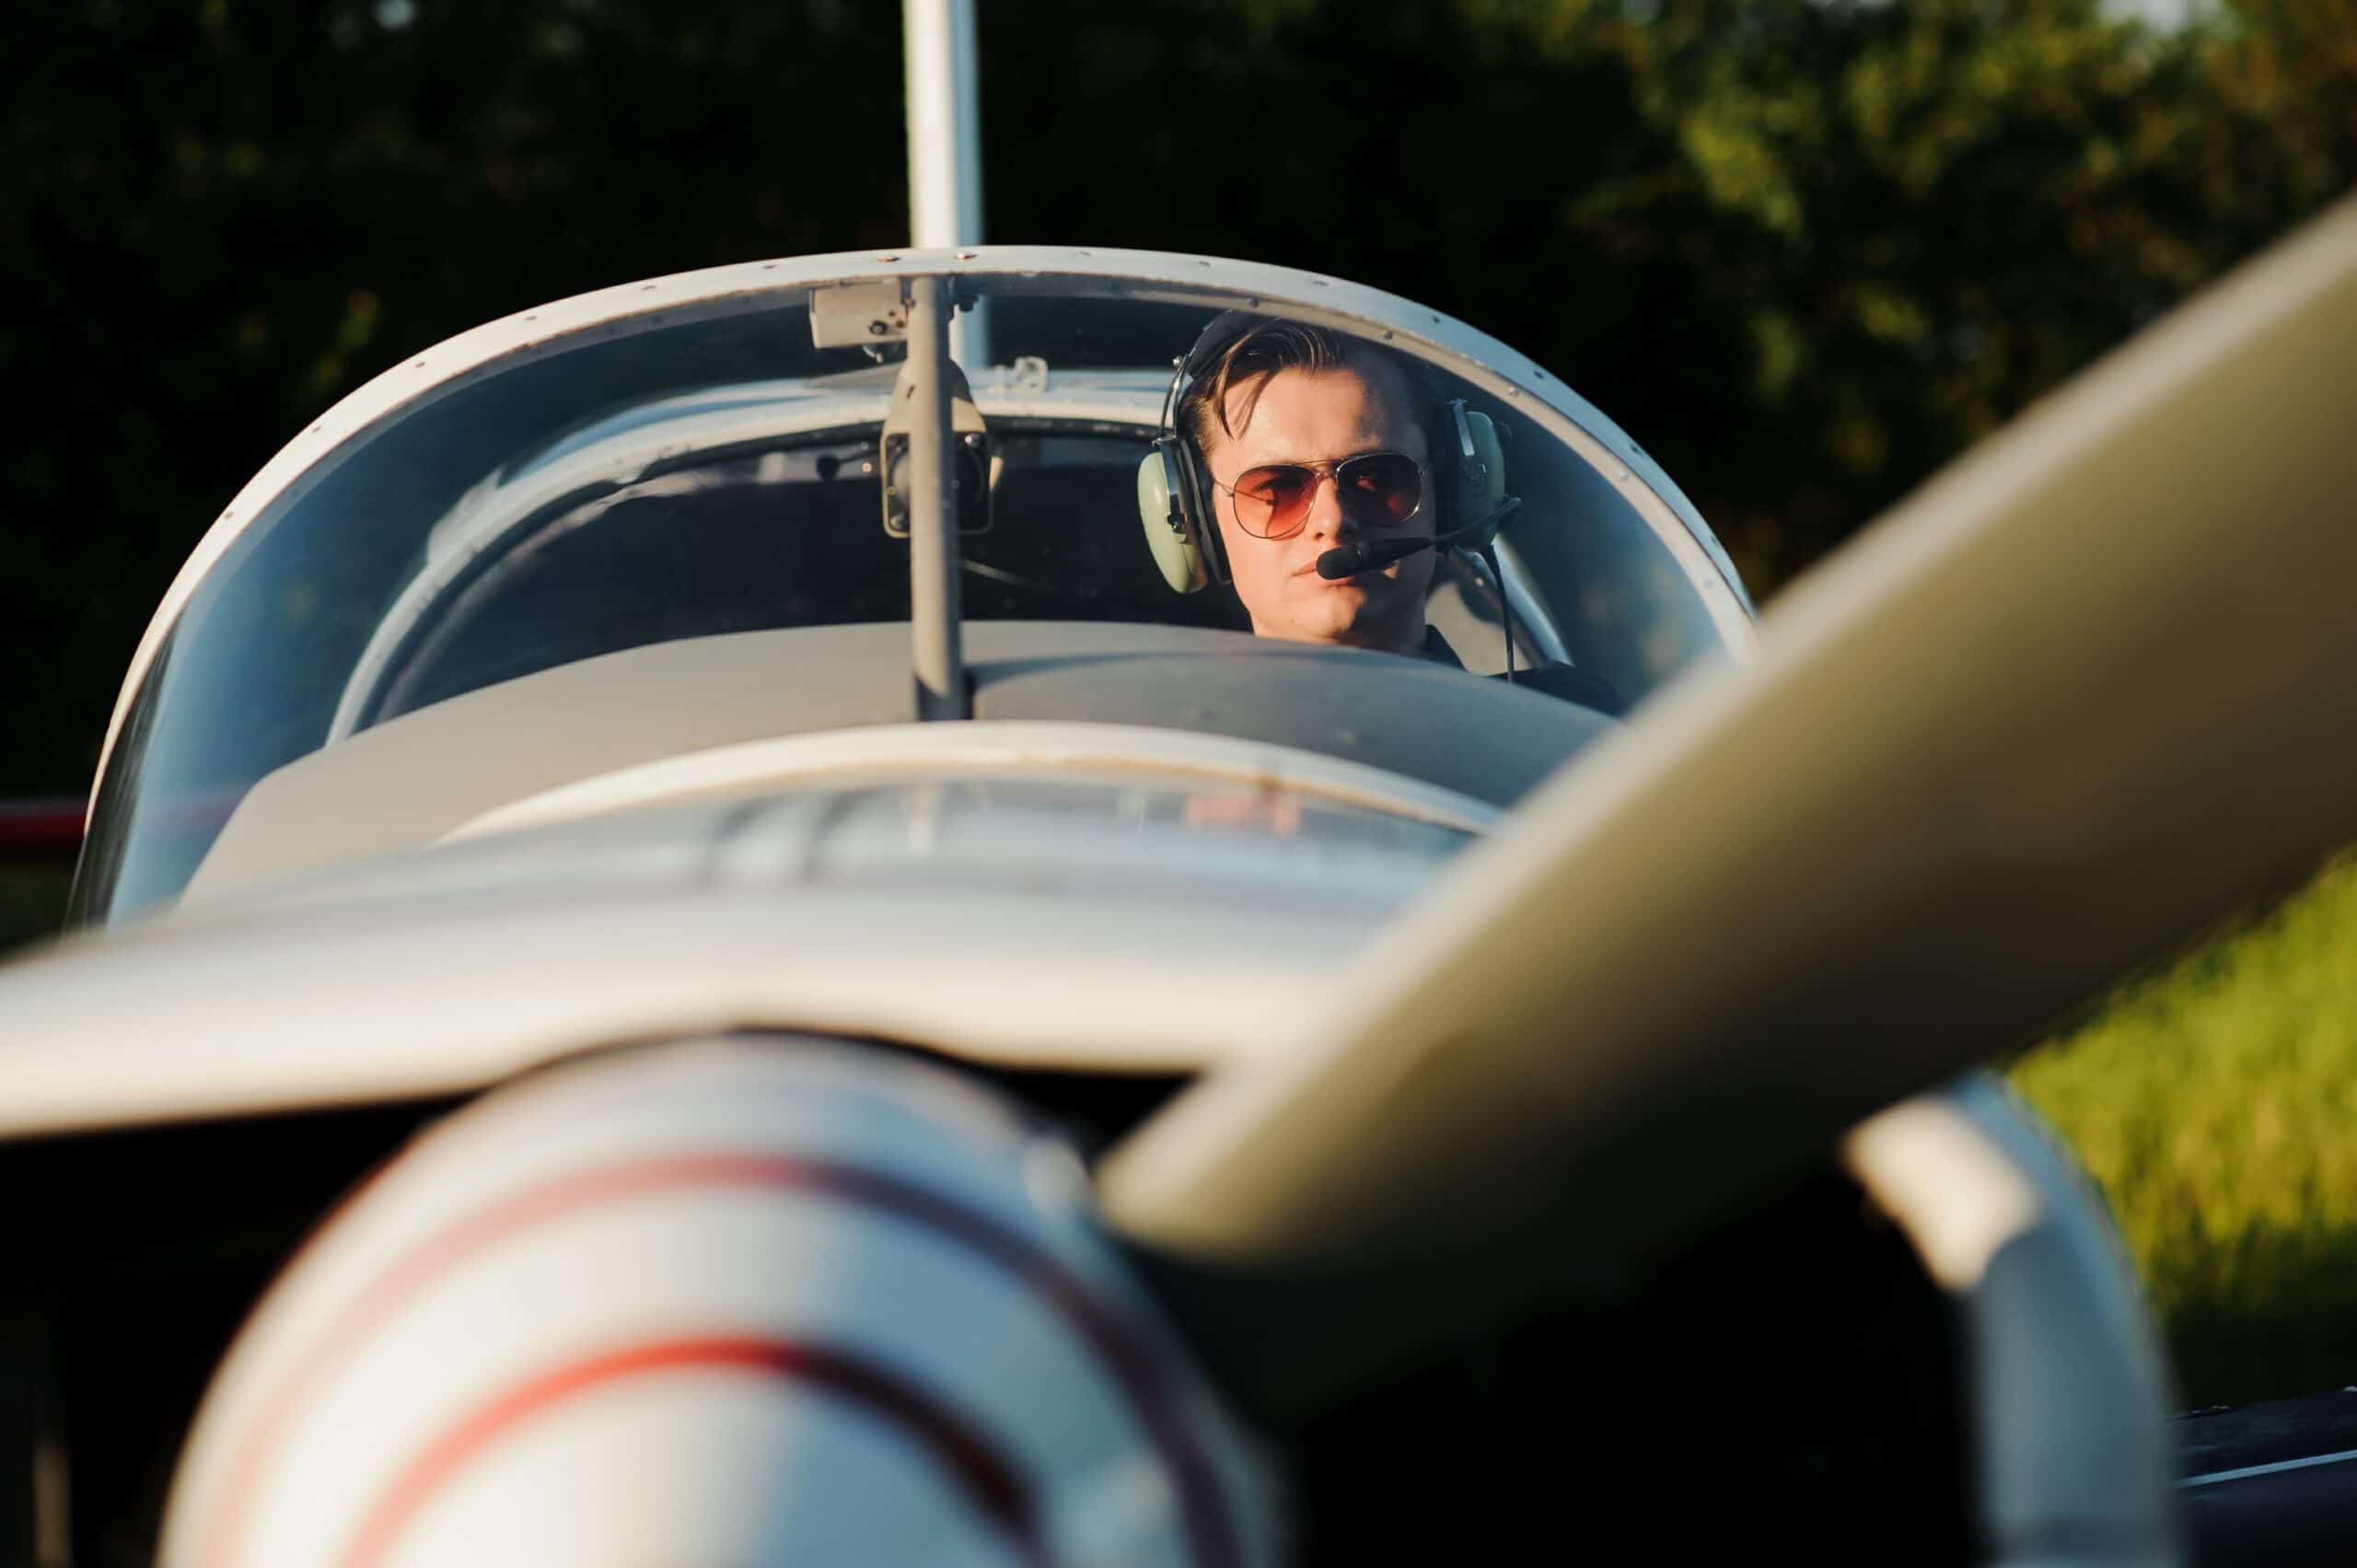
Sunrise and sunset are the magic hours for aviation photography just as they are for landscape photography. The light direction is favorable, the colors are dramatic, and turbulence is typically lower than midday. Pilots who plan flights specifically for golden-hour lighting routinely produce images that look effortless because of when they shot, not because of what gear they used.
Post-Processing: The Half of Aviation Photography Most Pilots Skip
The pilots who build successful aviation photography practices share a common discipline: they share work consistently and engage with feedback genuinely. Sporadic posting and defensive responses to critique produce neither audience growth nor improvement. Consistent posting paired with openness to feedback produces both.
For pilots considering monetization — selling prints, licensing images, building YouTube revenue, or attracting sponsorship — the path becomes more complex but remains workable. The pilots whose monetization efforts succeed typically build audience first and convert later, rather than treating monetization as the primary goal from day one. Aviation audiences smell forced commercialization quickly and disengage.
The Editing Workflow That Compounds Over Time
The post-production workflow becomes more efficient with repetition. New aviation photographers often spend an hour per image; experienced ones spend 5-10 minutes. The difference is templates, presets, and the muscle memory of consistent editing decisions. Building a personal preset library in Lightroom Mobile or Adobe Lightroom Classic pays off across thousands of future images.
The pilots who treat photography as a long-term practice invest in workflow as much as gear. A 20-minute investment in setting up keyboard shortcuts, organized folder structures, and editing presets saves hours across a year of image production. The technical workflow is invisible to viewers but transforms how much creative energy the pilot has available for actual photography rather than post-processing logistics.
Where Aviation Photography Goes From Here
Camera technology continues to improve. Phone cameras will eventually rival mirrorless bodies in good light. AI processing tools will handle more of the post-processing work automatically. Drone footage and on-board cinema cameras are dropping in price.
The fundamentals don’t change. The pilot who understands composition, light, and storytelling will produce better images with whatever camera they’re holding. The pilot who relies on gear to compensate for weak technique will keep producing the same images regardless of gear upgrades.
For pilots considering aviation photography seriously, the threshold is low. A capable mirrorless body, a fast prime lens, and a willingness to invest hours in editing and feedback produces work that stands out within 12–24 months of serious practice. The investment is real but the rewards — both personal and creative — pay off across a flying lifetime.
Aviation Photography Workflow for GA Pilots
Most GA pilots who take up aviation photography start with the camera. The actual workflow that determines whether you get usable images is more important than the gear. The workflow starts before the flight and continues through editing.
Before the flight, identify the shots you want. A 30-minute pattern session for landing practice yields different shots than a two-hour cross-country to a fly-in. Plan your shot list around the actual mission. Light direction matters — morning and late-afternoon flights give the warm side light that aviation photography rewards.
In flight, your job is to be a safe pilot first. Photography happens between aircraft management tasks, not during them. Mount cameras with proper safety tethers. Brief any passenger before the flight on what their role is — usually just to stay still and let you fly. Keep your hands on the controls and trust the camera mount to capture footage while you focus on flying.
After the flight, the editing phase is where most amateur work falls down. Plan to spend roughly an hour editing for every hour of flight footage. The standard ratio for usable polished output is about 1-2 minutes of final video per 60-90 minutes of flight footage. Cut ruthlessly.
Aviation Photography Equipment for GA Pilots
The gear for aviation photography splits into two main categories — what you bring on the airplane and what you keep in the hangar. Each has a different purpose.
On the Airplane: Lightweight, Reliable, Easy to Use
The airplane-resident kit should be small. Action cameras like the GoPro HERO 12 or DJI Osmo Action 4 dominate this space because they handle vibration, work with one hand, and have built-in stabilization. The GoPro HyperSmooth 6.0 and DJI RockSteady 3.0 stabilization handle most of the residual shake from engine vibration without external mounts.
For still photography, a compact mirrorless body like the Sony A7C or a Fuji X-T5 with a 24-70mm equivalent zoom covers most aviation scenarios. Keep the body weight under 500g and choose lenses with image stabilization. Bigger DSLRs with telephoto lenses are not practical in most GA cockpits — they get in the way and create CG concerns.
Headsets that pass intercom audio to a recording device are the audio solution. The 3.5mm output from an audio panel can feed directly into action cameras with a TRRS cable. Some pilots prefer separate recorders like the Zoom F2 with a lapel mic, then sync in post.
In the Hangar: Pre-Flight and Post-Flight Photography
For pre-flight and post-flight shots of the airplane, use a real camera. A full-frame mirrorless with a 24-105mm zoom captures the airplane on the ramp better than any phone. Golden-hour light on a clean airplane is the highest-leverage shot in GA photography.
Tripods are useful for long-exposure work — taxi shots, night ramp photography, sunset takeoffs. Bring a sturdy travel tripod that handles 5+ pounds without flexing.
Editing Aviation Footage on a Budget
You don’t need expensive software to produce good aviation video. DaVinci Resolve has a free version that handles everything most GA pilots need — color correction, audio sync, stabilization, and export to YouTube-ready formats. The learning curve is moderate but the resources are abundant.
For still photography, Adobe Lightroom or Capture One are the standard tools. Both offer subscription pricing under $20/month. Free alternatives like darktable handle most workflows for non-professional use.
The big secret of aviation photography is that compelling content comes from interesting flying, not from expensive gear. A well-flown pattern with a basic GoPro and decent editing beats a poorly-flown ferry flight shot on the highest-end gear. Fly well, frame intentionally, edit carefully.
Where to Share Aviation Photography Online
The platforms that reward aviation content best in 2026 are YouTube for long-form video, Instagram for stills, and TikTok for short clips. Each rewards different content styles.
YouTube works for tutorials, cross-country flight videos, and aircraft reviews. Audiences will watch a 15-minute video about backcountry flying if the storytelling is good. The platform’s monetization makes serious effort worthwhile for pilots who build a channel.
Instagram rewards single stunning images and short reels. Aviation accounts that consistently post good pre-flight, in-flight, and post-flight shots build followings quickly. The visual nature of aviation aligns perfectly with the platform.
TikTok rewards motion. A 15-second clip of a runway approach, a landing flare, or a wingtip vortex can hit millions of views if it’s framed well and timed right. The format favors raw moments over heavily edited productions.
Beyond social media, consider contributing to aviation publications. Flying Magazine, Plane & Pilot, and General Aviation News accept submissions from member pilots. Getting published in a real aviation magazine remains a meaningful credential and opens doors for future work.
Aviation Photography Ethics and Safety
Aviation photography sits in a regulated space. Photographing other aircraft in flight, photographing inside airline cockpits, or selling images of identifiable people without releases all carry legal considerations that responsible GA pilots should understand. The FAA does not prohibit cockpit photography for personal use, but commercial use of aviation imagery has different rules. If you’re selling photos or licensing them to publications, model releases for any identifiable pilots, passengers, or ground crew are standard practice. Aircraft owners typically consent implicitly when their aircraft is at a public airport, but always ask before close-range shots of someone’s personal airplane. Safety is the other ethics dimension. Never compromise flight operations for a shot. Don’t ask passengers to remove safety equipment for photos. Don’t fly maneuvers solely to film them. The best aviation photographers are the ones who first build flying credibility, then use the camera as a secondary tool to share what flying really looks like.
Frequently Asked Questions
What camera works best for cockpit photography?
A mirrorless body with a fast prime lens (24mm or 35mm at f/1.8 or faster) is the sweet spot. Sony A6400, Fujifilm X-T30, and Canon R10 are all capable bodies in the $700-$1,500 range. Phone cameras work for casual shots but struggle with cockpit Plexiglas glare and turbulence motion.
What shutter speed should I use in a GA cockpit?
Above 1/500 second handles most light turbulence; 1/1000+ for heavier turbulence. Below 1/250, you’ll see motion artifacts even in smooth air. Open the aperture and push ISO before you let shutter speed drop into the motion-blur zone.
Are there free resources for learning aviation photography?
Yes. YouTube channels cover both general photography fundamentals (Peter McKinnon, Casey Neistat) and aviation-specific work. Reddit communities (r/aviation, r/photography) provide free critique. Adobe Lightroom Mobile handles most post-processing for free. Skillshare offers a generous free trial covering the photography fundamentals.
Is it legal to photograph from a private aircraft?
Generally yes. You can photograph anything visible from inside your own aircraft. Privacy issues mainly arise for identifiable people on the ground (rare from cruise altitudes). Restricted areas and military installations have specific rules worth checking before flights over sensitive locations. Commercial use adds licensing and release considerations.
Related Articles
Aviation Sunset Photography
Cockpit techniques for golden-hour shots.
Fly-In Destinations Guide
Where to fly and what to photograph along the way.
Bush Flying With Trent Palmer
How content creation shapes a modern flying career.
Last Updated: May 14, 2026
