
Installing a tailwheel aircraft taxi camera on the GB 1 aerobatic aircraft wasn’t a minor upgrade. Instead, it was a safety decision that changed how we operate on the ground every single day. If you’ve ever taxied a conventional gear airplane, you know the problem. The nose sits high. The engine blocks everything in front of you. The only way to see ahead is to constantly S-turn down the taxiway. That’s not just inconvenient. In fact, it’s a real risk factor that shows up in accident reports year after year.
Last Updated: May 7, 2026 | By: The E3 Aviation Editorial Team
Why Tailwheel Aircraft Have a Ground Visibility Problem
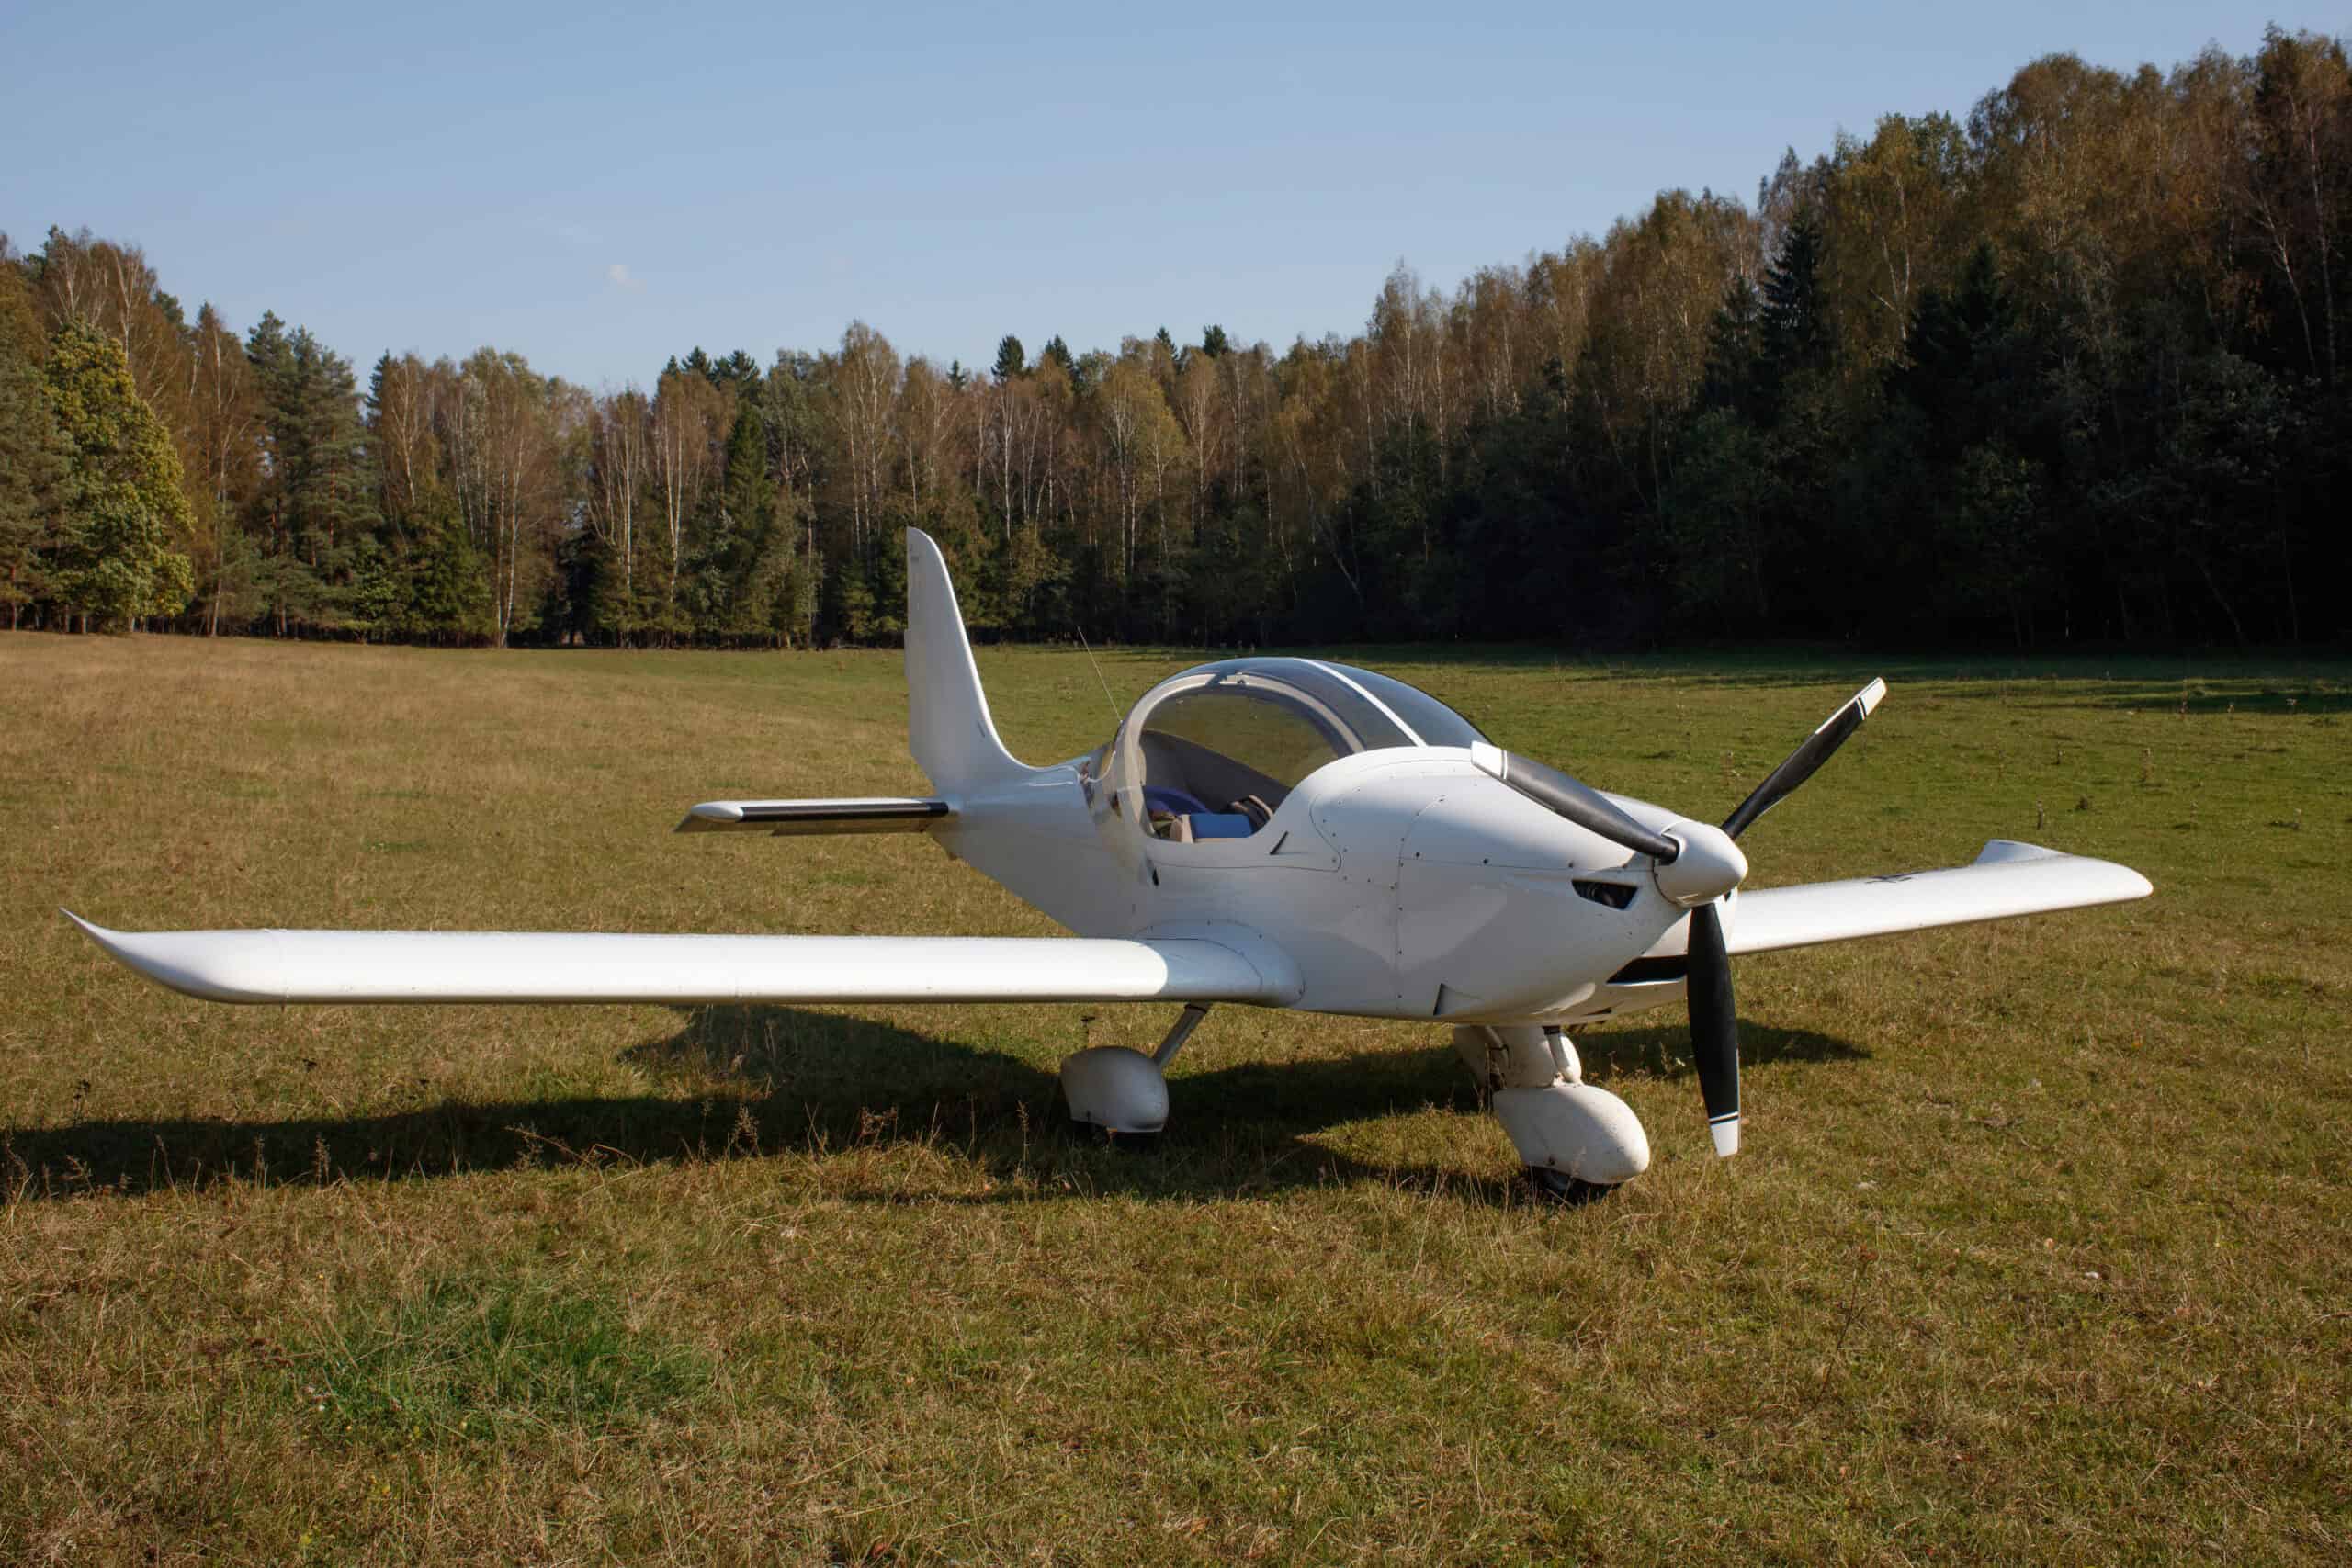
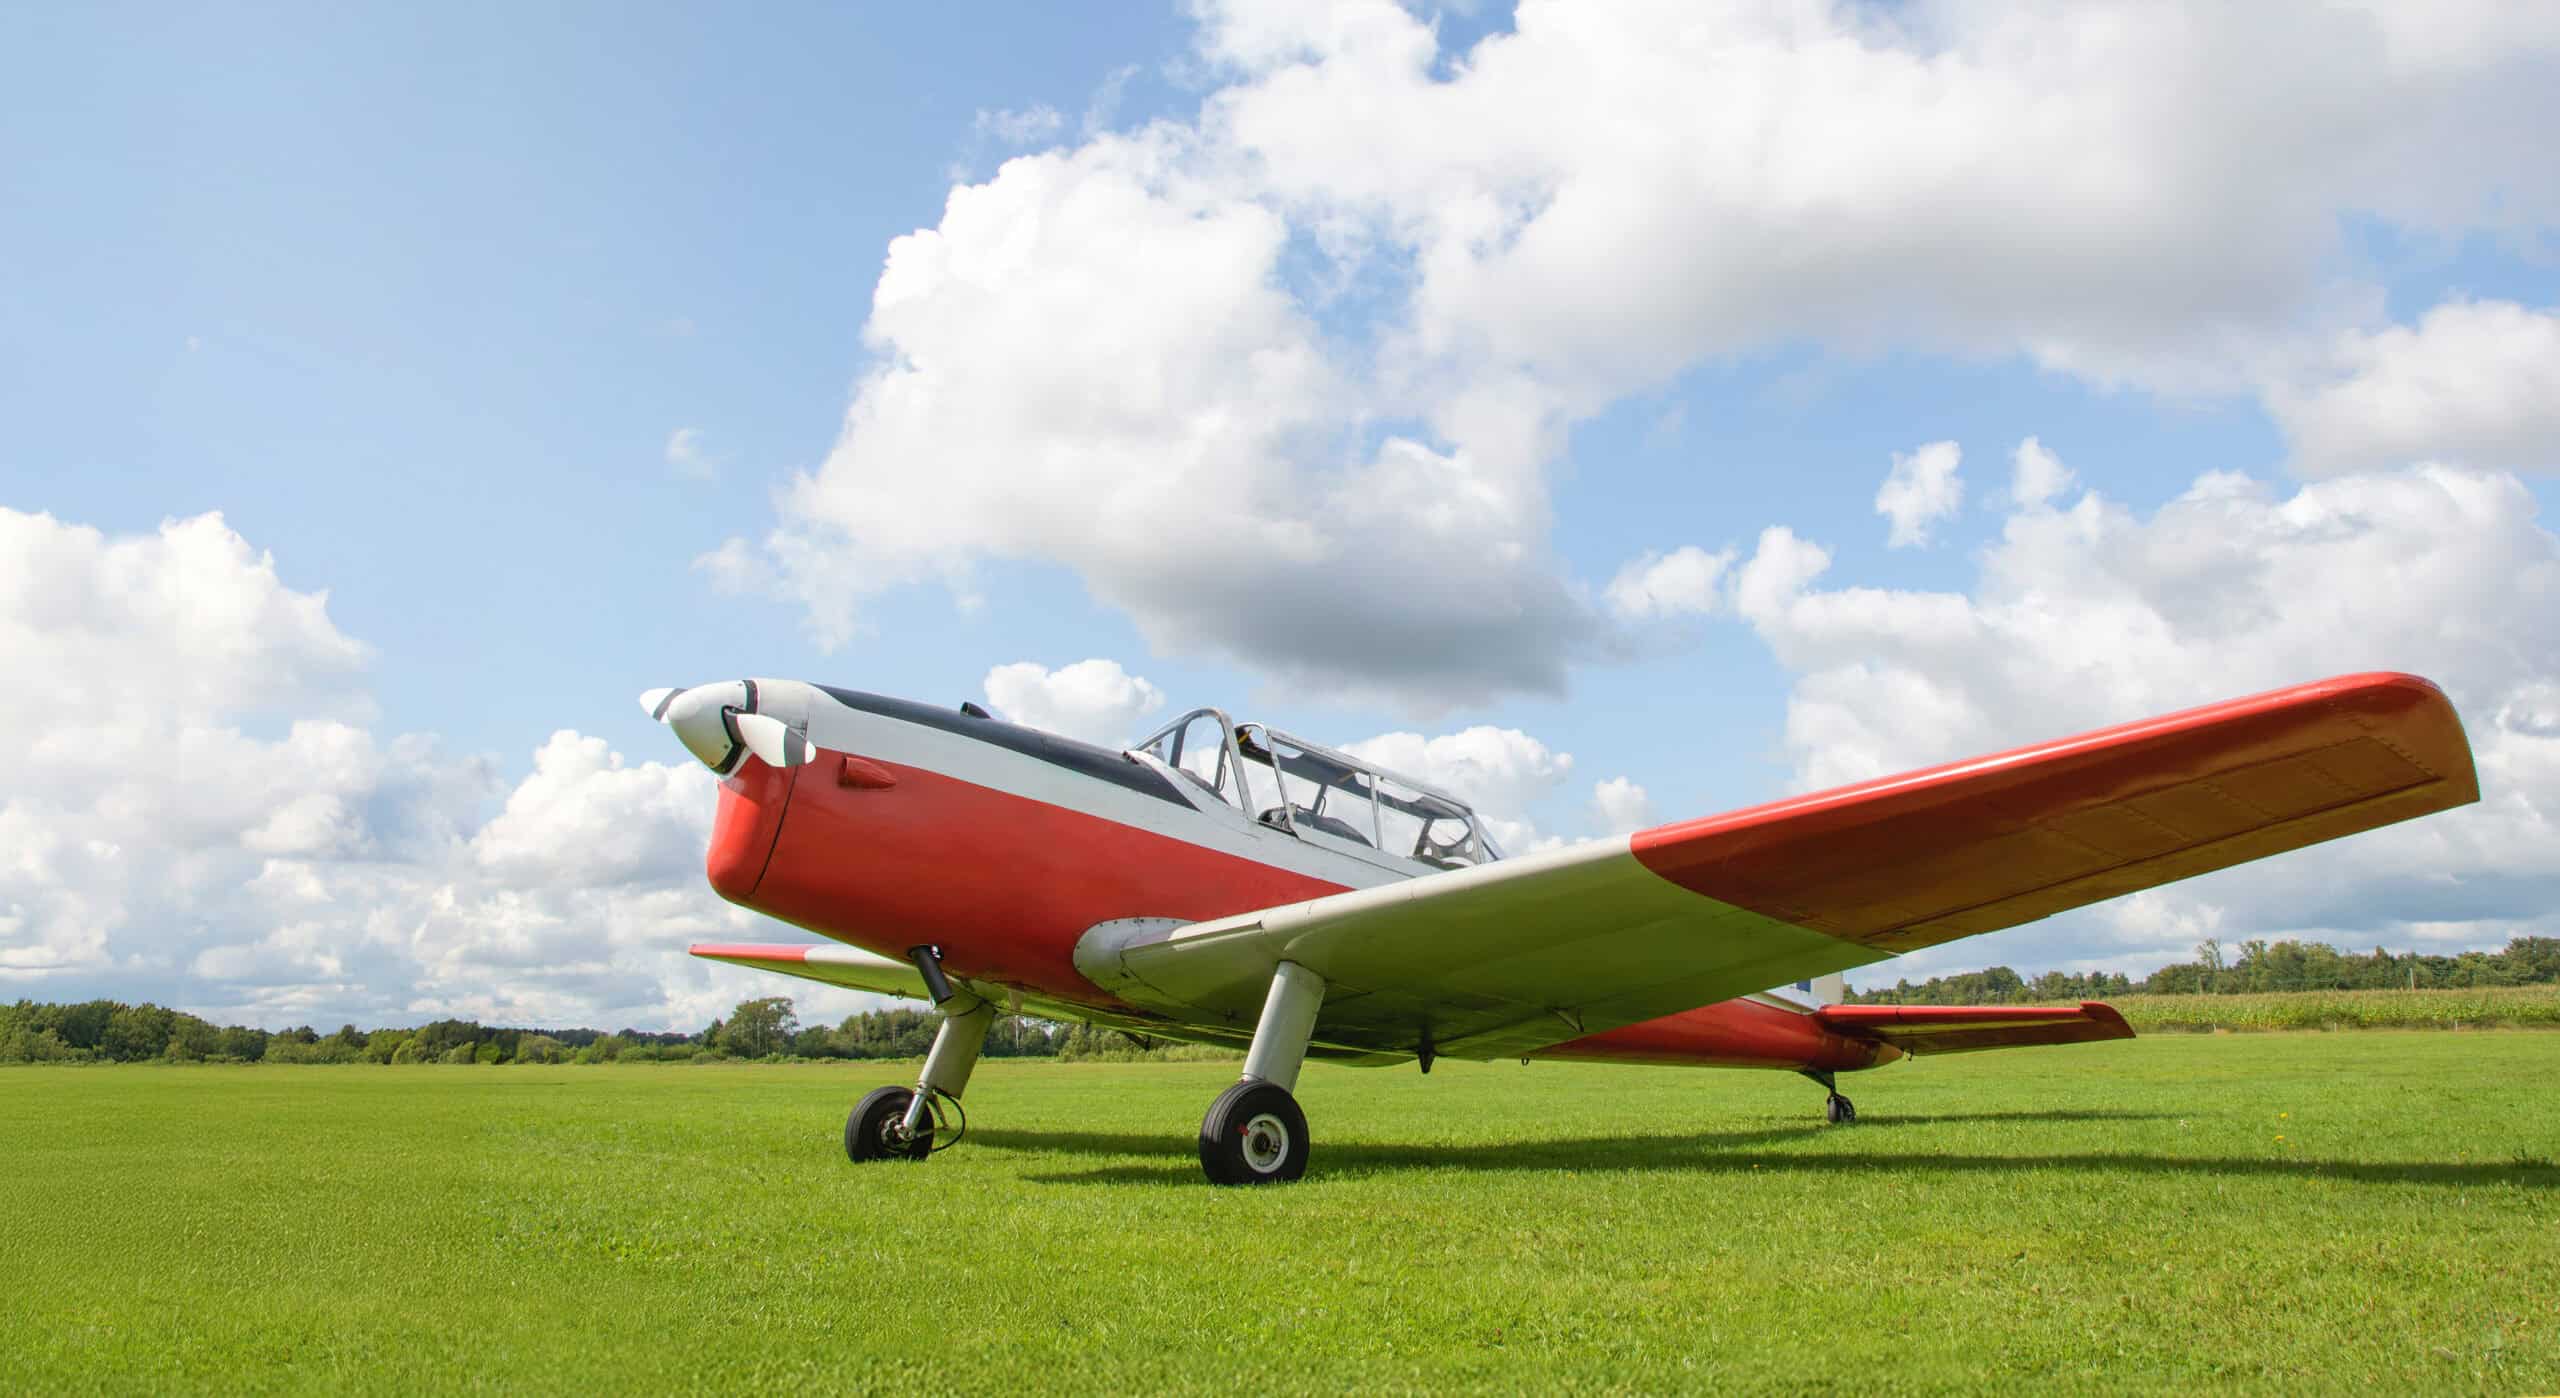
Tricycle gear aircraft sit level on the ground. The pilot looks straight ahead, the nose is low, and forward visibility during taxi is essentially the same as in a car. Tailwheel aircraft are built differently. Specifically, the tail sits low and the nose pitches up — giving taildraggers their distinctive look and their ground handling quirks.
On a taildragger, the nose angles upward enough that you can’t see a large cone of space directly ahead. Obstacles, vehicles, other aircraft, taxiway markings — they all fall into the blind spot. The traditional solution is the S-turn. You weave left and right as you taxi, clearing each side alternately. It works — in theory. However, it’s slow, and it’s still not a complete solution. In practice, you never see directly ahead.
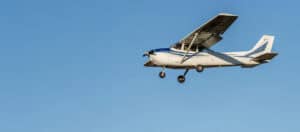
The GB 1 is a purpose-built aerobatic aircraft with exceptional in-flight performance. On the ground, like most taildraggers, it demands extra attention. That’s exactly what drove us to explore a tailwheel aircraft taxi camera solution. Ultimately, no workaround beats actually seeing what’s ahead. In our experience, a camera is the only way to do it.
The Case for a Tailwheel Aircraft Taxi Camera
S-turns have been the accepted workaround in tailwheel aviation for decades. Most pilots learn them during primary training and treat them as part of the taildragger experience. We did too, for a long time. Honestly, it felt normal — until we installed the camera and realized what we’d been missing. However, accepting a workaround isn’t the same as solving the underlying problem.
Every S-turn takes time. Additionally, every S-turn moves the aircraft laterally across the taxiway. At busy airports, that lateral movement creates its own risk. You become a less predictable target for other aircraft and vehicles watching from the ground.
A tailwheel aircraft taxi camera doesn’t just improve visibility. It makes your taxi path straighter, more predictable, and faster. Specifically, Radiant Technology released a dedicated camera system designed for this problem. The unit mounts flush to the aircraft, connects to a small LCD display in the cockpit, and gives the pilot a continuous forward view during ground operations. Aircraft Spruce carries the system, and installation support is readily available. That said, other options exist — including DIY builds using backup cameras — that pilots have implemented successfully depending on budget and airframe. Overall, any solution that keeps your eyes forward during taxi is a step in the right direction.
Choosing the Right Taxi Camera for Your Aircraft
Not all camera systems are built for aircraft. A backup camera designed for a pickup truck may work initially, but it won’t handle the temperature extremes, vibration, or prop wash that aircraft cameras face. Before picking a unit, think through several key factors carefully.
What Every Aircraft Taxi Camera Installation Needs
First, consider the viewing angle. A wide-angle lens is essential. You want to see the full cone of space ahead — not just a narrow slice. Most purpose-built units use a lens in the 120–170 degree range. Generally, wider is better for taxi use, where close-range obstacle detection matters most.
Second, consider mounting location. Where you mount the camera determines what you actually see. Options on the GB 1 included a leading edge position, a nose bowl mount, and a rollbar-area mount. Each has tradeoffs in visibility coverage, installation complexity, and aerodynamic impact. We’ll cover the specifics below — starting with the one that surprised us most.
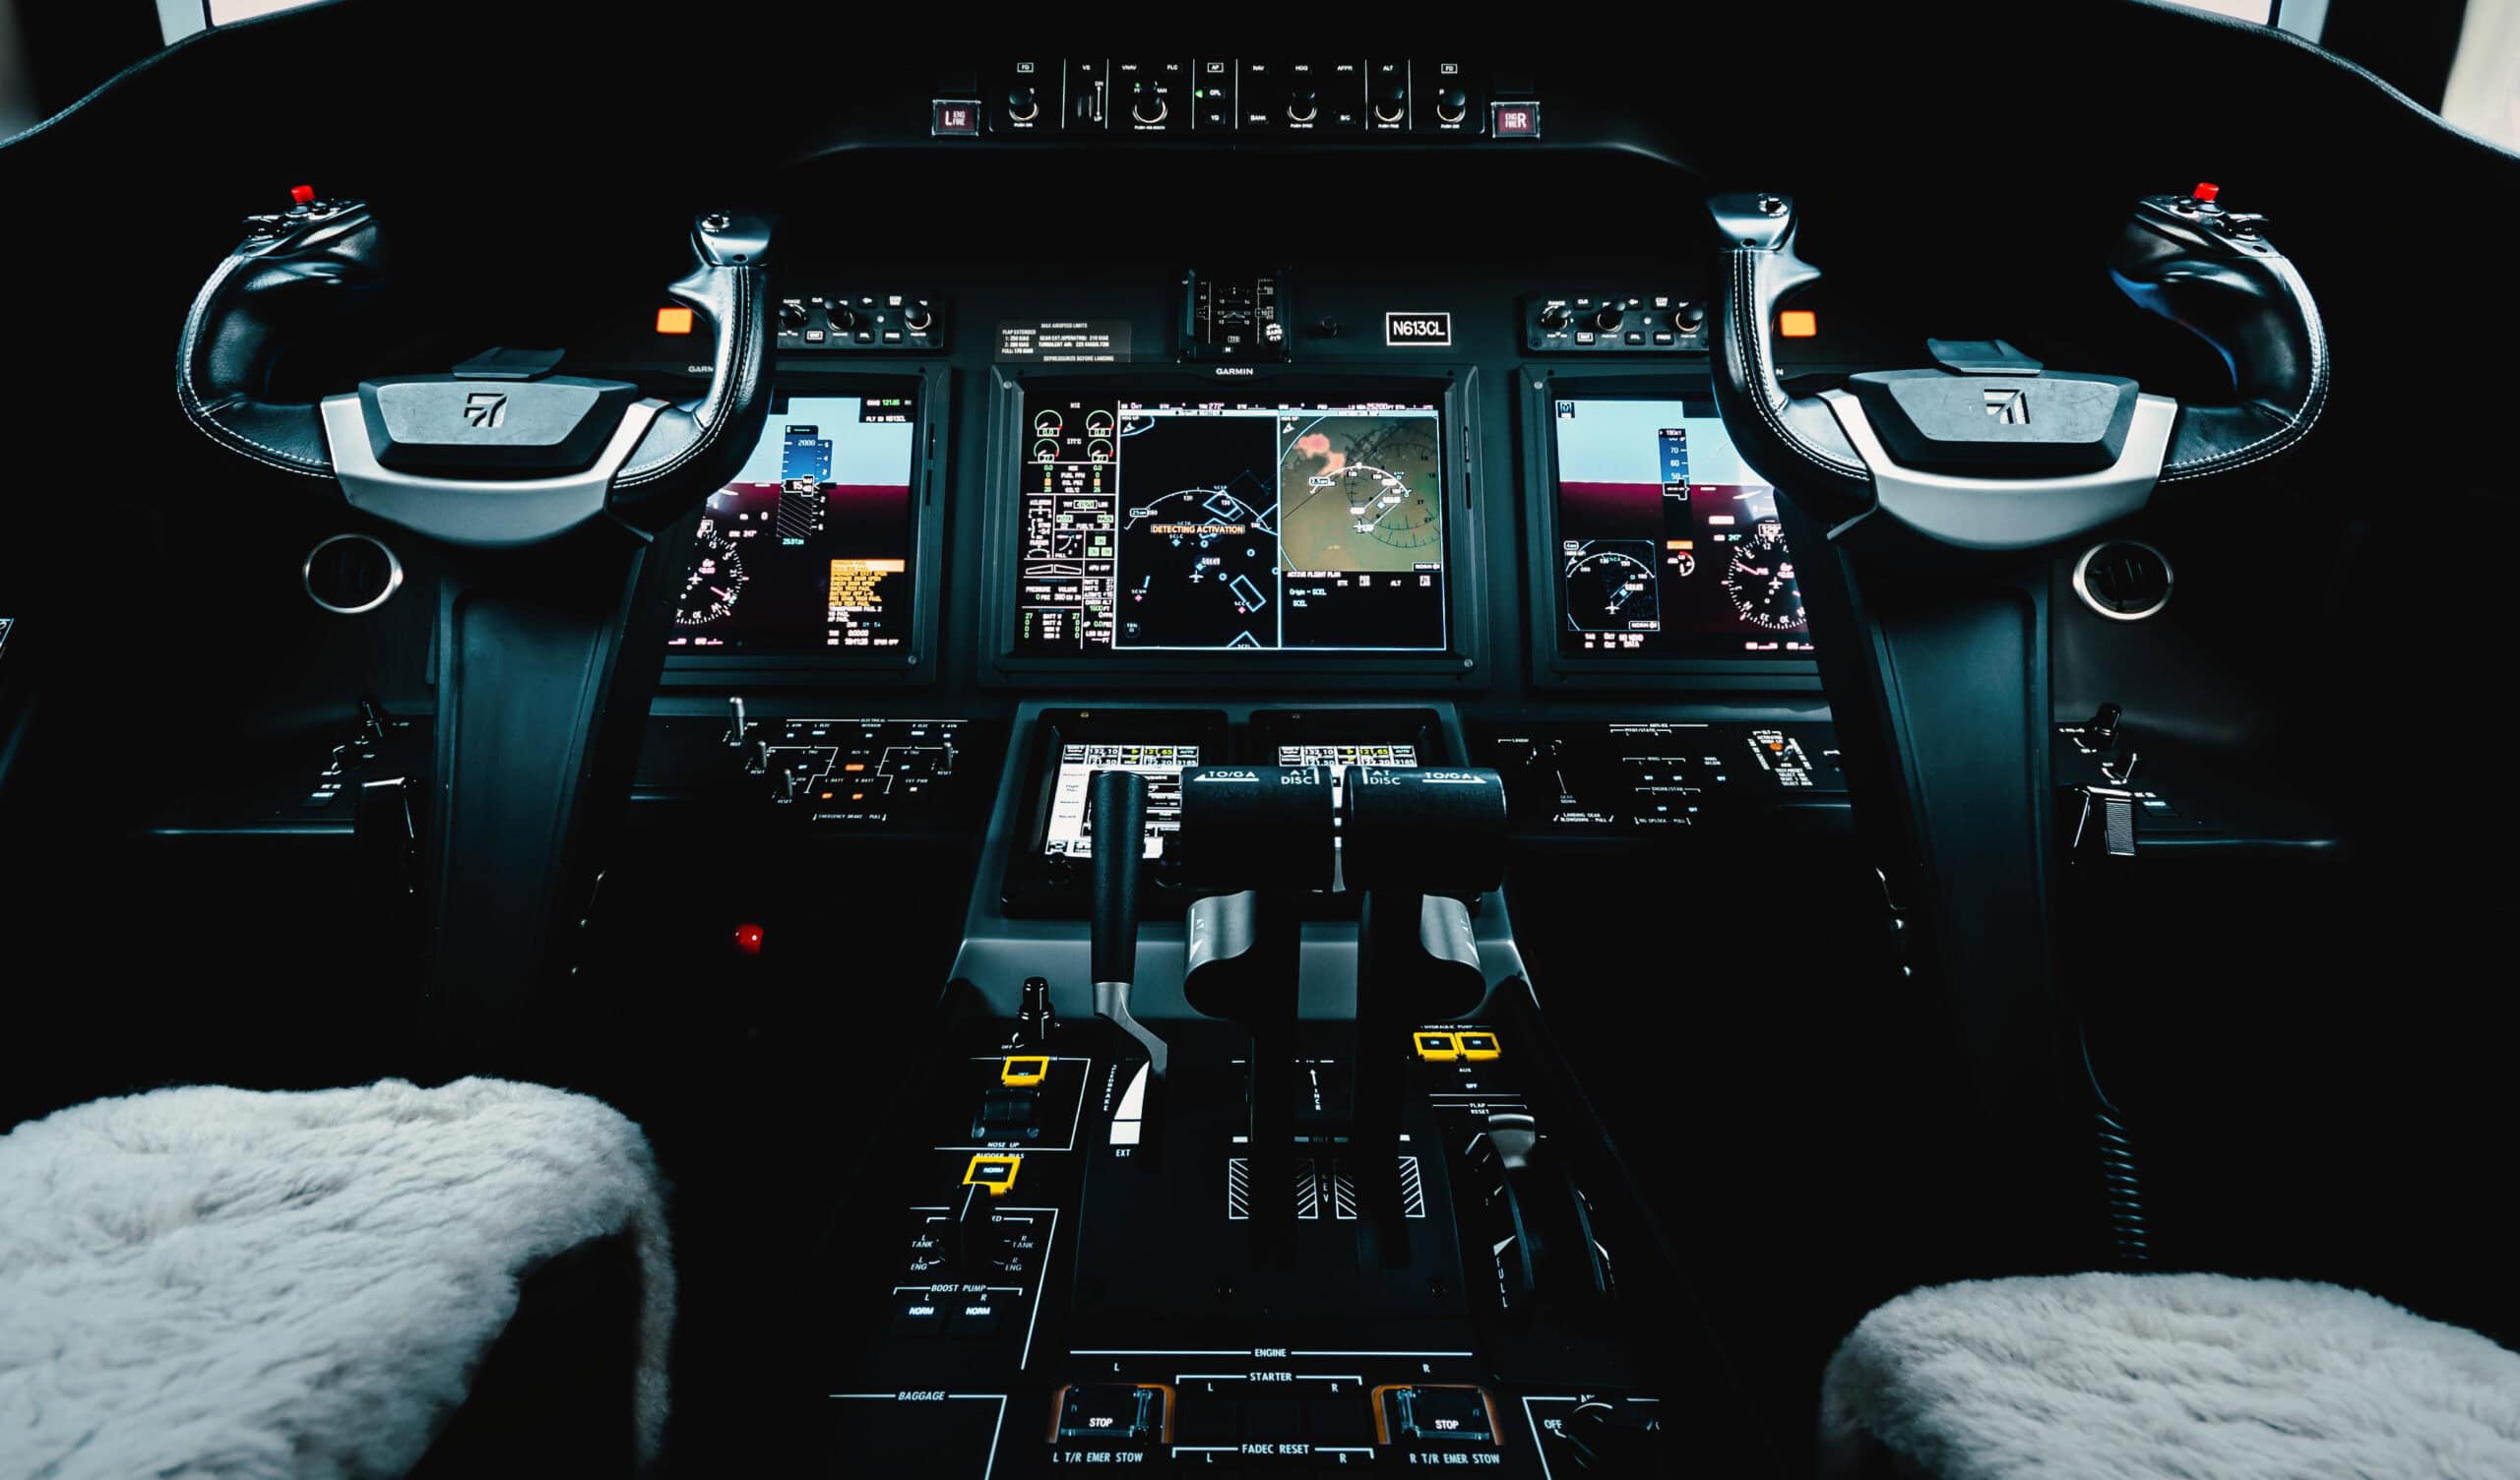
Third, consider the display. Most systems feed to a small LCD screen. That screen might connect to a dedicated unit or input to an existing avionics display. Placement in the cockpit matters significantly. You want the display in your natural scan path during taxi — not somewhere you have to look away from traffic to check. Ideally, mount it close to your instrument scan so the transition is natural and your eyes don’t have to travel far.
Fourth, confirm the camera is rated for outdoor aircraft use. It needs to handle vibration, propwash, rain, and temperature swings from -20°F to 160°F or more on a hot ramp. Typically, consumer-grade backup cameras fail in these conditions within a season or two.
Budget vs. Purpose-Built: Which Makes More Sense?
Generally speaking, purpose-built aviation systems cost more upfront — typically $300 to $700 for a complete kit. DIY builds using automotive backup cameras can come in under $100. However, the tradeoff is reliability. Aviation-rated units handle prop wash, vibration, and temperature extremes that kill consumer cameras within a season or two.
Our take: if you fly regularly, pay for the real thing. The cost difference is small compared to the liability of a ground collision. That said, for a rarely-flown weekend aircraft, a quality automotive unit can serve as a reasonable starting point. Just inspect it frequently and replace it the moment image quality degrades. Ultimately, the camera you’ll actually trust is the one built for the job.
The GB 1 Installation: What We Did and What We Learned
Our installation on the GB 1 was a genuine learning process. We went in with a plan and came out with a better one. Here’s what the process actually looked like — including a few things we didn’t expect. Notably, the wiring phase was where most of the surprises showed up.
Mounting Location: The Decision That Changed Everything
Initially, we considered a rollbar-area mount because it was the easiest access point. However, we quickly realized this location doesn’t give you true forward visibility. It shows you the same general forward quadrant you can already see from the cockpit — just slightly higher. That’s not the problem we were trying to solve.
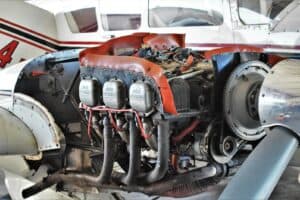
The nose bowl area provides the widest forward view, but it’s also the most complex installation. You’re running wiring through the engine compartment, dealing with heat, and working close to the prop arc. On the GB 1, we ultimately chose a leading edge mounting position. It gave us a strong forward view with a manageable wiring run. In contrast, the nose bowl would have required significant engine compartment access we weren’t prepared to deal with.
For us, the half-inch hole required for the camera mount went through cleanly. The wiring run to the cockpit display took more time than the actual mount. Routing cable through the airframe neatly — while keeping it away from control cables — requires patience. Essentially, budget more time than you think you’ll need for the wiring phase. In our case, it was the wiring, not the drilling, that consumed the afternoon.
One practical note: the initial camera color didn’t match the aircraft. That’s a small thing, but it matters on an aerobatic plane that people look at closely. A paint match brought it into line with the rest of the airframe. So if you care about aesthetics, plan for that step from the start.
What Changed After the Camera Went In
The difference in taxi operations was immediate. Straight-line taxi is now the norm rather than the exception. We don’t S-turn on most of the taxiways we use regularly. On unfamiliar airports specifically, the tailwheel aircraft taxi camera gives us confidence we didn’t have before.
Here’s what most pilots get wrong about this modification: they think of it as a convenience feature. It’s not. It’s a safety tool. The S-turn isn’t just awkward. It’s a source of real hazard because it takes your eyes off one side of the aircraft while you’re checking the other. In fact, a camera eliminates that tradeoff entirely.
There’s also a fatigue element that’s harder to quantify. Taxiing a taildragger at a busy airport with lots of ground traffic is mentally demanding work. With the camera running, that workload drops noticeably. You’re still alert and scanning — but you’re not burning energy on the constant left-right-left visual sweep that S-turns require. Instead, that mental bandwidth stays available for what actually matters. Clearly, that mental energy is better spent on your runup and departure brief.
Additionally, consider how this plays at unfamiliar airports. Tower controllers at busy fields expect efficient taxi movement. A taildragger weaving through S-turns at 5 knots frustrates traffic flow. Notably, pilots with cameras report a qualitative improvement in communication with ground control because they can taxi more decisively. That matters at controlled fields. In short, the camera makes you a better, more predictable participant in airport ground operations.
For more on taildragger-specific considerations, see our article on the importance of taxi cameras in conventional gear aircraft. If you want to understand how modifications like this fit into a broader airworthiness picture, our guide to FAA airworthiness requirements is worth a read. You should also have a solid understanding of aviation risk management — ground operations are an underappreciated phase of flight risk.
What Every Pilot Should Know Before Installing a Taxi Camera
First, check the regulatory picture. A taxi camera installation is an alteration to the aircraft. Depending on how it’s done, it may require a logbook entry from an IA, a field approval, or a Form 337 major repair and alteration record. Talk to your A&P before starting any work. Don’t assume a small camera with a half-inch hole is automatically minor.
Second, confirm the camera is for ground use only. This sounds obvious, but it’s worth stating clearly. A the camera shows a wide, distorted, close-range view. That view is useful for seeing what’s ten feet in front of your prop. It’s useless for flight navigation. Make sure it’s easy to switch off once you’re airborne — it doesn’t belong in your scan pattern in the air.
Third, test the display brightness in full sunlight before finalizing placement. Many screens that look fine in a hangar become impossible to read on a bright ramp. The display needs to be readable when you need it most. Test it on a sunny day before you sign off the logbook entry.
Fourth, think about power routing. Your camera will need a clean 12V source. Some pilots tap directly into the aircraft’s avionics bus. Others wire through a dedicated switch on the panel. Either way, confirm the power draw matches your aircraft’s electrical capacity. Generally, most systems pull under 2 amps — a non-issue on any aircraft with a standard electrical system.
Essentially, this is a straightforward modification that pays back quickly in safety and convenience. The installation complexity depends heavily on your aircraft type and where you mount the camera. On the GB 1, the total project took a full day including the paint touch-up. On simpler aircraft, it could be much less.
What to Document During a Tailwheel Aircraft Taxi Camera Installation
Generally, proper documentation during installation pays dividends both immediately and at resale time. Specifically, photo every step of the install — wire routing, mounting hardware, connector placements, and final cable management. Furthermore, save these photos to a project folder along with the part numbers and supplier invoices. As a result, future owners (or your future self) can troubleshoot issues much faster with proper installation records.
The Logbook Entry That Matters
First, the logbook entry for any avionics or accessory installation must include a brief description of work performed, parts installed, the installer’s signature and certificate number, and the date. Notably, even owner-installed accessories that don’t require an A&P signature still need to be documented. Therefore, develop the habit of completing the logbook entry the same day you finish the work — memory degrades fast and details get lost.
Maintenance Schedule for Camera Systems
Subsequently, plan a maintenance review at every annual inspection. Specifically, check the camera mount fasteners for vibration loosening, inspect the wire harness for chafing or wear, and verify the camera lens is clean and properly oriented. Furthermore, replace SD cards before they fail — most consumer cards have a finite write-cycle life that gets reached faster in aviation use than typical consumer environments.
Specifically, the camera install is just the start — long-term value comes from regular review of the captured footage. Furthermore, many tailwheel pilots use their taxi camera footage for self-review of ground operations, especially after long taxi sequences or unfamiliar airport visits. As a result, you build a personal feedback loop that significantly accelerates your taxi proficiency. Additionally, sharing well-edited footage with the broader tailwheel community contributes to GA safety culture in a way that benefits every pilot.
Notably, taxi camera footage also serves as objective documentation if you ever need to defend yourself against a complaint about your ground operations. Specifically, having time-stamped video of your taxi sequences provides credible evidence that backs up the logbook entries you’ve made about your conduct of flight.
Frequently Asked Questions About Aircraft Taxi Cameras
Is a Tailwheel Aircraft Taxi Camera Legal on a Certified Aircraft?
Yes, but the installation must be done properly. A camera installation is an alteration and typically requires a logbook entry from an A&P or IA. Depending on the scope of work, a Form 337 may be required. Always consult your A&P before drilling any holes or running new wiring.
Can I Use a Backup Camera from a Car or Truck?
Some pilots do, with success, as a budget solution. The risk is that consumer-grade cameras aren’t rated for aviation vibration, temperature extremes, and propwash exposure. Purpose-built systems like the Radiant Technology unit are specifically designed for aviation use and are more likely to hold up over time.
Where Should the Camera Be Mounted for the Best View?
Generally, a forward-facing mount as low as practical — near the nose bowl or leading edge — gives the most useful forward view. Rollbar mounts are easier to install but provide less benefit. Talk to your A&P about what’s practical for your specific airframe.
E3 Aviation Editorial Team
The E3 Aviation Association editorial team is made up of licensed pilots, aviation educators, and industry professionals dedicated to advancing general aviation safety, community, and education. Learn more about E3 Aviation.
Sources
- Radiant Unveils Taildragger Taxi Camera — Flying Magazine
- One Pilot’s View: Proof of Concept — General Aviation News
- FAA Major Repairs and Alterations (Form 337)
