
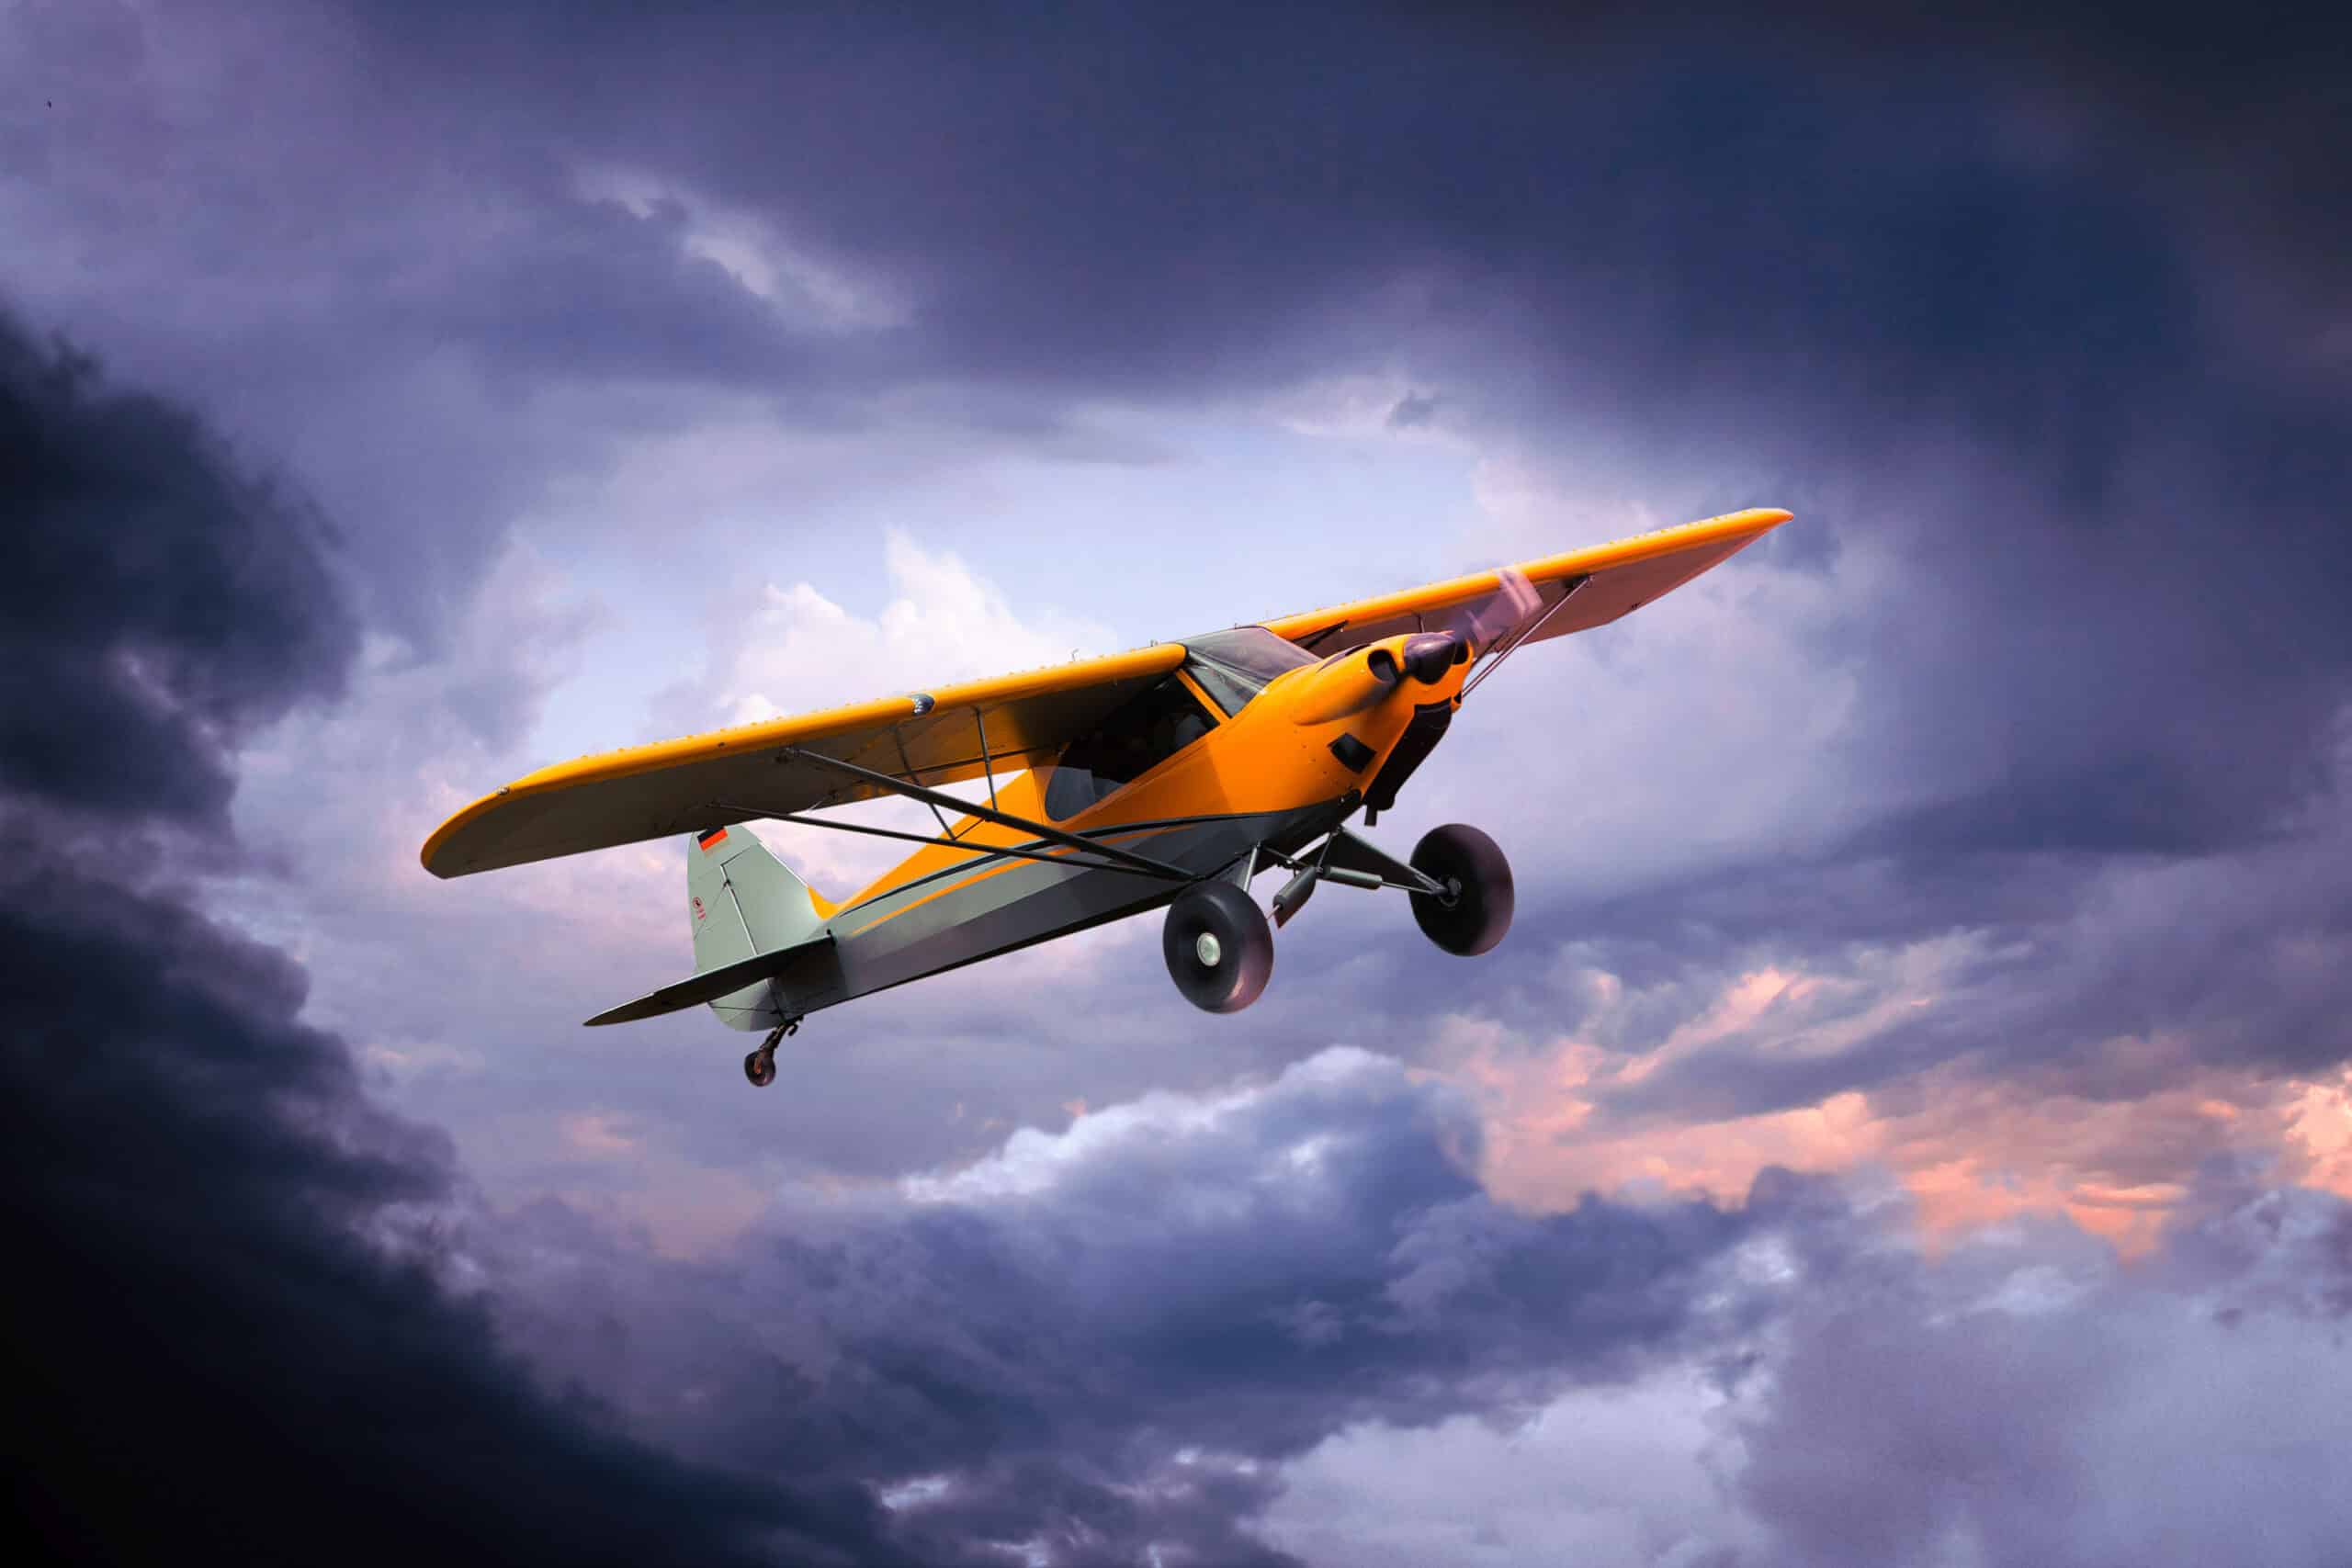
Cockpit sunset photography is one of the most rewarding side benefits of being a pilot. The angles aren’t available to anyone else. The colors at altitude are richer than from the ground. And the moment a sunset paints the panel orange while you’re flying west is something you’ll want to capture and share. This guide covers the gear, settings, composition, and safety considerations that turn fleeting cockpit moments into images worth keeping.
The Photography Gear That Actually Works in a Small Aircraft Cockpit
Most pilots overthink the camera question. The best camera is the one you already carry. A modern smartphone produces excellent cockpit sunset photos in good light. Mirrorless and DSLR cameras give you more creative control but add weight, bulk, and the headache of switching between camera and aircraft tasks.
If you’re using a phone, the iPhone Pro models and high-end Android cameras both handle the high-contrast sunset scenes well. Their HDR processing pulls detail out of dark cockpit interiors while keeping bright sunsets from blowing out. Hold the phone with a strap or wrist tether — drops in the cockpit kill phones and create unsecured object hazards in turbulence.
For dedicated cameras, smaller mirrorless bodies like the Sony A6000 series, Fuji X-T series, or Olympus OM-D E-M5 hit the sweet spot of image quality and cockpit-friendly size. A 16-50mm or 18-55mm kit zoom covers almost every cockpit composition you’ll want.
Action cameras like GoPros excel at wide cockpit shots and time-lapse sequences. Mount them on suction cups against canopy glass or strut hardpoints — never on the panel where they could obstruct an instrument or panel switch in an emergency.
Camera Settings for Cockpit Sunset Photos
Sunset photography is fundamentally about exposure compromise. The sun is bright, the cockpit interior is dark, and your camera’s automatic mode usually picks the wrong middle ground. Shooting in manual or aperture-priority modes gives you control.
For most cockpit sunset photos, set ISO between 200 and 800 depending on light. Lower ISO means cleaner files but slower shutter speeds — too slow and engine vibration introduces blur. ISO 400 is a reliable starting point.
Aperture control affects how much of the cockpit and view is in focus. Wide apertures like f/2.8 or f/4 let in more light and produce a soft background blur, drawing attention to one element. Narrower apertures like f/8 or f/11 keep both panel details and the horizon sharp.
Shutter speed must be fast enough to freeze aircraft vibration. Most light singles transmit enough engine vibration to require 1/200 second or faster, especially at full power climb settings. Slow shutter speeds work in cruise with the airplane trimmed and the engine running smoothly.
Shoot in RAW format if your camera supports it. RAW files preserve detail in shadows and highlights that JPEG processing throws away — critical for high-contrast sunset scenes you’ll want to edit later. Most modern phones now offer RAW capture too.
Composition Techniques That Work at Altitude
The same composition rules that work for ground photography apply at altitude with a few aviation-specific twists. Use the rule of thirds to place horizons either in the upper or lower third of the frame, never centered. Centered horizons feel static and amateurish.
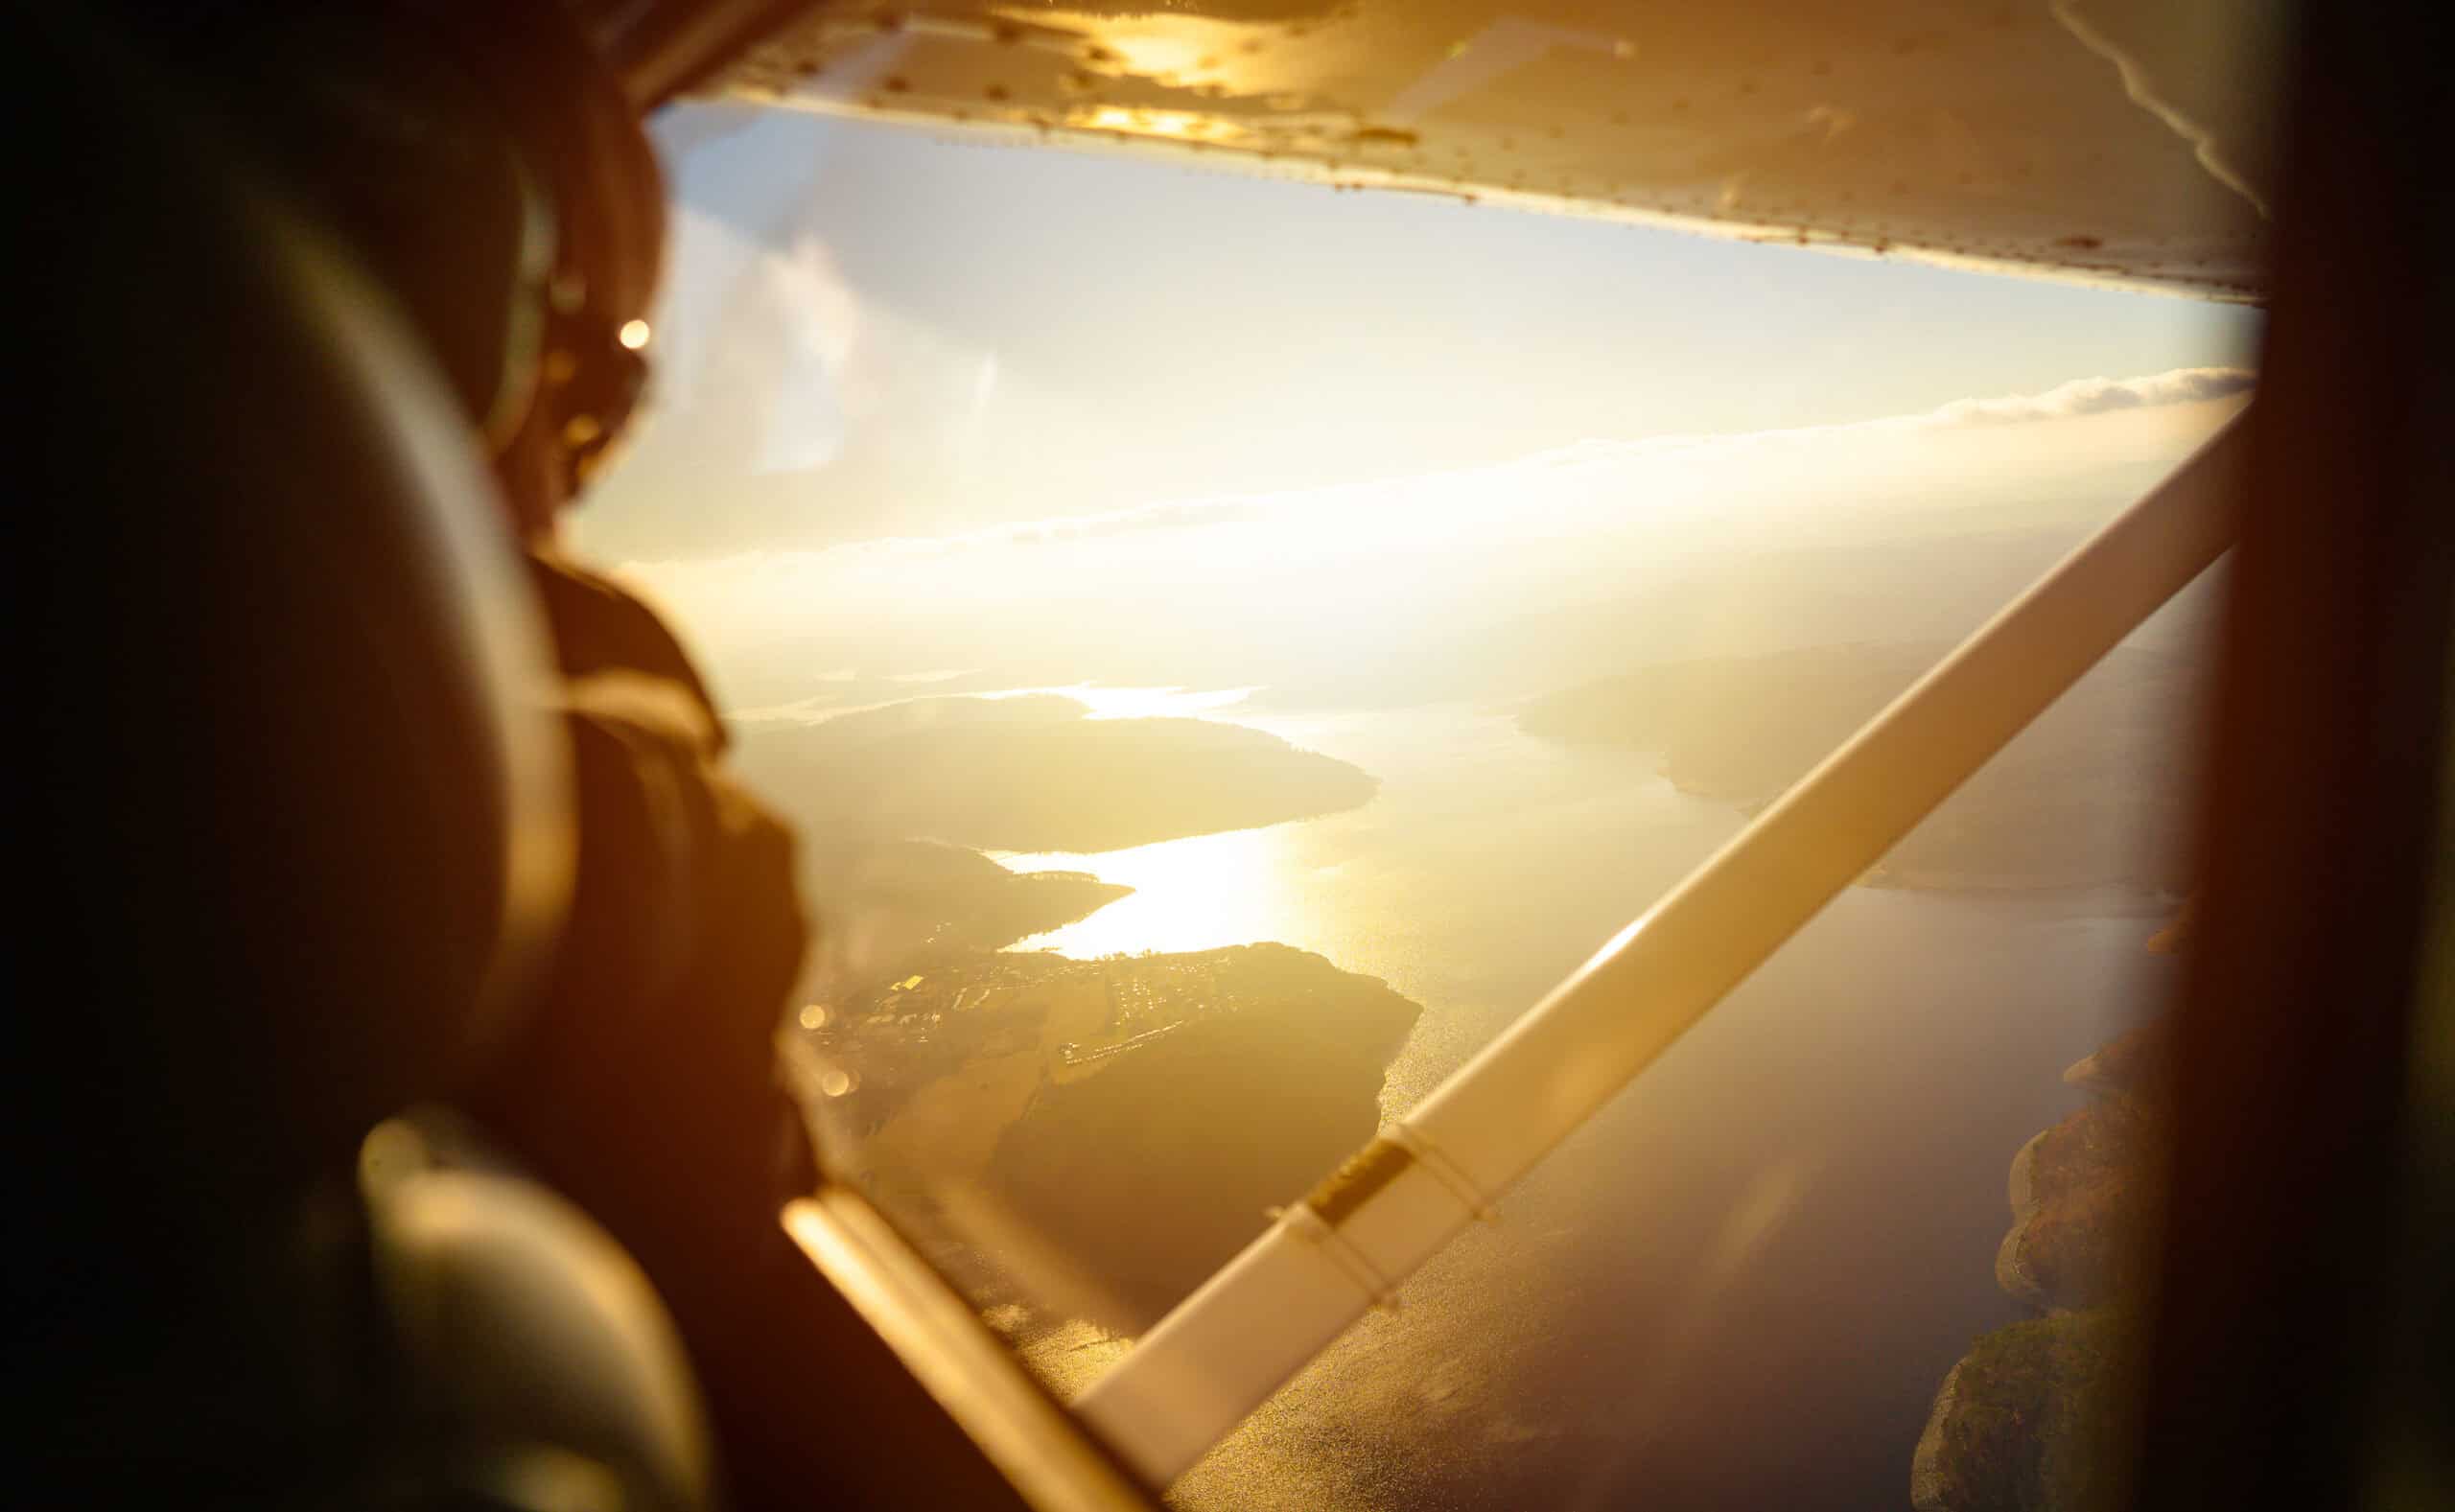
Include the panel or wing in the foreground when you want viewers to feel the cockpit perspective. A glimpse of an attitude indicator, the curve of a yoke, or the sweep of a wing strut anchors the photo in the pilot’s seat in a way pure outside-the-window shots never do.
Watch for distracting reflections in the canopy or windscreen. Tilting the camera slightly or cupping a hand around the lens kills most reflections. Polarizing filters help on dedicated cameras but introduce challenges with multi-pane plexiglass canopies that have stress patterns.
Backlit clouds at sunset offer some of the most dramatic compositions in aviation. Look for cumulus layers below you with the sun behind them — the rim lighting on top of each cloud creates incredible depth and texture.
For social media sharing, vertical compositions work best on Instagram Stories and Reels. Most cockpit photos work as horizontal landscapes for traditional posts and printed work. Capture both orientations when possible.

Cockpit Safety Comes Before Every Photo
Here’s the part most aviation photography articles bury: cockpit safety always comes before the photo. A camera in your hands is a distraction. A camera on the floor is loose object debris. A camera strap caught on the yoke is an emergency you didn’t plan for.
Never operate the camera during critical phases of flight. Takeoff, landing, low-altitude maneuvering, and any IFR work demand both hands and full attention. Set the camera down and pick it up again in cruise.
Keep all camera gear secured. Use lanyards on phones. Use camera straps. Pre-position cameras on lap or seat in a way that won’t shift in turbulence. Anything not secured becomes a projectile in unexpected gusts.
Stay disciplined about scanning for traffic. Photographers naturally fixate on viewfinders or screens. Aviation requires constant scanning. Develop a rhythm: shoot, scan, shoot, scan. Don’t get lost in the camera while the autopilot quietly drifts you off course.
Honestly, this is where most pilot-photographers get into trouble. The first 100 cockpit photos you take should happen with a buddy in the right seat watching outside while you’re heads-down with the camera. Solo cockpit photography demands more discipline than most pilots realize.
Post-Processing Cockpit Sunset Images
The RAW files you capture aboard the aircraft need work after the flight to become finished images. Modern editing software handles cockpit sunset images well if you know what to look for.
Lightroom and Lightroom Mobile remain the dominant choice for serious aviation photographers. The exposure, highlights, shadows, and white balance sliders give you fast control over the typical sunset image. Export presets save time when you process dozens of images from a single flight.
Phone editors like Snapseed and VSCO handle most casual cockpit photos well. For social media sharing, these apps give you 90 percent of what dedicated editors deliver in 10 percent of the time.
Watch for blown highlights and crushed shadows in the editing process. Sunset cockpit images often need shadow recovery to bring out panel detail and slight highlight reduction to prevent the sun from becoming a featureless white blob. Both edits should be subtle — too much manipulation creates obviously processed images.
Color temperature is the most common adjustment. Cockpits often pick up cool blue light from the sky behind the pilot, which contradicts the warm sunset tones outside. Bumping color temperature toward warmer values usually helps unify the image.
Sharing and Building an Aviation Photography Audience
The aviation photography community is active across Instagram, YouTube, and dedicated forums. Sharing your work introduces you to other pilot-photographers and improves your eye over time as you see what resonates.
Hashtag strategy matters less than consistency. Posting one strong cockpit image per week beats dumping ten mediocre images at once. Build a recognizable style by repeating compositions, color grading, and subjects.
Engage with other aviation photographers genuinely. Comment on their work, ask questions about gear and technique, and credit pilots whose work inspires you. The community is small enough that real relationships form quickly.
For pilots interested in monetizing aviation photography, prints, calendars, and licensing deals all exist as paths but require serious time investment. Most pilot-photographers stay amateurs in the best sense — flying and photographing because they love both, not because they need either to pay bills.
The Flying Magazine and General Aviation News reader-submission galleries are good places to see published aviation work and get a sense of editorial standards.
Mounting Cameras Inside the Cockpit
Mounted cameras free your hands and produce more consistent shots than handheld work. The challenge is finding mounts that hold securely without interfering with controls or sightlines.
Suction cup mounts work on canopy plexiglass and side windows but fail in cold conditions when the suction loses grip. RAM mounts attach to existing structure and offer the most reliable hold but require pre-flight installation. GoPro accessories include adhesive mounts that work permanently on cabin interior trim.
Position cameras outside the pilot’s primary scan zone. Mounting on the right window pointing at the panel and pilot is a common safe choice for solo flights. For passenger photos, cameras on the dashboard pointing at the pilot work well in two-place aircraft.
Test every mount on the ground before flight. Tug it hard, simulate turbulence by shaking the airframe, and verify the camera doesn’t shift. Anything that comes loose in the cockpit becomes a hazard during a critical flight phase.
Long battery life matters for sunset trips since you don’t want to be fumbling with battery changes during golden hour. Most action cameras last 60 to 90 minutes per battery — bring spares.
Capturing Reference Material for Future Edits
Beyond hero shots, capture reference frames you can use later. A wide shot of the panel before takeoff lets you accurately reproduce instrument readings in any final image edits. A clean shot of the wing in flight provides a comparison reference for color grading.
Shoot bracketed exposures when light is changing rapidly. Most cameras and phones offer automatic exposure bracketing — three frames at different exposures merged into one HDR image. The middle frame is often unusable on its own but combined gives you the full dynamic range a sunset demands.
Capture short video clips alongside still images. A 10-second pan across the horizon at sunset gives you motion content for social media that complements your stills. Modern phones and cameras handle 4K video adequately for these purposes.
Time-lapse sequences from a mounted camera produce some of the most striking aviation content. A 30-minute time-lapse of a sunset cruise condenses into a 10-second clip that shows weather, light, and motion in a way no single frame can match.
Weather and Light Planning for Sunset Flights
The most beautiful cockpit sunsets require some planning around weather. Clear skies make boring sunsets — flat orange gradients without texture. Scattered or broken clouds create the drama: backlit edges, silhouetted formations, and color reflections that change minute to minute.
Check weather satellite imagery and PIREPs before launching for a photography flight. The window of best light is short — typically 20 to 40 minutes around official sunset. Time your flight to put you in the air during that window, not climbing through it.
Pay attention to where the sun will be relative to your route. Flying directly into the sun creates beautiful silhouettes but makes pattern entry and traffic scanning harder. Flying perpendicular to the sun puts the best light on cloud formations to your sides.
Smoke from wildfires can produce extraordinary sunset colors but adds visibility hazards. Smoke on the horizon at sunset usually means worse smoke at altitude in the morning. Check current AIRMETs and TFRs before launching into smoky conditions.
Building a Sunset Photo Trip Around a Specific Mission
The best aviation sunset images often come from flights planned with photography as a primary goal, not as an afterthought. Build the flight around the light.
Pick destinations that face west for evening trips and east for morning trips. A 30-minute hop in the right direction at the right time produces better images than three hours of midday cruising.
Coordinate with weather. The clearest forecasts produce the worst sunset photos. Look for forecasts of scattered clouds at altitudes above your cruise level. Cumulus tops at 8,000 feet make ideal foregrounds for a 6,500-foot cruise altitude.
Bring a passenger when possible. A second pair of eyes lets you focus on photography while they manage traffic scanning and radio work. Brief them on what you’re trying to capture so they understand why you might bank away from a course briefly to put light where you want it.
Plan for a sunset that’s already happening when you launch. Take off 30 minutes before official sunset, climb to your photography altitude, and arrive at your photo target as the light peaks. Land back at home after legal sunset civil twilight is established — or extend the flight into night under appropriate currency rules.
Document the flight too. Note the date, time, altitude, and weather conditions. Months later when you’re processing images, that context helps you remember what worked and what didn’t, building your skill faster than just shooting and sharing without reflection.
Storage and Backup for Aviation Photo Libraries
Active aviation photographers accumulate large image libraries quickly. A single sunset flight can generate 200 to 500 RAW files. Storage and backup planning matters from the start.
External SSD drives have replaced spinning hard drives for working storage because they handle vibration better and offer faster transfer speeds. A 2TB SSD holds years of casual aviation photography. Cloud backup through services like Backblaze, iDrive, or platform-native options like iCloud and Google Photos protects against local drive failure.
Use a consistent file naming convention from day one. Date-based folder structures plus descriptive subfolders (2026-05-09-Sunset-Sedona) make finding old images years later much easier than hunting through generic IMG_XXXX numbers.
Frequently Asked Questions
What’s the best time of day for cockpit photography?
The hour before sunset and the hour after sunrise — what photographers call golden hour and blue hour — produce the best cockpit images by far. Direct midday sun creates harsh contrast and washed-out colors. Plan flights around the light when possible.
Can I use a drone for aviation photography?
Drones can capture exterior aircraft shots safely on the ground, but never operate them near active runways or in airspace where manned aircraft are flying. Check FAA Part 107 rules and follow all altitude and proximity restrictions. Some airports prohibit drones entirely.
Do I need a release to publish cockpit photos showing other people?
For personal social media use, no. For commercial use, prints sold for profit, or magazine submissions, get a signed model release from anyone identifiable in the photo. Aircraft N-numbers also occasionally raise privacy concerns — some owners ask that registration numbers be edited out of published images.
The E3 Aviation Editorial Team writes for owner-pilots, student pilots, and the small aircraft community. We focus on practical, real-world content that respects your time and your training. Learn more about E3 Aviation.
Last Updated: 2026-05-09
